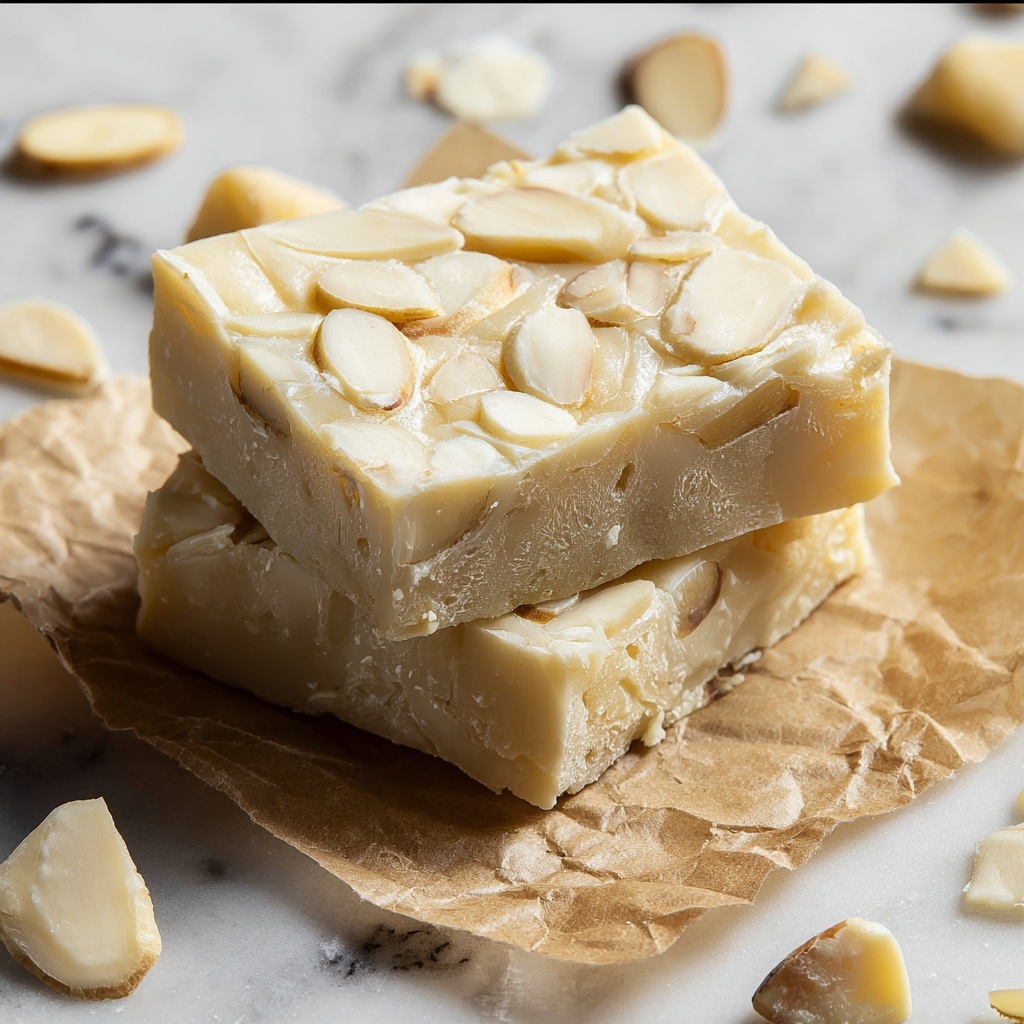
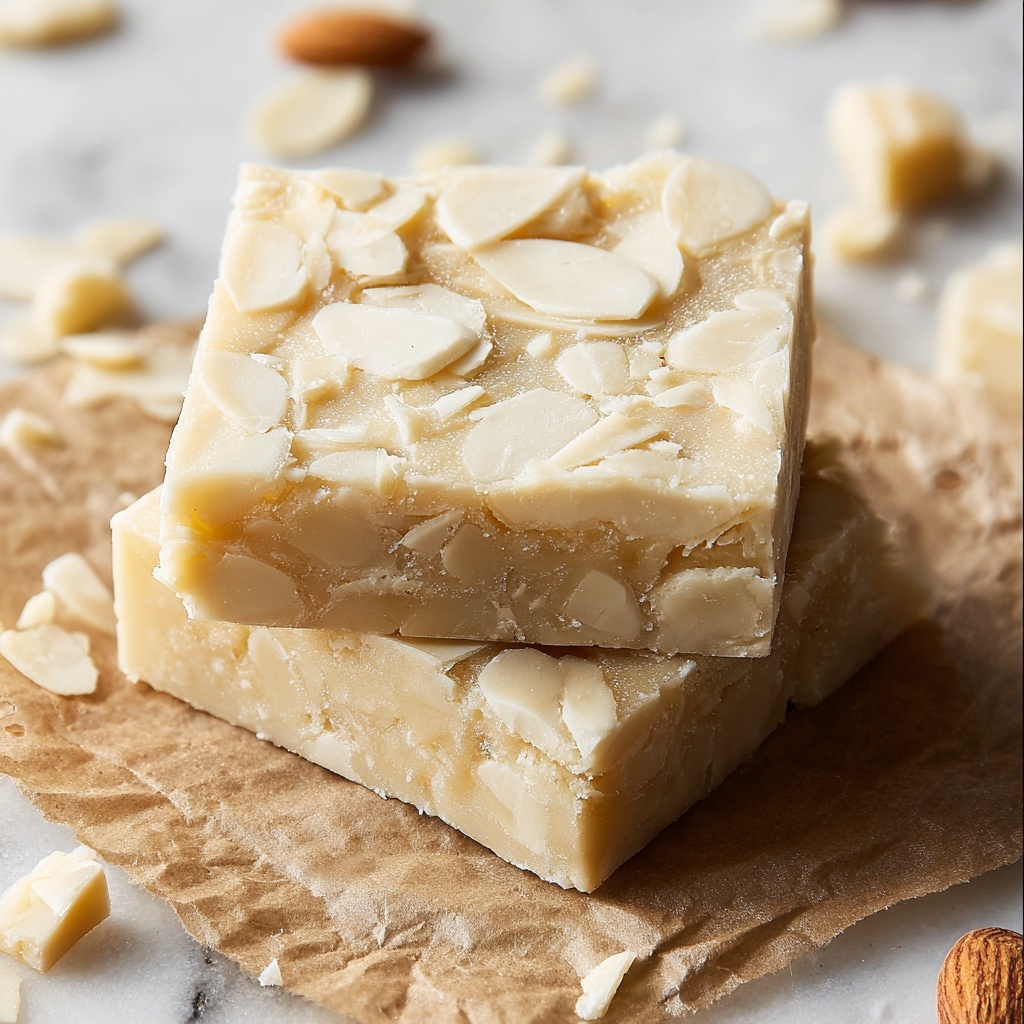
If you have a sweet tooth that craves something rich, creamy, and downright irresistible, this White Chocolate Brownies Recipe is your new best friend. Imagine biting into a soft, buttery square loaded with luscious white chocolate flavor, perfectly balanced by a tender cake-like crumb that just melts in your mouth. It’s not your average brownie—these beauties bring a delicate sweetness and a silky texture that will have you reaching for seconds (or thirds) without a hint of guilt. Whether you’re baking for a crowd or just treating yourself, this recipe delivers a stunning dessert that feels fancy but comes together with simple pantry ingredients.

Ingredients You’ll Need
Every ingredient in this recipe plays an essential role in creating the perfect white chocolate brownie. From the rich butter that keeps these moist to the flour that gives structure, each component works in harmony to produce that dreamy texture and unforgettable flavor.
- 8 oz high-quality white chocolate, chopped: Choosing good quality white chocolate ensures the brownies have a smooth, creamy flavor without any waxy aftertaste.
- 3/4 cup unsalted butter, cubed: Butter adds moisture and richness, making the brownies tender and velvety.
- 2 large eggs: Eggs bind the ingredients and add fluffiness, giving the brownies a soft crumb.
- 2 egg yolks: Extra yolks boost the richness, intensifying the decadent texture.
- 1 1/4 cups granulated sugar: Sugar sweetens perfectly while helping to create a slight crispness on top.
- 1 tablespoon vanilla extract: Vanilla enhances the white chocolate flavor with a lovely aromatic note.
- 1 3/4 cups all-purpose flour: Flour gives structure without weighing down the batter, balancing fluff and chewiness.
- 3/4 teaspoon salt: A pinch of salt sharpens the sweetness and rounds out all the flavors beautifully.
How to Make White Chocolate Brownies Recipe
Step 1: Preheat and Prepare Your Pan
Start by setting your oven to 325°F (163°C) to warm up while you prepare the batter. Grease a 9×9-inch square baking pan or line it with parchment paper. This step is crucial so your brownies come out cleanly and maintain those perfect edges.
Step 2: Melt the White Chocolate and Butter
Melt the chopped white chocolate and cubed butter together using a double boiler or in short bursts in the microwave. Stir continuously until the mixture is silky, smooth, and fully combined. Let it cool slightly to avoid cooking the eggs in the next step.
Step 3: Whisk the Eggs, Egg Yolks, Sugar, and Vanilla
In a large bowl, vigorously whisk the eggs, egg yolks, sugar, and vanilla extract until the mixture is light and fluffy. This aeration is what gives the brownies a tender lift and a beautiful golden color once baked.
Step 4: Incorporate the White Chocolate Mixture
Slowly add your cooled white chocolate and butter mixture to the whipped eggs while whisking gently. This gradual mixing ensures everything comes together smoothly and prevents the eggs from scrambling.
Step 5: Fold in the Flour and Salt
Using a rubber spatula, fold the all-purpose flour and salt into the wet ingredients just until combined. Be careful not to overmix; you want a batter that’s homogeneous but still light to maintain that delightful texture.
Step 6: Bake to Perfection
Pour your batter into the prepared pan and smooth out the top evenly. Place it in the oven and bake for 29–33 minutes. Look for lightly golden edges and a center that’s set—these visual cues mean your brownies will be perfectly chewy yet tender.
Step 7: Cool and Slice
Allow the brownies to cool completely in the pan so they firm up nicely. Then carefully slice into 16 generous squares. This resting time helps all the flavors settle and makes slicing easier, guaranteeing clean, beautiful pieces.
How to Serve White Chocolate Brownies Recipe
Garnishes
Bring an extra touch of elegance to your white chocolate brownies by sprinkling flaky sea salt on top for a pop of contrast, or add a drizzle of melted dark chocolate to create a stunning visual and flavor pairing. For a more indulgent finish, dust with powdered sugar or top with whipped cream and fresh berries to brighten up the sweetness.
Side Dishes
White chocolate brownies pair beautifully with fresh seasonal fruit or a scoop of vanilla ice cream. A cup of strong coffee or a rich hot chocolate alongside can elevate your dessert experience, balancing the creamy sweetness with bold, comforting flavors.
Creative Ways to Present
Serve these brownies on a decorative platter arranged with edible flowers or fresh mint leaves for a charming presentation. You can also cut them into bite-sized cubes for a party platter, or layer them in a dessert parfait with whipped cream and crushed cookies for a playful twist.
Make Ahead and Storage
Storing Leftovers
Store any leftover white chocolate brownies in an airtight container at room temperature for up to 3 days to keep them soft and moist. If your kitchen is particularly warm, keeping them in the fridge will extend freshness for 5 days but may firm up the texture slightly.
Freezing
To freeze, wrap individual brownies tightly in plastic wrap and place them in a freezer-safe bag or container. They keep beautifully for up to 3 months. Thaw at room temperature before serving, and they will taste just as fresh as the day you baked them.
Reheating
If you enjoy your brownies warm, microwave them for 10 to 15 seconds to bring back that gooey, melty feel, or warm briefly in a low oven at 300°F (150°C) covered with foil to avoid drying out.
FAQs
Can I substitute white chocolate chips for chopped white chocolate?
Absolutely! White chocolate chips work perfectly and often melt more evenly, but using high-quality chopped chocolate generally delivers a richer, more luxurious texture and flavor.
Is it necessary to use egg yolks along with whole eggs?
Including extra egg yolks adds moisture and richness, making the brownies softer and fudgier. You can omit the yolks, but the texture might be firmer and less decadent.
Can I use salted butter instead of unsalted?
You can, but be sure to reduce the added salt slightly to avoid overly salty brownies. Unsalted butter gives you better control over flavor balance.
How do I know when the brownies are done?
Look for lightly golden edges and a set center. When you gently press the middle, it should spring back a little but still feel soft. A toothpick inserted should come out with a few moist crumbs, not wet batter.
Can I add mix-ins to this White Chocolate Brownies Recipe?
Yes! Chopped nuts, dried fruit, or even a handful of white chocolate chips mixed into the batter before baking add wonderful texture and extra flavor layers.
Final Thoughts
This White Chocolate Brownies Recipe is a must-try if you’re looking to impress family and friends or simply indulge in a truly luxurious treat at home. With straightforward steps and accessible ingredients, you can whip up a batch of these delights anytime. The beautiful balance of sweetness, texture, and creamy white chocolate will have you hooked from the first bite. Happy baking!
Print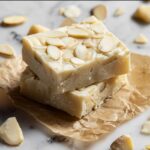
White Chocolate Brownies Recipe
- Prep Time: 10 minutes
- Cook Time: 30 minutes
- Total Time: 40 minutes
- Yield: 16 brownies
- Category: Dessert
- Method: Baking
- Cuisine: American
Description
Rich and decadent White Chocolate Brownies featuring a smooth blend of melted white chocolate and butter, combined with eggs, sugar, and vanilla, then baked to perfection for a soft, fudgy texture with lightly golden edges. These brownies are an indulgent treat perfect for dessert or special occasions.
Ingredients
Chocolate and Butter
- 8 oz high-quality white chocolate, chopped
- 3/4 cup unsalted butter, cubed
Wet Ingredients
- 2 large eggs
- 2 egg yolks
- 1 1/4 cups granulated sugar
- 1 tablespoon vanilla extract
Dry Ingredients
- 1 3/4 cups all-purpose flour
- 3/4 teaspoon salt
Instructions
- Preheat Oven: Preheat your oven to 325°F (163°C). Grease or line a 9×9-inch square baking pan with parchment paper to prevent sticking and ensure easy removal of the brownies after baking.
- Melt Chocolate & Butter: Using a double boiler or microwaving in short intervals, gently melt the chopped white chocolate and cubed butter together until smooth and fully combined. Allow the mixture to cool slightly to avoid cooking the eggs in the next step.
- Mix Wet Ingredients: In a large mixing bowl, whisk the whole eggs, egg yolks, granulated sugar, and vanilla extract together until the mixture becomes light and fluffy, which helps create a tender texture in the brownies.
- Combine Mixtures: Gradually whisk the cooled white chocolate and butter mixture into the beaten eggs and sugar until the batter is smooth and fully incorporated, ensuring an even distribution of flavors.
- Add Dry Ingredients: Fold in the all-purpose flour and salt gently using a rubber spatula until just combined. Take care not to overmix to keep the brownies soft and fudgy.
- Bake: Pour the batter into the prepared baking pan, smoothing the top evenly. Bake for 29 to 33 minutes, or until the edges turn lightly golden and the center is set but still moist when tested with a toothpick.
- Cool & Slice: Allow the brownies to cool completely in the pan to firm up, then carefully slice into 16 square servings for sharing or storing.
Notes
- Use high-quality white chocolate for the best flavor and smooth texture.
- Be careful not to overmix the batter to maintain a fudgy consistency.
- Allow brownies to cool fully before cutting to avoid crumbling.
- For added texture, consider folding in chopped nuts or white chocolate chips before baking.
- Store brownies in an airtight container at room temperature for up to 3 days or refrigerate for up to a week.
