
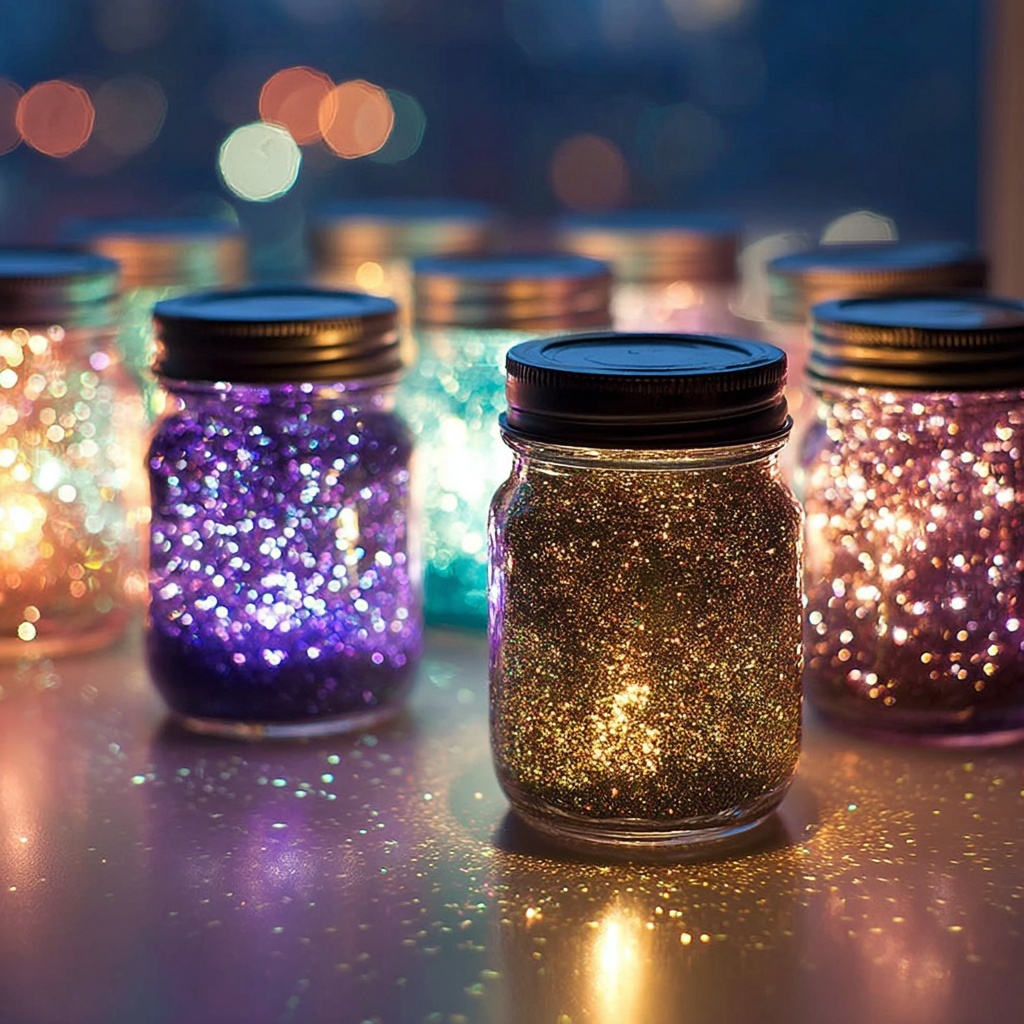
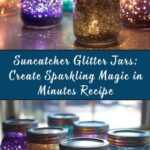
If you are looking to add a touch of whimsy and sparkle to your day, the Suncatcher Glitter Jars: Create Sparkling Magic in Minutes Recipe is an absolute must-try. This delightful craft transforms simple jars into mesmerizing, shimmering treasures that catch sunlight and dazzle the eyes. Not only is it incredibly easy and quick to make, but it also brings a soothing, magical vibe perfect for both kids and adults alike. Whether you want a fun afternoon project or a unique decorative piece, these glitter jars sparkle their way into your heart in no time.
Ingredients You’ll Need
The beauty of the Suncatcher Glitter Jars: Create Sparkling Magic in Minutes Recipe lies in its simplicity. A handful of common household items come together to create enchanting results. Each ingredient contributes to the sparkle, movement, or lasting shine that makes these jars so captivating.
- Clear plastic or glass jar/bottle with a tight-fitting lid: This is your canvas for the sparkling magic, choosing a clear container lets the glitter shine through.
- Clear glue or glitter glue (1–2 tablespoons): Acts as the shimmering base that suspends the glitter for that slow, hypnotic swirl effect.
- Warm water: Fills up the jar and helps blend the glue and glitter for smooth movement.
- Fine glitter: Using multiple colors adds depth and catchiness when the light hits it just right.
- Optional baby oil or clear liquid soap (1 teaspoon): Creates a denser medium that slows the swirling glitter, making it more mesmerizing.
- Optional food coloring (a drop or two): Adds a subtle tint to personalize the jar’s appearance.
- Superglue or hot glue: Ensures the lid stays tightly sealed so you can safely shake and enjoy the jar without spills.
How to Make Suncatcher Glitter Jars: Create Sparkling Magic in Minutes Recipe
Step 1: Add the Glue
Begin by squirting 1 to 2 tablespoons of clear or glitter glue into your empty jar. This glue is what traps the glitter and helps it float elegantly instead of sinking right away.
Step 2: Pour Warm Water and Stir
Carefully pour warm water into the jar until it reaches about three-quarters full. Use a spoon or stick to gently mix the glue and water. This step creates the perfect base liquid for your glitter to twirl in.
Step 3: Sprinkle Your Glitter
Now comes the fun part—sprinkle in your preferred glitter colors. Mixing golds, silvers, and rainbow hues will give your suncatcher a vivid sparkle. Don’t hold back; the more glitter, the more magical the swirl!
Step 4: Add Food Coloring (Optional)
If you’d like to add a subtle tint, drop in one or two drops of food coloring. This soft touch of color can enhance the jar’s overall look without overpowering the glitter’s brilliance.
Step 5: Create Slow Swirl Effect
For a dreamy, slow-motion effect, mix in 1 teaspoon of baby oil or clear liquid soap. This thickens the liquid slightly, making the glitter fall gracefully rather than fast and chaotic.
Step 6: Fill the Jar to Nearly Full
Top off your jar with warm water, leaving just a small amount of air space to allow for shaking. Having this air pocket is key to activating that dynamic glitter flow.
Step 7: Secure and Seal the Lid
Tighten the jar’s lid securely and seal it with superglue or hot glue to keep everything contained. This permanent seal means you can give your glitter jar a good shake without worrying about leaks or messes.
Step 8: Shake and Shine
Give your jar a vigorous shake, and then hold it up where light hits it best, like a sunny window. Watch the glitter whirl and sparkle beautifully, creating your very own glass galaxy.
Step 9: Enjoy Your Sparkling Magic
Take a moment to relax and gaze into your glitter jar. It’s a glowing source of calm and fascination that brightens up any space you place it.
How to Serve Suncatcher Glitter Jars: Create Sparkling Magic in Minutes Recipe
Garnishes
While these jars aren’t edible, you can enhance their visual appeal by decorating the outside. Add a ribbon tied around the neck in coordinating colors, or attach a small charm for a personalized touch. Labeling the jar with a handwritten tag also makes it a lovely gift idea!
Side Dishes
Pair your glitter jar display with cozy elements like soft fairy lights, colorful cushions, or indoor plants. Together, these make any room feel like a little enchanted corner full of warmth and sparkle.
Creative Ways to Present
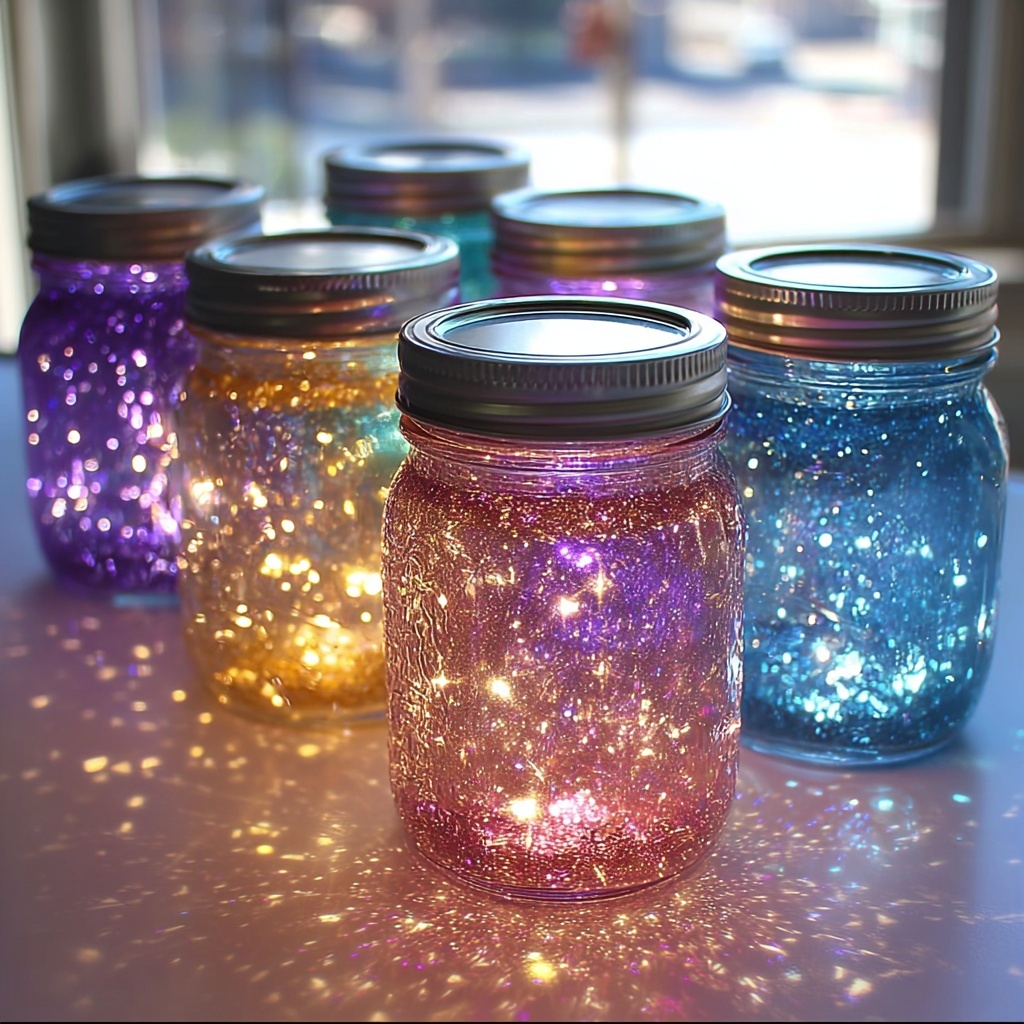
Try grouping different sized jars with varying glitter colors for a dazzling centerpiece. Hanging them near windows using sturdy twine can catch and scatter sunlight artistically around your space. They also make excellent handmade gifts or party favors that everyone will treasure.
Make Ahead and Storage
Storing Leftovers
If you happen to make multiple jars or want to prepare them ahead of time, simply store them in a safe spot where they won’t tip over or leak. The sealed lids keep the liquid inside fresh and sparkling for weeks, so your magic stays intact.
Freezing
Freezing the jars is not recommended, as the glue and water mixture could separate or expand when frozen, potentially cracking the jar or ruining the glitter effect.
Reheating
There is no need to heat your glitter jars. Enjoy them at room temperature and shake gently again if the glitter settles. It’s all about that effortless, instant sparkle.
FAQs
Can I use a glass jar instead of plastic?
Absolutely! Glass jars often look clearer and more beautiful, but make sure the lid seals tightly to prevent any spills. Just handle with care as glass is breakable.
What kind of glitter works best?
Fine glitter provides the best slow-floating sparkle. Consider mixing colors or using holographic glitter for that extra magical shine that really catches the light.
Is the baby oil necessary?
No, baby oil is optional. It slows the glitter’s movement for a calming effect, but you can skip it and still enjoy lively, sparkling swirls.
Can children make these jars on their own?
Kids can absolutely have fun making suncatcher glitter jars with a little supervision, especially when handling glue and sealing the lids. It’s a great family-friendly craft project.
How long does the sparkle effect last?
With a well-sealed lid, your glitter jars can keep their sparkle and swirl charm for many weeks. Just shake occasionally to refresh the movement.
Final Thoughts
If you want to bring a bit of wonder and joy into your everyday life, trying out the Suncatcher Glitter Jars: Create Sparkling Magic in Minutes Recipe is a brilliant idea. It’s simple, fun, and yields a beautifully mesmerizing result that’s perfect for brightening up any room or gifting to someone special. Dive into this project and watch your little jar light up the world with its sparkling magic.
Print
Suncatcher Glitter Jars: Create Sparkling Magic in Minutes Recipe
- Prep Time: 5 minutes
- Cook Time: 0 minutes
- Total Time: 10 minutes
- Yield: 1 jar (8–16 oz)
- Category: DIY Craft
- Method: No-Cook
- Cuisine: American
Description
Create your own mesmerizing suncatcher glitter jars with this simple and fun craft recipe. Using everyday materials like glue, glitter, and warm water, you can make a sparkling decorative jar that twinkles beautifully in the sunlight or any light source. Perfect for a creative activity that results in a magical, swirling glitter display!
Ingredients
Materials
- 1 clear plastic or glass jar/bottle with a tight-fitting lid (8–16 oz)
Liquid Mixture
- 1–2 tablespoons clear glue or glitter glue
- Warm water (enough to fill the jar)
- Fine glitter (multiple colors for sun-catching sparkle)
Optional Additions
- 1 teaspoon baby oil or clear liquid soap (for slow swirl effect)
- 1–2 drops food coloring (for tint)
Sealing
- Superglue or hot glue (for sealing the lid)
Instructions
- Add Glue: Start by adding 1–2 tablespoons of clear glue or glitter glue to the empty jar. This will help the glitter float and swirl beautifully.
- Pour Warm Water: Pour in warm water until the jar is about ¾ full, then stir gently to fully combine with the glue for the perfect consistency.
- Add Glitter: Sprinkle in your favorite glitter colors—gold, silver, rainbow, or holographic glitter works best to catch the light and create sparkle.
- Add Coloring (Optional): Add a drop or two of food coloring if you want to give the liquid a gentle tint, adding extra visual depth.
- Add Swirl Effect Ingredient (Optional): For slower, more hypnotic glitter movement, stir in 1 teaspoon of baby oil or clear liquid soap to the mixture.
- Fill to Top: Fill the rest of the jar with warm water, leaving a little space at the top to allow the glitter to move when shaken.
- Seal the Lid: Tighten the lid securely and seal it with superglue or hot glue to prevent any leaks and spills.
- Shake and Display: Give the jar a good shake to mix the glitter, then hold it up to sunlight or a bright light source to watch as the glitter swirls and sparkles like a tiny galaxy.
Notes
- Use warm water for best glue dissolution and glitter movement.
- Seal the lid thoroughly to avoid leaks and ensure safe handling.
- Experiment with different types and colors of glitter for varied effects.
- Baby oil or liquid soap slows the glitter’s fall, creating a mesmerizing swirl effect.
- Use a sturdy jar or bottle to avoid breakage, especially if for children.
- Handle superglue or hot glue with care and use in a well-ventilated area.
