If you are looking for a charming and delicious treat to wow guests at your next holiday party or simply indulge your sweet tooth, this Strawberry Santas Recipe is a perfect choice. Imagine fresh, juicy strawberries transformed into delightful little Santas with fluffy cream cheese filling and playful decorating details that bring smiles all around. This recipe blends simple, wholesome ingredients with festive creativity, making it not only fun to assemble but a real crowd-pleaser. Once you try these Strawberry Santas, you’ll understand why they’re a beloved classic for bringing joy to any celebration.
Ingredients You’ll Need
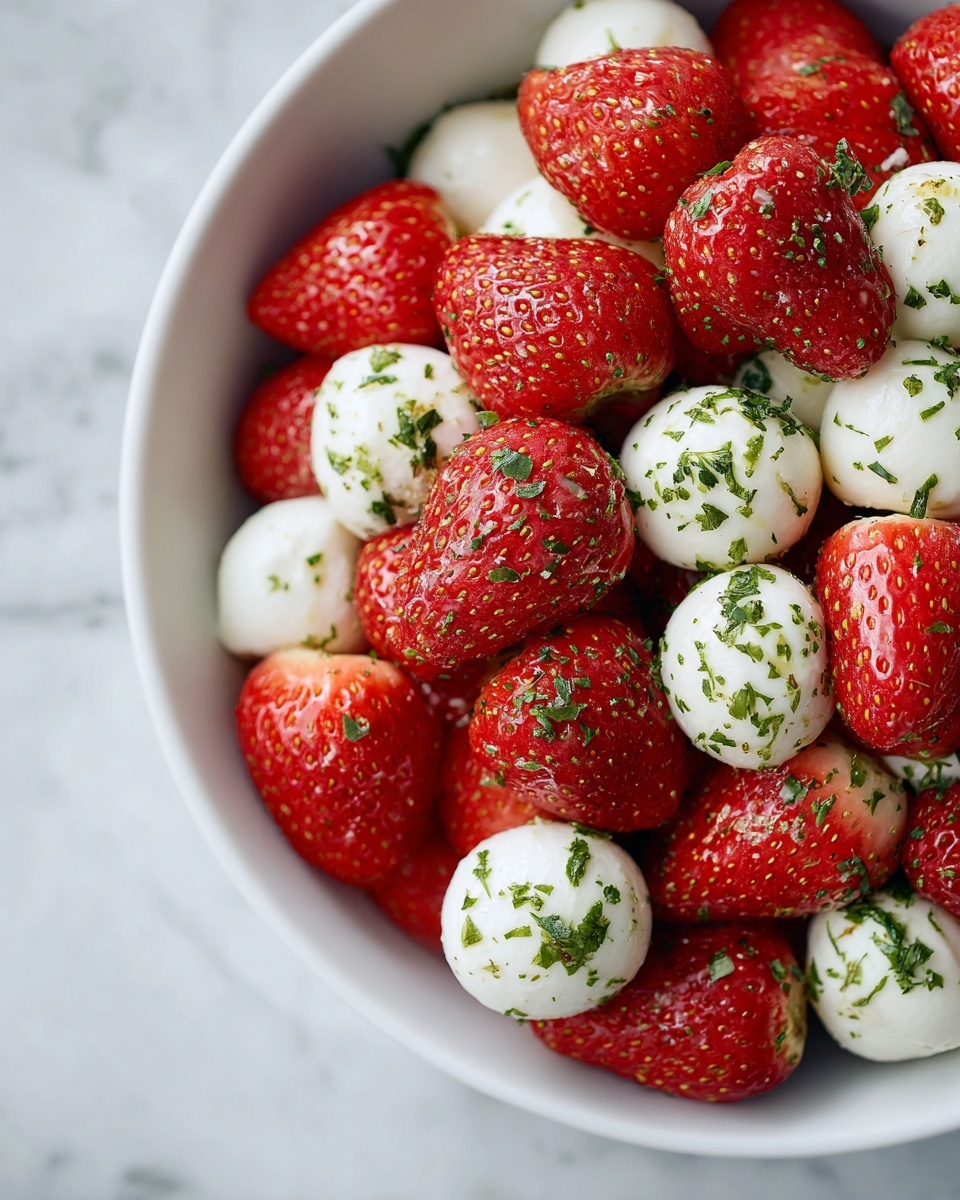
Everything you need for these adorable Strawberry Santas is straightforward but essential for nailing that perfect balance of sweetness, creaminess, and holiday cheer. Each ingredient plays a key role, from the tangy cream cheese filling to the bright red strawberries that bring vibrant color and natural sweetness.
- Cream cheese (8 ounces, softened): Provides a smooth, creamy base that complements the strawberries perfectly.
- Powdered sugar (1 1/4 cups): Sweetens the cream cheese filling for a luscious, velvety texture.
- Large strawberries (20): Fresh and firm, these serve as the juicy, colorful canvas for your Santa creations.
- Black decorating icing (1.3-ounce tube): Used to create Santa’s eyes, adding charming details.
- Round red sprinkles or orange/red decorating icing (20 sprinkles or 0.67-ounce tube): Acts as the nose for each Santa, adding a pop of festive color.
How to Make Strawberry Santas Recipe
Step 1: Prepare the Cream Cheese Filling
Start by beating the softened cream cheese in a mixing bowl until it becomes fluffy and smooth. Gradually add the powdered sugar while continuing to beat on low speed until fully combined. The result is a sweet, creamy filling perfect for piping and holding its shape beautifully on the strawberries.
Step 2: Prepare the Strawberries
Next, carefully cut off the stems of the strawberries to create a flat surface so they can stand upright. Each strawberry should look like a cone at this point. Slice each strawberry about three-quarters of the way up from the bottom to create a smaller cone that will serve as Santa’s hat. Set these smaller pieces aside for assembly.
Step 3: Pipe the Filling
Fill a piping bag fitted with a medium or large round tip (such as Wilton 2A) with your cream cheese mixture. Pipe a generous swirl onto the larger portion of each strawberry, building two layers to form Santa’s fluffy body. This step brings the creaminess and festive look into focus.
Step 4: Decorate the Santas
Using your black decorating icing, carefully pipe two small dots in the center of each cream cheese swirl to create Santa’s eyes. For the nose, place one red sprinkle or use red/orange decorating icing to dot a cute, tiny nose. These details turn simple strawberries into cheerful Santas that everyone will adore.
Step 5: Assemble the Santa Hats
Gently place the smaller strawberry cone you set aside earlier on top of the cream cheese filling to serve as Santa’s hat. Finally, pipe a small dot of cream cheese onto the tip of the hat to mimic the classic fluffy pom-pom. This finishing touch is the key to achieving that instantly recognizable Santa look.
Step 6: Serve or Store
You can serve your Strawberry Santas immediately to enjoy their fresh juiciness and creamy filling. If necessary, store them in the refrigerator in a container with enough space to avoid squishing the decorations, and consume within 2 to 3 days for the best taste and texture.
How to Serve Strawberry Santas Recipe
Garnishes
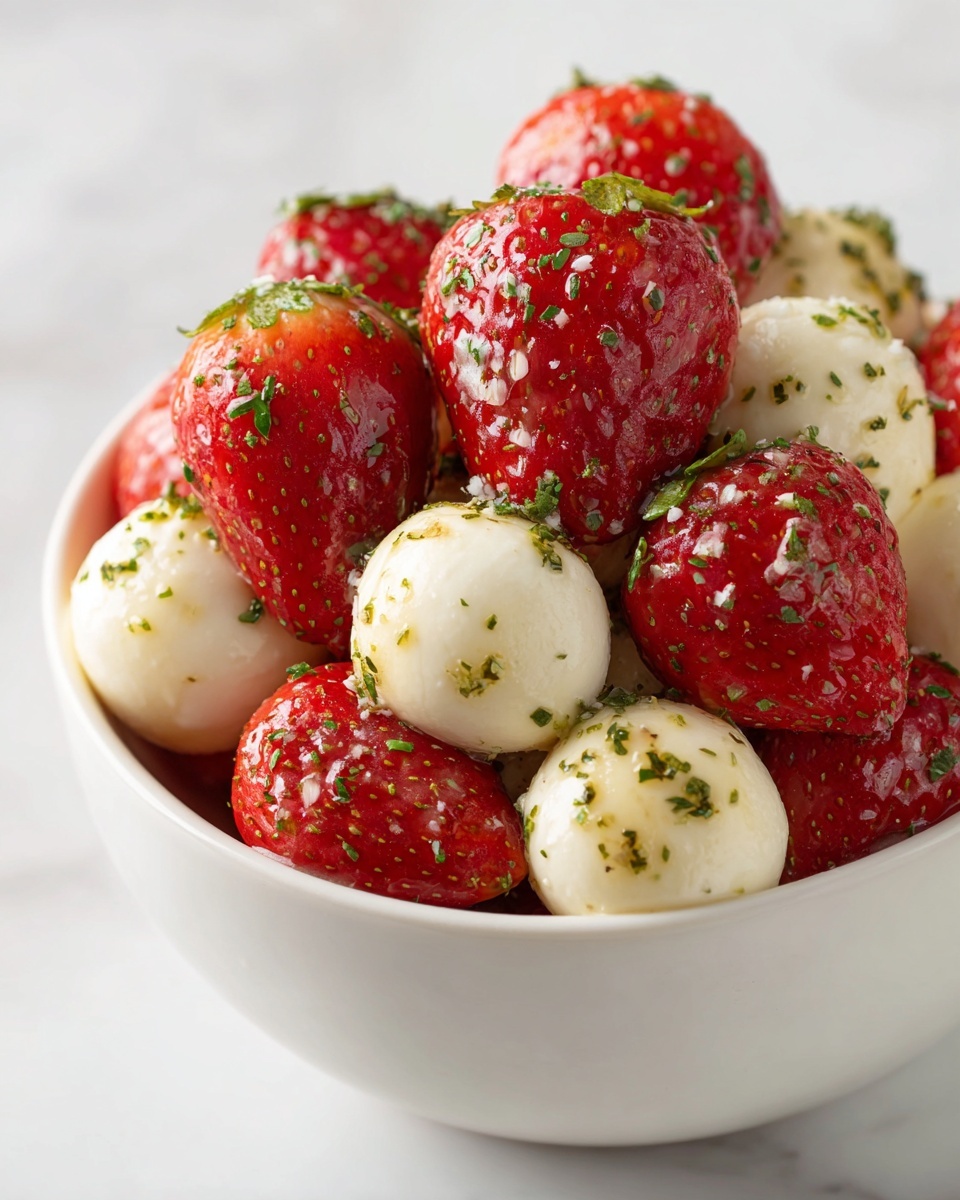
To elevate your presentation, sprinkle a light dusting of powdered sugar around your serving plate to mimic snow. A few fresh mint leaves scattered among the Santas add a lovely green contrast and hint of freshness, perfect for the holiday vibe.
Side Dishes
Strawberry Santas pair wonderfully with hot chocolate or a creamy vanilla pudding for a comforting holiday spread. Alternatively, serve alongside assorted nuts or shortbread cookies for an irresistible festive platter full of variety.
Creative Ways to Present
Try arranging your Strawberry Santas atop a platter of crushed graham crackers or coconut flakes to simulate a snowy winter scene. For a party, serve them on skewers with other red and white fruits or marshmallows to create delightful edible centerpieces that your guests will remember.
Make Ahead and Storage
Storing Leftovers
If you have any leftover Strawberry Santas, keep them refrigerated in an airtight container to preserve freshness. Ensure the container is roomy enough so the decorations don’t get squished or ruined. They’re best enjoyed within 2 to 3 days.
Freezing
Freezing Strawberry Santas is not recommended as the strawberries will lose their fresh texture and the cream cheese filling can separate upon thawing, affecting both appearance and taste.
Reheating
Since this is a fresh, no-bake recipe, reheating is unnecessary. For best flavor and texture, serve chilled directly from the refrigerator.
FAQs
Can I use a different type of berry instead of strawberries?
While strawberries work best for their shape and color, you could try using large fresh raspberries or even halved cherry tomatoes for a similar effect, but the classic Strawberry Santas recipe really shines with strawberries.
Is there a way to make this recipe vegan-friendly?
Absolutely! Substitute the cream cheese with a vegan cream cheese alternative and use powdered sugar that’s vegan-certified. Just double-check the decorating icings to ensure they meet your dietary needs.
How far in advance can I prepare these Strawberry Santas?
You can assemble Strawberry Santas up to a day ahead and store in the fridge. However, it’s best to add the hats and pom-poms just before serving to keep them fresh and prevent moisture from sogging the strawberries.
What is the best tip for piping the cream cheese filling?
Make sure your cream cheese is fully softened and whip it until it’s very smooth and fluffy. Use a piping bag with a round tip and steady, even pressure for the neatest swirls that hold their shape.
Can I add other decorations to the Strawberry Santas?
You can customize your Santas with tiny edible glitter, mini chocolate chips, or other festive sprinkles. Just be mindful not to overwhelm the natural charm of the classic look.
Final Thoughts
This Strawberry Santas Recipe is a wonderful way to bring joy and a bit of whimsy to your holiday table. It’s easy enough to whip up with kids and impressive enough to wow guests. Fresh strawberries, sweet cream cheese filling, and thoughtful decorating combine to create a festive treat that’s as fun to eat as it is to make. Give these Strawberry Santas a try and watch them quickly become a festive favorite in your kitchen.
Print
Strawberry Santas Recipe
- Prep Time: 20 minutes
- Cook Time: 0 minutes
- Total Time: 20 minutes
- Yield: 20 servings
- Category: Dessert
- Method: No-Cook
- Cuisine: American
- Diet: Vegetarian
Description
Delightful and festive Strawberry Santas made with fresh strawberries, fluffy cream cheese filling, and charming decorating icing details. These no-bake treats are perfect for holiday parties or a fun snack, featuring a sweet and creamy combination that mimics Santa Claus’s iconic look in a simple and playful way.
Ingredients
Cream Cheese Filling
- 8-ounce package cream cheese, softened
- 1 1/4 cups powdered sugar
Santas
- 20 large strawberries
- 1.3-ounce tube black decorating icing
- 20 round red sprinkles or 1 (0.67-ounce) tube orange/red decorating icing
Instructions
- Prepare the Cream Cheese Filling: In a mixing bowl, beat the softened cream cheese with a mixer until fluffy. Gradually add the powdered sugar and continue to beat on low speed until the mixture is smooth and fully combined.
- Prepare the Strawberries: Cut the stems off each strawberry to create a flat surface, shaping them into cone shapes. Then slice each strawberry about 3/4 of the way up from the bottom to create a smaller cone for the Santa hat. Set these smaller cones aside.
- Pipe the Filling: Transfer the cream cheese mixture into a piping bag fitted with a medium or large round tip such as Wilton 2A. Pipe a large swirl of the cream cheese filling onto the larger bottom part of each strawberry, layering two swirls to form Santa’s body.
- Decorate the Santas: Use the black decorating icing to dot two eyes in the center of the cream cheese swirl on each strawberry. For the nose, add a red sprinkle or use the red/orange decorating icing to create a small dot below the eyes.
- Assemble the Santa Hats: Place the smaller cut-off strawberry cone on top of the cream cheese swirl to serve as Santa’s hat. Pipe a small dot of cream cheese at the tip of this hat to imitate the pom-pom.
- Serve and Store: Serve the Strawberry Santas immediately for best freshness or store them in the refrigerator. To preserve their decoration, cover carefully or place in a container with enough space to avoid squishing. Consume within 2-3 days.
Notes
- Use fully ripe but firm strawberries to ensure they hold their shape well while assembling.
- Allow cream cheese to soften to room temperature before mixing for smooth filling.
- If you don’t have decorating icing, piping bags with a small round tip work well for adding eyes and nose with melted chocolate or colored frosting.
- To make these more festive, consider adding tiny edible glitter or colored sugar around the cream cheese swirl.
- Keep refrigerated until serving to maintain freshness and firmness.

