
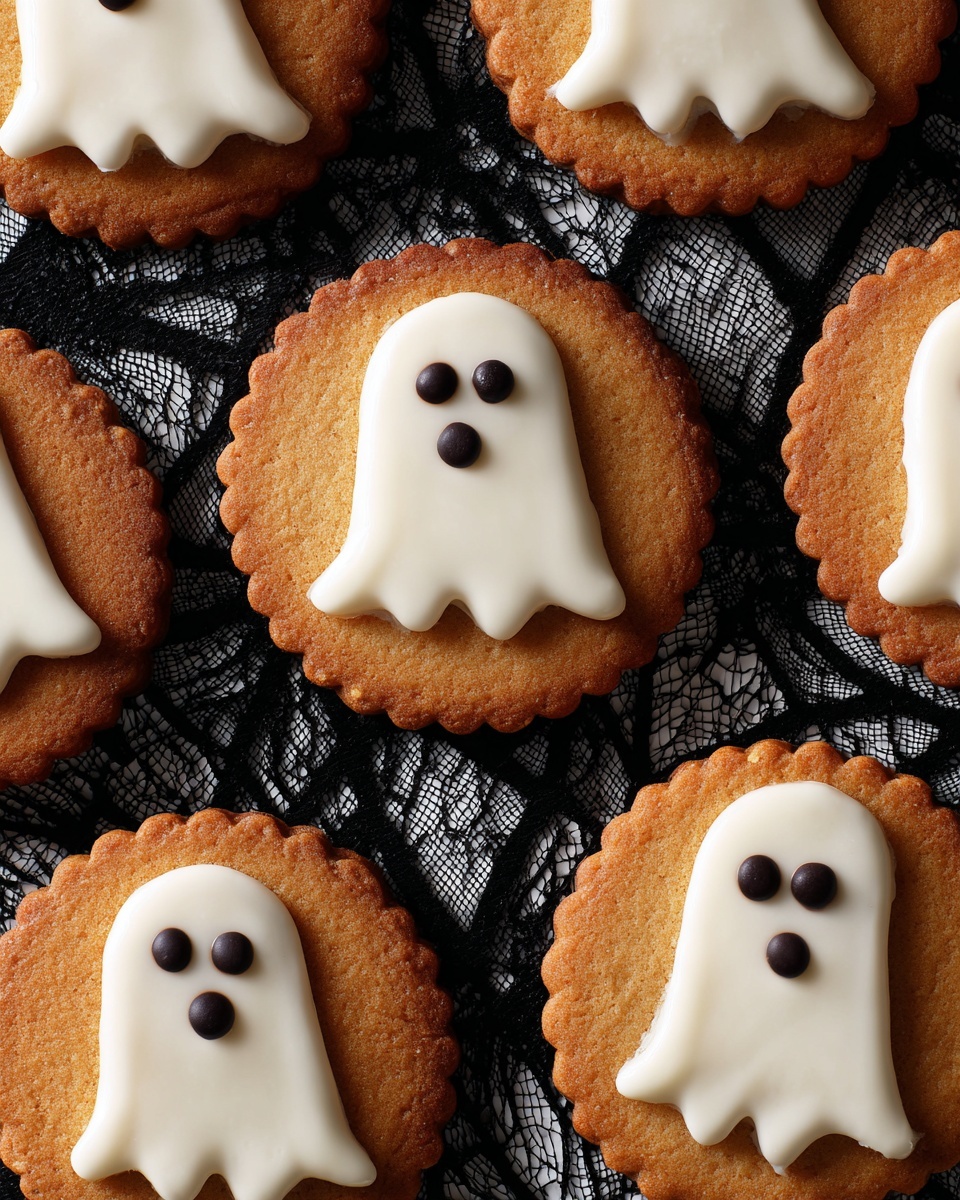
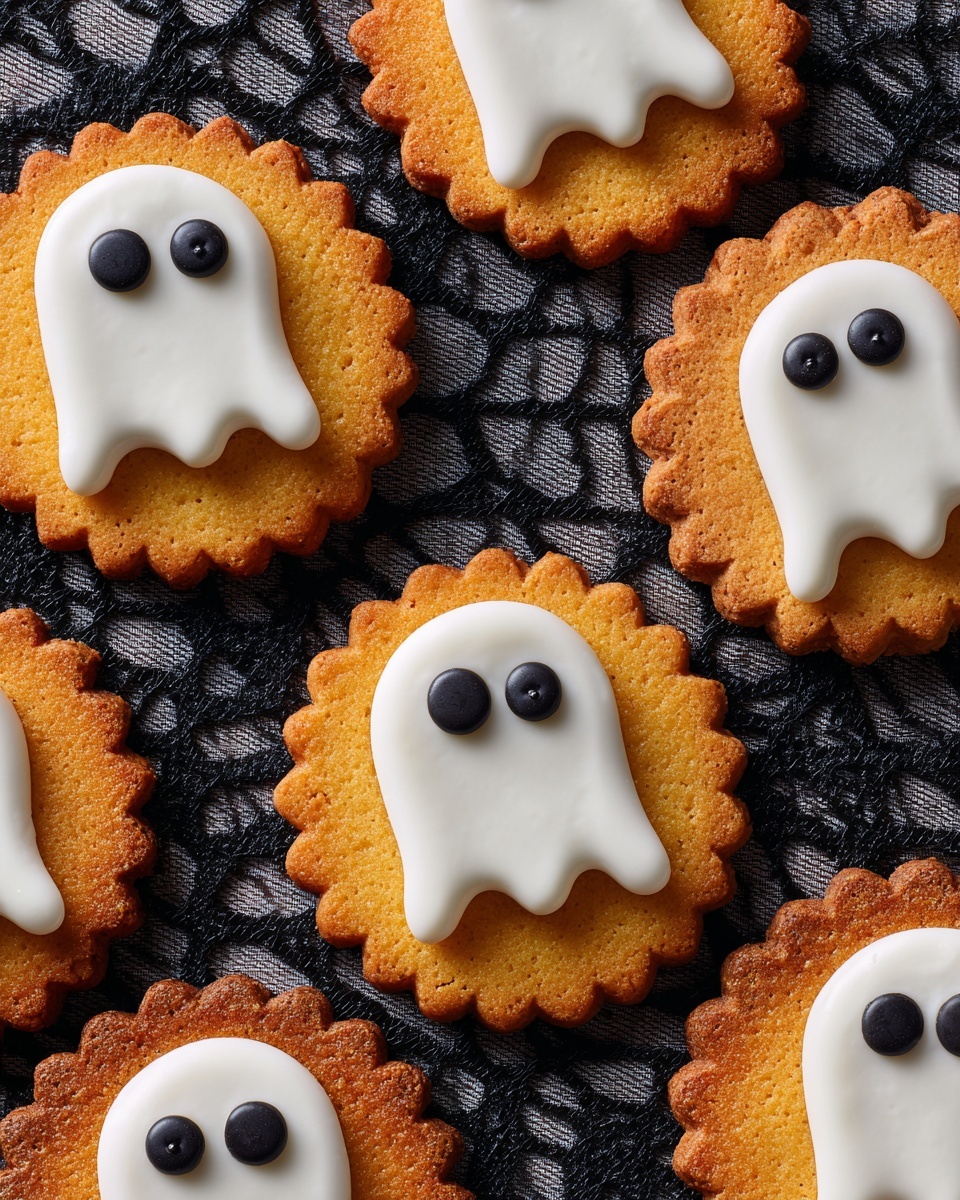
If you’re on the hunt for a festive, fun, and utterly delicious treat this season, look no further than the Nutter Butter Ghost Cookies Recipe. These cookies perfectly blend the nostalgic crunch of classic Nutter Butter-inspired flavors with a spooky twist that’s sure to delight kids and adults alike. With swirls of vibrant green and purple dough rolled together, each bite is as visually enchanting as it is scrumptiously nutty and buttery. Whether you’re hosting a Halloween party or simply craving a charming seasonal treat, these ghostly cookies offer a whimsical way to celebrate with sweet, homemade magic.
Ingredients You’ll Need
Simple ingredients are the heart of this recipe, each one contributing to the texture, flavor, and spooky colors that make these cookies unforgettable.
- All-purpose flour: The base that gives your cookies structure and a tender crumb.
- Baking powder: Helps your cookies rise just enough for a light, soft texture.
- Salt: Balances sweetness and enhances all flavors.
- Unsalted butter, softened: Provides a rich, creamy taste and tender bite.
- Granulated sugar: Sweetens and crisps the edges when baked.
- Eggs: Bind everything together and add moisture.
- Vanilla extract: Adds warmth and depth to the dough’s flavor.
- Gel food coloring (green and purple recommended): Creates vibrant, eye-catching swirling colors perfect for the ghostly theme.
How to Make Nutter Butter Ghost Cookies Recipe
Step 1: Make the Dough
Start by combining your softened unsalted butter with granulated sugar, beating them until fluffy for a tender crumb in your cookies. Next, add eggs and vanilla extract, mixing until everything is fully combined. In a separate bowl, whisk together the all-purpose flour, baking powder, and salt to make sure the leavening and seasoning are evenly distributed.
Step 2: Combine Wet and Dry Ingredients
Gradually incorporate your dry mixture into the butter mixture, mixing carefully until a smooth dough forms. This ensures the perfect consistency that’s easy to work with and bakes up soft and delicious.
Step 3: Divide and Color the Dough
Split the dough into two portions. Add the green gel food coloring to one half and the purple to the other. Knead each thoroughly to ensure vibrant, consistent coloring. Wrap each portion in plastic wrap and chill them in the refrigerator for at least one hour — this step helps the dough firm up so it’s easier to roll and slice.
Step 4: Roll and Layer the Dough
Once chilled, lay the green dough over the purple dough and roll them together gently, just enough to combine without mixing the colors fully. Trim the edges for neat lines and carefully roll the layered dough into a log shape. Wrap that log tightly in plastic wrap and refrigerate once more for another hour to set the shape.
Step 5: Slice and Bake
Preheat your oven and slice the dough log into rounds about 1/4 to 1/2 inch thick. Place the slices on a parchment-lined baking sheet, maintaining even spacing. Bake for 13 to 15 minutes until the cookies are set but still soft in the center. Let these enchanting cookies cool on the sheet for five minutes before transferring them to a wire rack to finish cooling.
How to Serve Nutter Butter Ghost Cookies Recipe
Garnishes
These ghostly cookies shine beautifully on their own, but you can add little accents for extra flair. Consider a drizzle of white chocolate or a sprinkle of edible glitter to mimic haunting moonlight. Mini chocolate chips can become “eyes” to bring the playful ghosts to life.
Side Dishes
Pair these colorful cookies with a cold glass of milk or a cup of warm hot cocoa to balance their buttery sweetness. A scoop of vanilla ice cream served alongside can transform this treat into a delightful dessert combo perfect for autumn evenings.
Creative Ways to Present
Arrange your Nutter Butter Ghost Cookies Recipe on a Halloween-themed platter with fake cobwebs and tiny plastic spiders for full spooky effect. You can also stack them in a clear jar decorated with Halloween ribbon for gift-giving or party favors that wow visually and tantalize taste buds.
Make Ahead and Storage
Storing Leftovers
After baking, store your cookies in an airtight container at room temperature to keep them fresh and chewy for up to a week. Layer them with parchment paper to prevent sticking and maintain their lovely colors intact.
Freezing
If you want to make these cookies ahead of time, the dough log can be wrapped tightly and frozen for up to two months. When ready to bake, thaw the dough overnight in the refrigerator, then slice and bake as directed. Baked cookies can also be frozen in an airtight container for up to three months.
Reheating
To enjoy your Nutter Butter Ghost Cookies Recipe warm, gently heat them in a microwave for 10 to 15 seconds or warm them briefly in a low oven. This revives the buttery softness without losing their signature crisp edges.
FAQs
Can I substitute peanut butter in this recipe?
This particular version focuses on the buttery, nutty flavor inspired by Nutter Butter cookies but doesn’t use peanut butter directly. If you want a peanut butter taste, you could experiment with adding it, but the dough texture and color may change.
What if I don’t have gel food coloring?
Gel food coloring is preferred because it’s concentrated and won’t thin your dough. However, you can use liquid food coloring, but use less to avoid making the dough too sticky and adjust flour if needed.
Can I make these cookies gluten-free?
To make them gluten-free, swap the all-purpose flour for a gluten-free blend that measures 1:1. Be sure it includes xanthan gum for structure, or add a small amount yourself.
How thick should I slice the dough log?
Slice the dough into rounds between 1/4 and 1/2 inch thick. Too thin slices may burn or become too crispy, while thicker slices might need more baking time and could be doughy inside.
Are these cookies suitable for kids to help make?
Absolutely! Kids love working with colorful dough, rolling, and slicing the logs. Just supervise the baking part and handle sharp knives carefully together for a fun kitchen activity.
Final Thoughts
I hope you’re as excited as I am to dive into the Nutter Butter Ghost Cookies Recipe. These charming cookies bring together fun, flavor, and festive spirit in the most delightful way. Whether you’re baking for a crowd or just treating yourself, they’re sure to bring smiles and a little magic to your cookie plate. So gather your ingredients, get mixing, and enjoy every colorful, tasty bite!
Print
Nutter Butter Ghost Cookies Recipe
- Prep Time: 25 minutes
- Cook Time: 15 minutes
- Total Time: 2 hours 40 minutes
- Yield: 24 servings
- Category: Dessert
- Method: Baking
- Cuisine: American
Description
Nutter Butter Ghost Cookies are a festive and colorful treat perfect for Halloween. These cookies feature a unique swirl of green and purple dough, rolled together to create a ghostly pattern that delights both kids and adults. Made with classic buttery cookie ingredients and gel food coloring, these baked cookies have a crisp edge and tender center, ideal for holiday parties or spooky snack times.
Ingredients
Dry Ingredients
- 2 1/2 cups all-purpose flour
- 1 teaspoon baking powder
- 1/2 teaspoon salt
Wet Ingredients
- 1 cup unsalted butter, softened
- 1 cup granulated sugar
- 2 large eggs
- 1 teaspoon vanilla extract
Coloring
- Gel food coloring (green and purple, recommended)
Instructions
- Make the Dough: In a large bowl, cream together the softened unsalted butter and granulated sugar until light and fluffy. Add the eggs and vanilla extract, mixing well until fully combined.
- Combine Dry Ingredients: In a separate bowl, whisk together the all-purpose flour, baking powder, and salt to ensure even distribution of leavening and seasoning.
- Mix Dry Ingredients into Wet: Gradually add the dry ingredient mixture into the butter mixture, stirring or mixing on low speed until a cohesive dough forms without any lumps.
- Divide and Color the Dough: Split the dough evenly into two portions. Add green gel food coloring to one portion and purple gel food coloring to the other. Knead each portion thoroughly until the color is evenly distributed throughout the dough.
- Chill the Dough: Wrap each colored dough portion tightly in plastic wrap and refrigerate for at least 1 hour to firm up, making it easier to handle and roll.
- Layer and Roll the Dough: After chilling, place the green dough on top of the purple dough and gently roll them together to adhere the layers. Trim any uneven edges to create straight lines and shape the layered dough into a log by rolling it carefully. Wrap the log in plastic wrap again and refrigerate for another hour to firm up further before slicing.
- Slice and Bake: Preheat the oven to 350°F (175°C). Remove the dough log from the fridge and slice it into 1/4 to 1/2-inch thick rounds. Place the slices on a parchment-lined baking sheet, spacing them apart. Bake for 13-15 minutes, or until the cookies are set around the edges but still slightly soft in the center.
- Cool the Cookies: Remove the baking sheet from the oven and allow the cookies to cool on it for 5 minutes to firm up. Then transfer the cookies to a wire rack to cool completely before serving or storing.
Notes
- Use gel food coloring for vibrant, concentrated colors without altering the dough’s consistency.
- Ensure the dough is well chilled before rolling and slicing to prevent sticking and maintain shape.
- Store the cookies in an airtight container at room temperature for up to one week.
- For more intense colors, add food coloring a drop at a time until desired shade is reached.
- Handle the layered dough gently to preserve the distinct colors and prevent blending.


