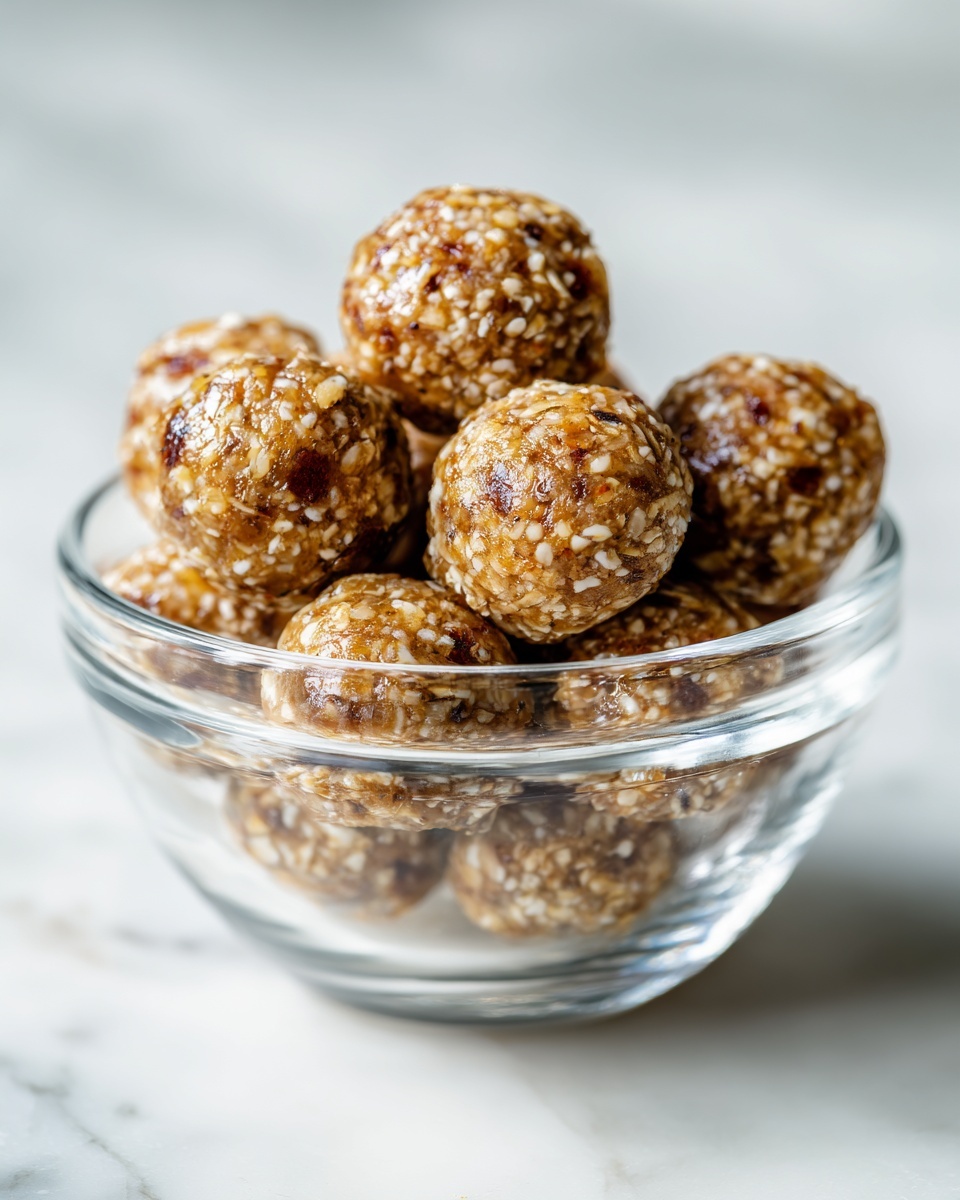
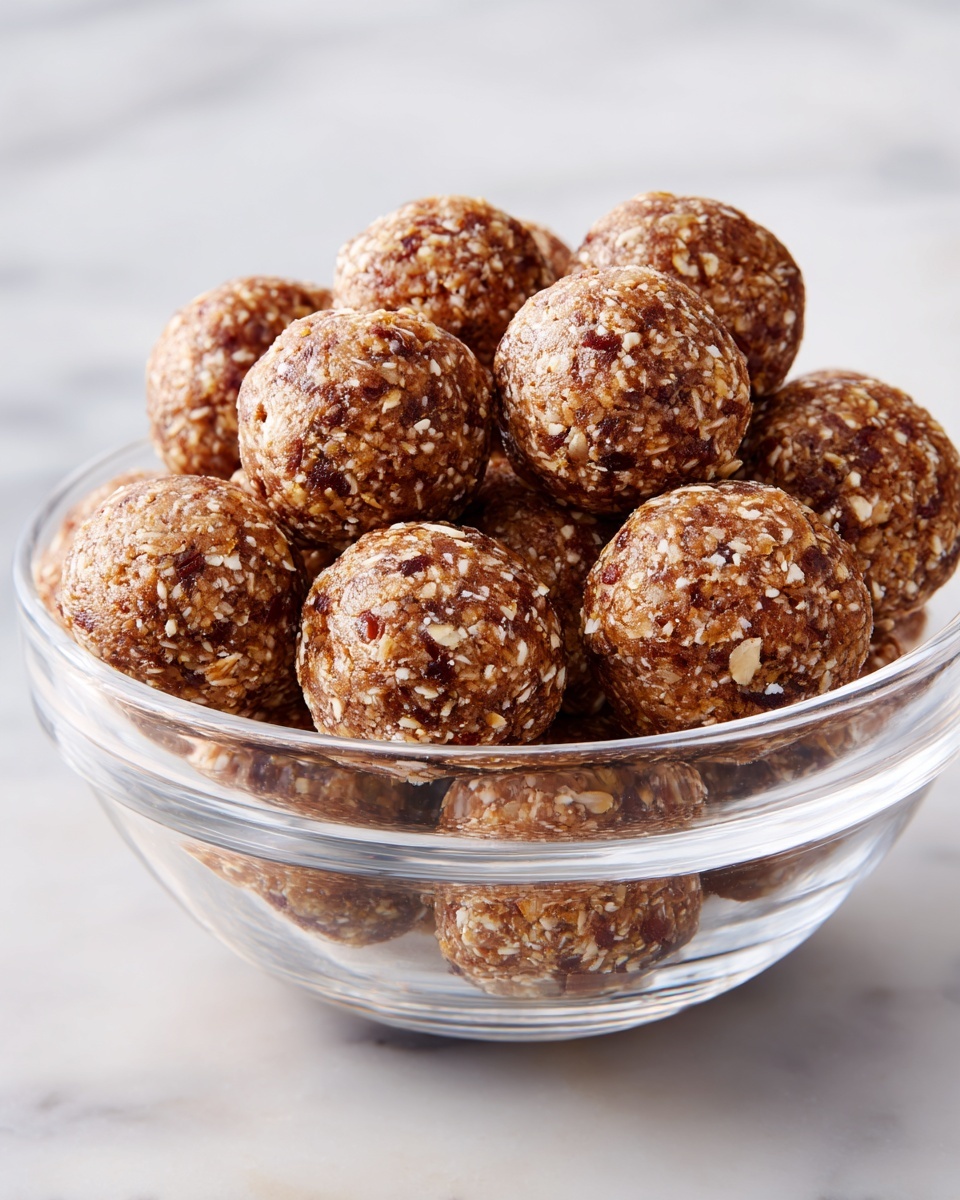
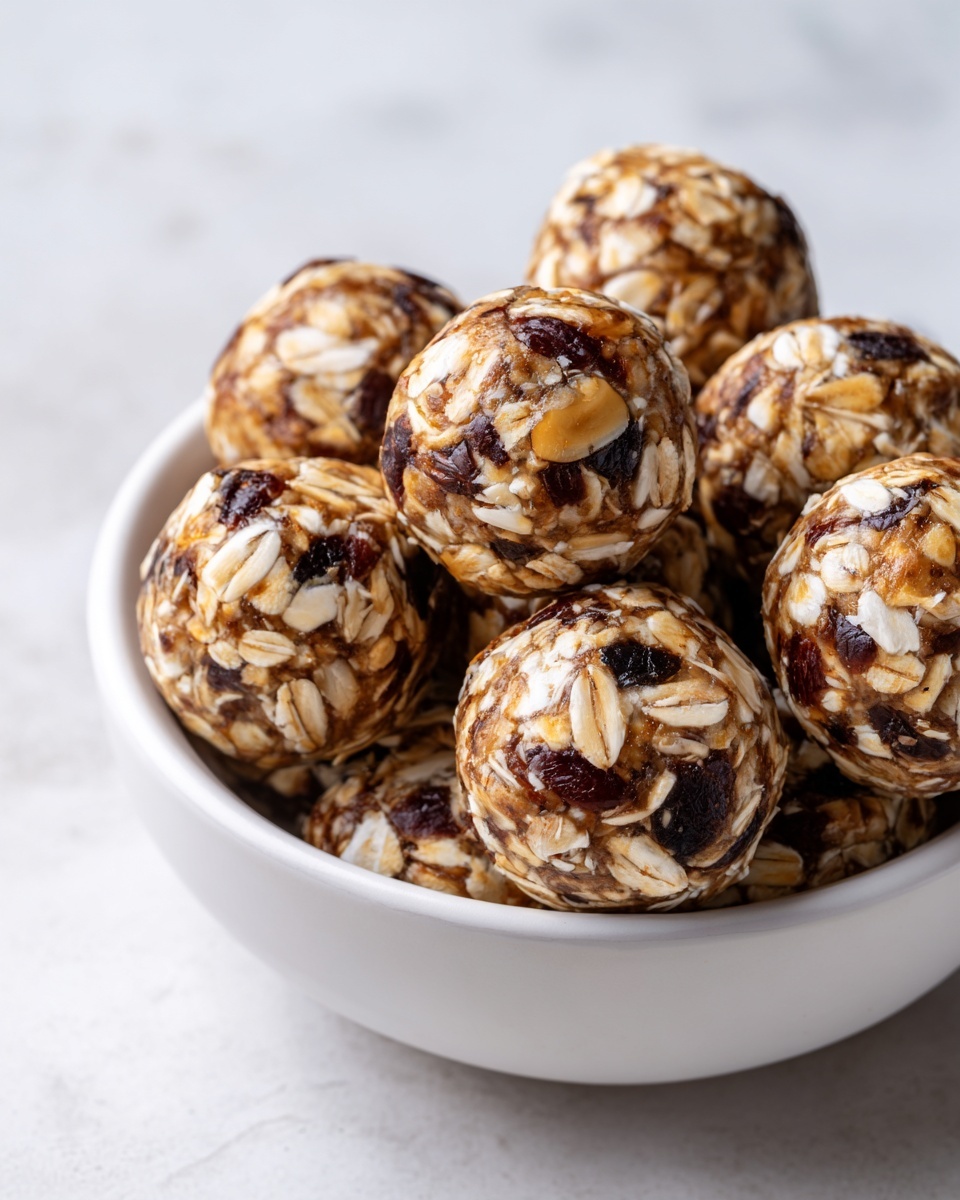
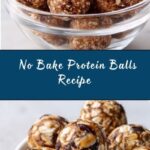
If you are looking for a simple, nutritious, and absolutely delicious snack to keep your energy up throughout the day, look no further than this No-Bake Protein Balls Recipe. These little bites pack a punch of flavor and protein without the fuss of cooking, perfect for busy mornings, post-workout fuel, or a quick treat on the go. The beauty of this recipe lies in its straightforwardness and versatility, making it a staple for anyone who loves tasty, wholesome snacks that come together in just minutes.
Ingredients You’ll Need
Gathering the right ingredients is key to making these protein balls a perfect combination of chewy, sweet, and satisfying. Each element plays an essential role in texture, taste, and nutrition, creating a balanced energy boost with every bite.
- Rolled oats: Provides the chewy base and a great source of fiber to keep you full longer.
- Peanut butter (or almond or cashew butter): Adds creaminess, healthy fats, and that wonderful nutty flavor.
- Honey or maple syrup: Acts as a natural sweetener, blending all the ingredients together perfectly.
- Protein powder: Supplies the muscle-building protein to help you recover or sustain energy.
- Ground flaxseed or chia seeds (optional): Boosts fiber and omega-3 fatty acids for extra nutrients.
- Mini chocolate chips (optional): Introduces a delightful sweet contrast that feels like a treat.
- Vanilla extract: Enhances the overall flavor with a warm, comforting aroma.
- Water or milk (any kind): Adjusts the consistency to bring everything together smoothly.
How to Make No-Bake Protein Balls Recipe
Step 1: Mix the Wet Ingredients
Start by combining your peanut butter, honey or maple syrup, and vanilla extract in a mixing bowl. Stir until the mixture feels smooth and creamy. This will act as the glue to hold everything together.
Step 2: Add the Dry Ingredients
Next, pour in the rolled oats, protein powder, and if you’re using them, ground flaxseed or chia seeds. Mix everything gently but thoroughly so the dry ingredients are evenly coated and incorporated into the wet mixture.
Step 3: Adjust Consistency
If the mixture feels too thick or crumbly, slowly add water or milk, one tablespoon at a time. Your goal is a malleable dough that sticks together when pinched without being wet or sticky.
Step 4: Add the Optional Ingredients
For a little fun and extra flavor, fold in mini chocolate chips. They add a sweet surprise and texture without overpowering the wholesome ingredients.
Step 5: Form the Protein Balls
Using your hands, roll spoonfuls of the mixture into small, bite-sized balls. This no-bake process makes it super easy to shape, and you can decide the size that suits your snacking needs.
Step 6: Chill and Set
Place the formed balls on a parchment-lined tray or plate and pop them into the refrigerator for at least 20 minutes. This step helps them firm up so they hold together nicely.
Step 7: Store
After chilling, store your protein balls in an airtight container. They’ll be ready whenever you need a quick, nourishing snack that fits your busy lifestyle.
How to Serve No-Bake Protein Balls Recipe
Garnishes
While these protein balls are delightful on their own, sprinkling a little shredded coconut, cocoa powder, or crushed nuts on top can add an extra layer of texture and flair. A dusting of cinnamon or a drizzle of dark chocolate can also elevate the experience.
Side Dishes
Pair these protein balls with fresh fruit, a smoothie, or a cup of herbal tea for a balanced snack or mini-meal. They complement breakfast bowls and work perfectly alongside veggie sticks and hummus when you want a savory companion.
Creative Ways to Present
For gatherings or lunchboxes, arrange the protein balls on a colorful plate with edible flowers or fresh mint leaves for a pretty presentation. You can also skew them on toothpicks with small fruit chunks in between to make bite-sized kebabs that look as good as they taste.
Make Ahead and Storage
Storing Leftovers
No-Bake Protein Balls Recipe leftovers keep wonderfully if stored in an airtight container in the refrigerator. They stay fresh for up to a week, making them a convenient make-ahead snack for busy days.
Freezing
This recipe freezes exceptionally well. Place the protein balls on a baking sheet, freeze until solid, then transfer to a freezer-safe bag or container. They can last up to 3 months frozen, ready for you to thaw anytime hunger strikes.
Reheating
Since these are no-bake treats, reheating isn’t necessary. If you prefer them softer, simply let them thaw at room temperature or microwave briefly for 10 to 15 seconds—just enough to take the chill off without altering their texture.
FAQs
Can I use different nut butters in this recipe?
Absolutely! Peanut butter is classic, but almond or cashew butter works just as well and adds its unique flavor. You can even experiment with sunflower seed butter for a nut-free option that still tastes great.
What kind of protein powder should I choose?
Choose a protein powder that suits your dietary preferences and flavor tastes. Vanilla and chocolate are popular choices, but unflavored, or plant-based options, also mix nicely without overpowering the other ingredients.
Are these protein balls suitable for kids?
Yes, they are a fantastic snack for kids! They offer wholesome ingredients and natural sweetness without any added junk. Just make sure to watch out for any nut allergies and adjust accordingly.
Can I add other mix-ins?
Definitely! Feel free to toss in dried fruit, seeds, shredded coconut, or spices like cinnamon to customize your protein balls. Just keep the overall mixture sticky enough so the balls hold their shape.
How many protein balls does this recipe make?
This recipe makes about 12 protein balls, perfect for sharing or stocking up for a week’s worth of snacks that keep you energized and satisfied.
Final Thoughts
I truly hope you enjoy making and savoring this No-Bake Protein Balls Recipe as much as I do. It’s a clever, effortless way to fuel your day with something wholesome and incredibly tasty. Give it a try, tweak it to your liking, and watch these little bites become your go-to snack for anytime nourishment and happiness.
Print
No-Bake Protein Balls Recipe
- Prep Time: 10 minutes
- Cook Time: 0 minutes
- Total Time: 40 minutes
- Yield: 12 servings
- Category: Snack
- Method: No-Cook
- Cuisine: American
- Diet: Vegetarian
Description
These No-Bake Protein Balls are a quick and nutritious snack perfect for a boost of energy anytime. Made with rolled oats, nut butter, protein powder, and optional mix-ins like chocolate chips and seeds, they require no baking and can be ready in just 40 minutes including chilling time. Ideal for on-the-go snacking, these bites are customizable, easy to prepare, and provide a healthy balance of protein, fiber, and natural sweetness.
Ingredients
Base Ingredients
- 1 cup rolled oats
- 1/2 cup peanut butter (or almond butter or cashew butter)
- 1/4 cup honey or maple syrup (or any sweetener of your choice)
- 1/2 cup protein powder (vanilla, chocolate, or your preferred flavor)
- 1/2 teaspoon vanilla extract
- 2–3 tablespoons water or milk (any milk of choice, adjust for desired consistency)
Optional Ingredients
- 1/4 cup ground flaxseed or chia seeds (optional for extra fiber and nutrients)
- 1/4 cup mini chocolate chips (optional, for a sweet touch)
Instructions
- Mix the Wet Ingredients: In a large mixing bowl, combine the peanut butter, honey or maple syrup, vanilla extract, and 2 tablespoons of water or milk. Stir well until smooth and fully blended to form the wet base.
- Add the Dry Ingredients: Add the rolled oats and protein powder to the wet mixture. Stir thoroughly to incorporate all dry ingredients evenly into the wet mixture, creating a thick dough-like consistency.
- Adjust Consistency: If the mixture feels too dry or crumbly, add an additional tablespoon of water or milk gradually until it holds together well but remains pliable.
- Add the Optional Ingredients: Fold in ground flaxseed or chia seeds and mini chocolate chips if using. Mix until these extras are evenly distributed throughout the dough for added texture and flavor.
- Form the Protein Balls: Using your hands or a small ice cream scoop, portion out the mixture and roll it into bite-sized balls, roughly 1 inch in diameter. Place them on a lined tray or plate spaced slightly apart.
- Chill and Set: Refrigerate the formed balls for at least 30 minutes to allow them to firm up and set properly, making them easier to handle and eat.
- Store: After chilling, transfer the protein balls into an airtight container. Store in the refrigerator for up to one week or freeze for longer storage.
Notes
- You can substitute nut butter and protein powder flavors to suit your taste and dietary needs.
- Adjust the sweetness level by varying the amount or type of sweetener.
- Use water or any type of milk (dairy or plant-based) to control consistency and flavor.
- For vegan or dairy-free options, choose plant-based protein powders and sweeteners like maple syrup.
- These protein balls make great pre- or post-workout snacks thanks to their balanced macronutrients.

