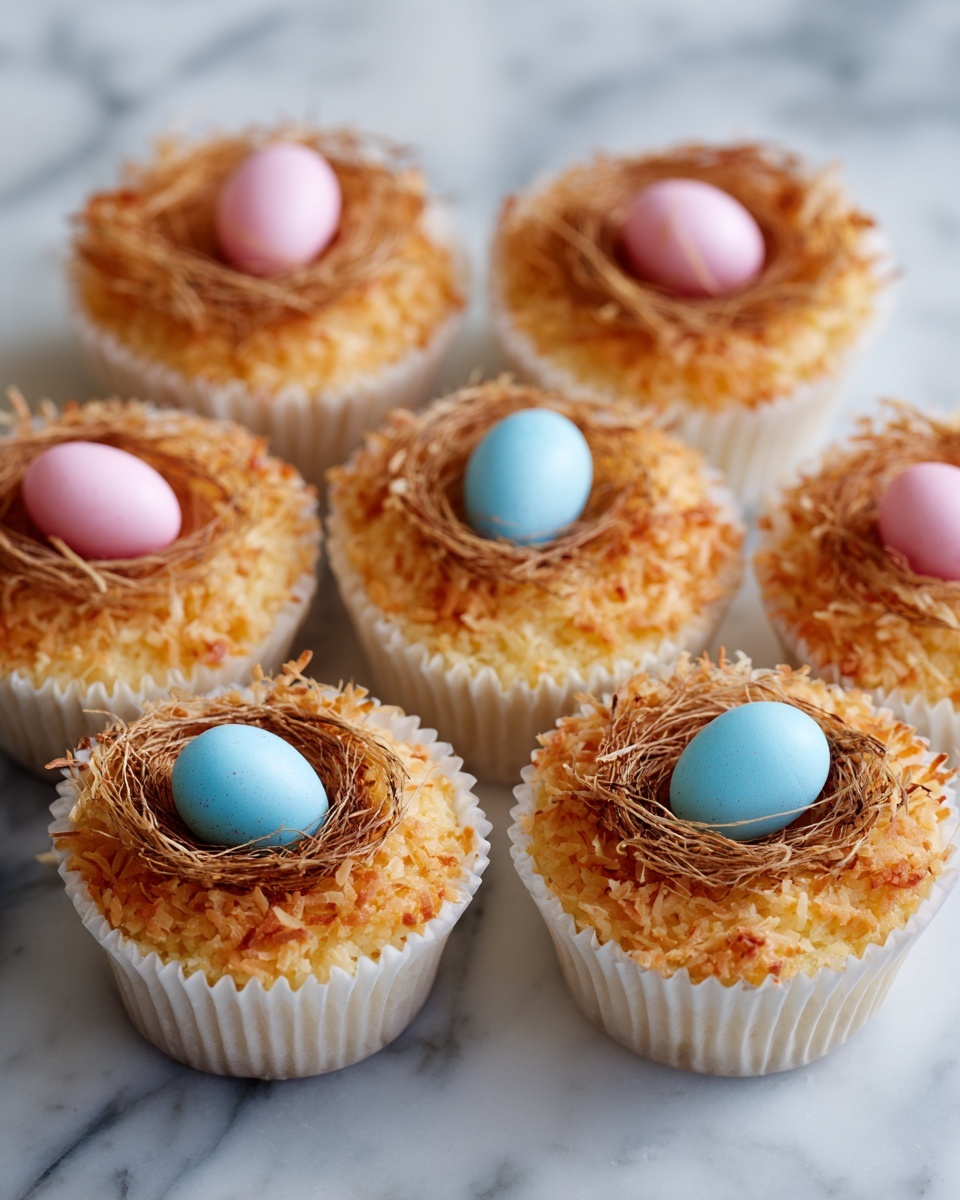
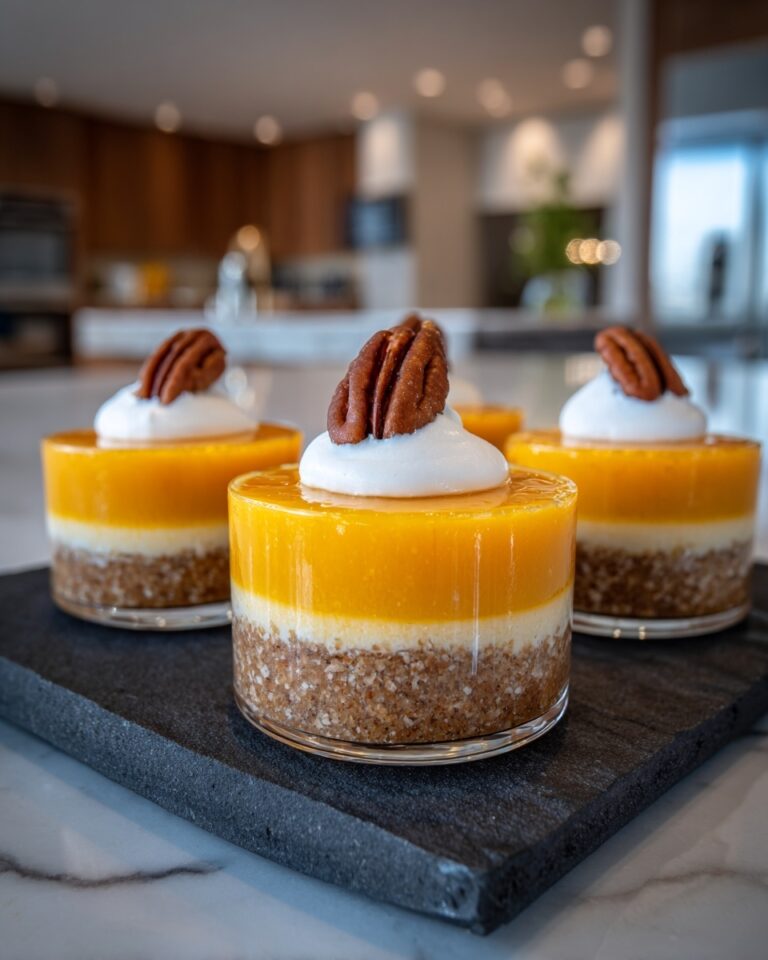
If you’re looking for a festive treat that will light up your Easter celebration, this Mini Easter Cheesecakes Recipe is your perfect go-to. These bite-sized delights boast a creamy, dreamy filling nestled in a buttery graham cracker crust, topped with fluffy whipped cream and decorated with colorful candy eggs and coconut “grass.” They are as charming to look at as they are delicious to eat, offering a perfect balance of sweetness and texture that will have your family and friends asking for seconds. Whether you’re a seasoned baker or a fun-loving foodie, these mini cheesecakes bring joy to every spring gathering with their playful spirit and irresistible flavor.
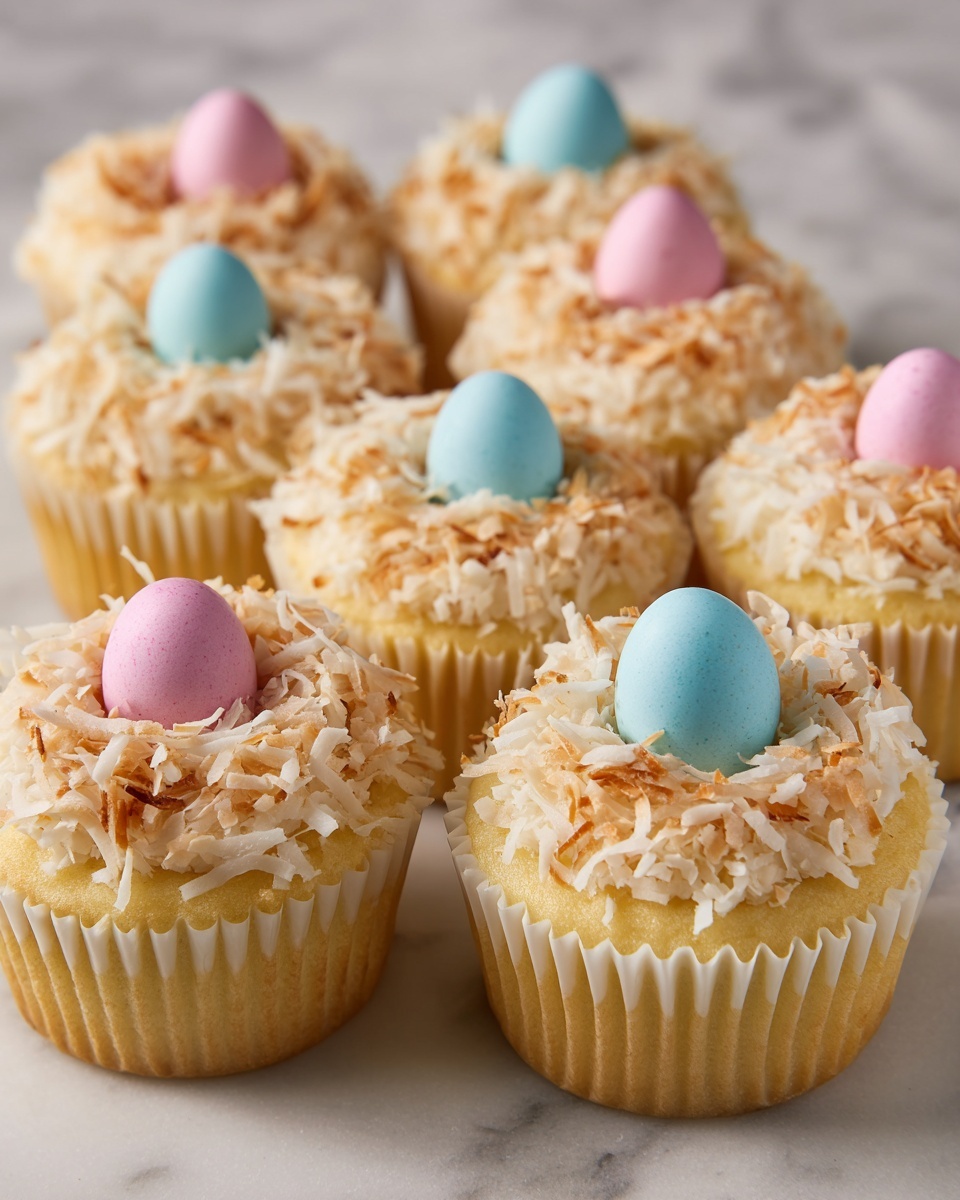
Ingredients You’ll Need
Simple, fresh ingredients come together to create these irresistible mini cheesecakes. Each component plays an essential role, from the crumbly crust that adds texture, to the smooth filling that melts in your mouth, finished with toppings that bring a cheerful pop of color and festive fun.
- Graham cracker crumbs: Provides a sweet, crunchy base with classic flavor perfect for the crust.
- Granulated sugar: Adds sweetness to both the crust and the cheesecake filling for balanced taste.
- Unsalted butter (melted): Binds the crust ingredients and brings richness.
- Cream cheese (softened): The creamy heart of the filling, delivering that classic cheesecake texture.
- Eggs: Help to set the filling and create a smooth, velvety consistency.
- Vanilla extract: Adds warmth and depth of flavor to the filling.
- Sour cream: Gives a tangy note that brightens the cheesecake without overpowering.
- Pinch of salt: Enhances all the sweet flavors and balances the richness.
- Whipped topping or whipped cream: Adds lightness and a fluffy finishing touch.
- Shredded sweetened coconut: (Optional) Used to mimic Easter grass in a fun and tasty way.
- Green food coloring: Tints the coconut making it perfect for decorating.
- Candy eggs or pastel sprinkles: Festive decorations that bring color and Easter cheer.
How to Make Mini Easter Cheesecakes Recipe
Step 1: Prepare the Crust
Start by preheating your oven to 325°F (160°C) and lining a muffin tin with 12 paper liners. Combine the graham cracker crumbs, sugar, and melted butter in a small bowl. Press about one tablespoon of this mixture firmly into the bottom of each liner to create a sturdy and flavorful crust base. This step is key to achieving that perfect crumbly texture beneath the creamy filling.
Step 2: Make the Cheesecake Filling
In a large bowl, beat the softened cream cheese until it’s smooth and creamy. Next, add granulated sugar and continue beating until fully combined. Incorporate the eggs one by one, mixing gently after each addition to maintain a light texture. Stir in the vanilla extract, sour cream, and a small pinch of salt. Be careful not to overmix; a smooth, slightly thick batter is exactly what you’re aiming for here.
Step 3: Assemble and Bake
Spoon the cheesecake filling over the crusts, filling each cupcake liner about three-quarters full. This allows room for the filling to puff up slightly while baking without overflowing. Place the tin in your preheated oven and bake for 16 to 18 minutes, until the centers are set but still a little jiggly – this ensures a wonderfully creamy texture when chilled. Once out of the oven, let them cool in the pan for 10 minutes before transferring to a wire rack to cool completely.
Step 4: Chill Before Decorating
Pop your cheesecakes into the refrigerator for at least two hours. Chilling is essential as it helps the filling firm up to that luscious, spoonable texture we all love. This wait might test your patience, but trust me, the results are well worth it!
Step 5: Decorate Your Mini Easter Cheesecakes Recipe
Before decorating, tint shredded sweetened coconut with a few drops of green food coloring to mimic Easter grass. Top each cheesecake with a generous dollop of whipped topping, sprinkle the green coconut over it, and finish with candy eggs or pastel sprinkles. This step adds not only color and fun but also an extra layer of delightful texture to each bite.
How to Serve Mini Easter Cheesecakes Recipe
Garnishes
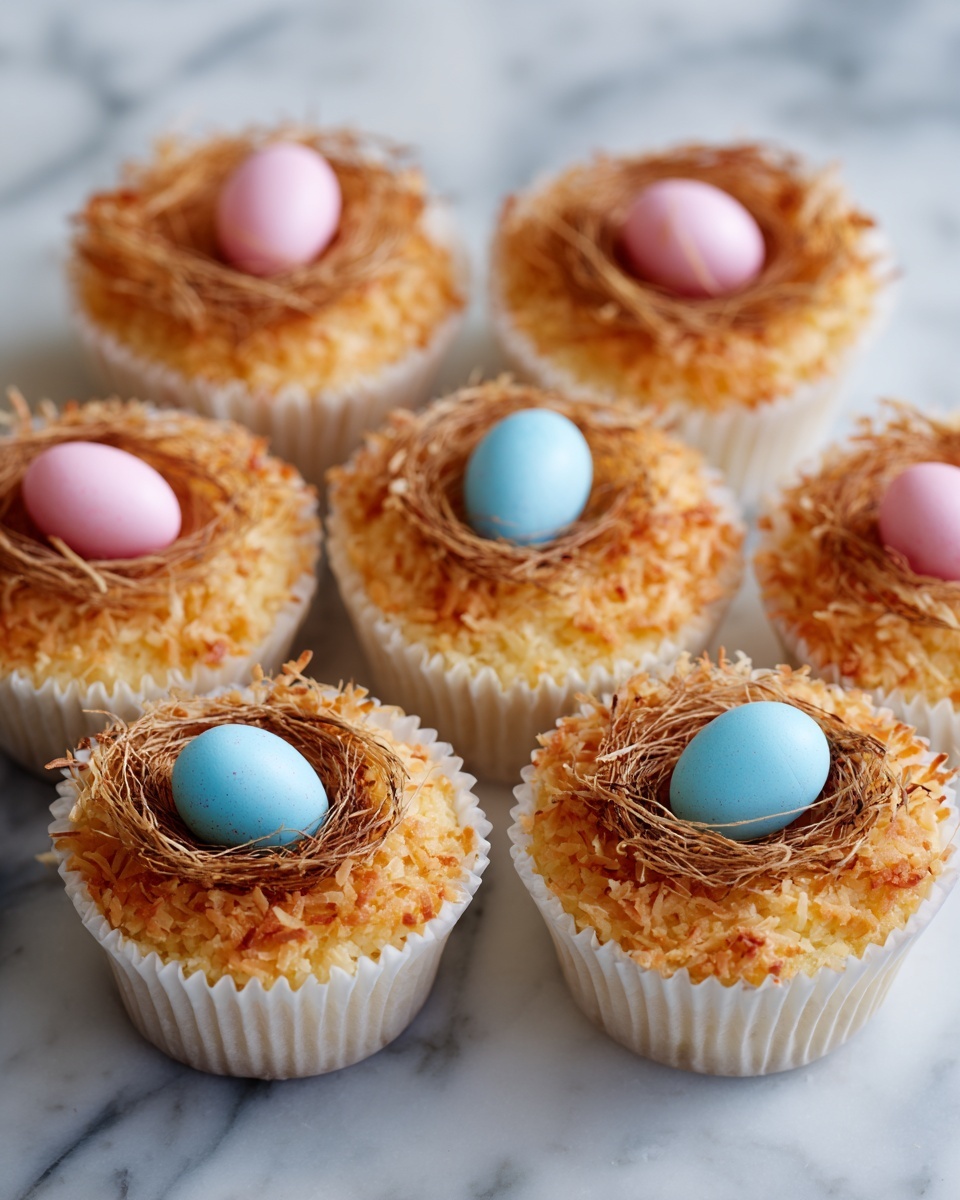
The green-tinted coconut “grass” creates an inviting Easter basket look, but feel free to get creative with your garnishes! Fresh berries, edible flowers, or even a drizzle of lemon glaze would add brightness and freshness, elevating your mini cheesecakes into elegant centerpieces for your dessert table.
Side Dishes
These mini cheesecakes are the star, so pair them with light, complementary sides like fresh fruit salad, tangy citrus sorbet, or a simple cup of herbal tea. Their creamy richness is perfectly balanced by refreshing sides that cleanse the palate and keep things feeling bright and spring-ready.
Creative Ways to Present
Present your Mini Easter Cheesecakes Recipe on a tiered dessert stand for a festive touch. You can also nestle them in pastel-colored cupcake wrappers or arrange them in a decorative Easter basket lined with paper grass. Adding small handwritten tags or Easter-themed toothpicks will make your presentation feel thoughtful and extra special.
Make Ahead and Storage
Storing Leftovers
After your celebration, store any leftovers in an airtight container in the refrigerator. They’ll keep well for up to two days while maintaining that fresh creaminess. Keeping them chilled ensures they stay firm and delicious with no compromise on texture.
Freezing
If you want to prepare these mini cheesecakes in advance, you can freeze them before adding the topping. Wrap each cheesecake individually in plastic wrap and place them in an airtight container or freezer bag. They’ll keep up to one month. When you’re ready to serve, thaw overnight in the refrigerator, then add your toppings fresh for the best presentation and taste.
Reheating
Since mini cheesecakes are best served chilled, reheating isn’t recommended. If you prefer them slightly less cold, simply remove them from the fridge about 15 minutes before serving. This brief rest will enhance the creamy texture without losing their refreshing coolness.
FAQs
Can I substitute the graham cracker crust with something else?
Absolutely! Crushed vanilla wafers or chocolate cookies work wonderfully as alternatives. Just make sure to adjust the sugar amount if your chosen cookie is particularly sweet.
How long do these mini cheesecakes stay fresh?
Stored in an airtight container and refrigerated, they stay fresh and delicious for up to two days. Beyond that, the texture may start to degrade.
Can I make these cheesecakes dairy-free?
While traditional cream cheese is used here for the classic taste and texture, there are dairy-free cream cheese options available. Keep in mind the texture might vary slightly, but with the right brand, you can still enjoy a tasty mini cheesecake!
Do I need a special pan for making these?
A standard muffin tin lined with paper liners works perfectly. It helps each cheesecake keep its shape and makes serving and cleanup a breeze.
What’s the best way to decorate if I don’t have green food coloring?
No worries! You can skip the tinted coconut altogether or substitute with finely chopped fresh mint or parsley for a natural green touch. Alternatively, colorful pastel sprinkles alone look just as festive.
Final Thoughts
There is something truly magical about the Mini Easter Cheesecakes Recipe that brings a smile to any dessert lover’s face. They’re charming, scrumptious, and, best of all, easy to make and share. Whether for an Easter brunch, a springtime party, or just a sweet indulgence, these mini cheesecakes are going to become one of your favorite treats. I wholeheartedly encourage you to give this recipe a try and watch it become a beloved tradition in your celebration rotation!
Print
Mini Easter Cheesecakes Recipe
- Prep Time: 20 minutes
- Cook Time: 18 minutes
- Total Time: 2 hours 45 minutes
- Yield: 12 mini cheesecakes
- Category: Dessert
- Method: Baking
- Cuisine: American
- Diet: Vegetarian
Description
Delightfully creamy and perfectly portioned, these Mini Easter Cheesecakes are a festive spring treat. Featuring a buttery graham cracker crust, smooth cream cheese filling, and a whimsical topping of green coconut ‘grass’ and candy eggs, they bring seasonal charm to any dessert table.
Ingredients
For the crust:
- 1 cup graham cracker crumbs
- 2 tablespoons granulated sugar
- 4 tablespoons unsalted butter, melted
For the filling:
- 16 oz cream cheese, softened
- 1/2 cup granulated sugar
- 2 large eggs
- 1 teaspoon vanilla extract
- 1/4 cup sour cream
- Pinch of salt
For the topping:
- 1 cup whipped topping (or whipped cream)
- 1/2 cup shredded sweetened coconut (optional)
- A few drops green food coloring
- Candy eggs or pastel sprinkles
Instructions
- Prepare the crust: Preheat your oven to 325°F (160°C) and line a 12-cup muffin tin with paper liners. In a small bowl, combine graham cracker crumbs, sugar, and melted butter. Press about 1 tablespoon of this mixture firmly into the bottom of each muffin liner, forming an even crust base.
- Make the filling: In a large bowl, beat the softened cream cheese until smooth and creamy. Gradually add sugar and continue beating until well combined. Add eggs one at a time, mixing gently after each addition. Stir in vanilla extract, sour cream, and a pinch of salt, mixing just until smooth; avoid overbeating to keep the texture light.
- Assemble and bake: Spoon the cream cheese filling evenly over the crusts in the muffin cups, filling each about 3/4 full. Bake in the preheated oven for 16 to 18 minutes, or until the centers are set but still slightly jiggly. Remove from the oven and allow to cool for 10 minutes in the pan before transferring to a wire rack to cool completely.
- Chill and decorate: Refrigerate the mini cheesecakes for at least 2 hours to firm up. For decoration, tint shredded coconut with green food coloring by adding a few drops and tossing until coated, mimicking Easter grass. Top each cheesecake with a dollop of whipped topping, sprinkle the green coconut on top, and finish with candy eggs or pastel sprinkles for a festive presentation.
Notes
- Substitute crushed vanilla wafers or chocolate cookies for graham cracker crumbs for a different crust flavor.
- Prepare these cheesecakes up to 2 days ahead and store them chilled in an airtight container.
- For added brightness and depth, add a splash of lemon juice to the filling batter.

