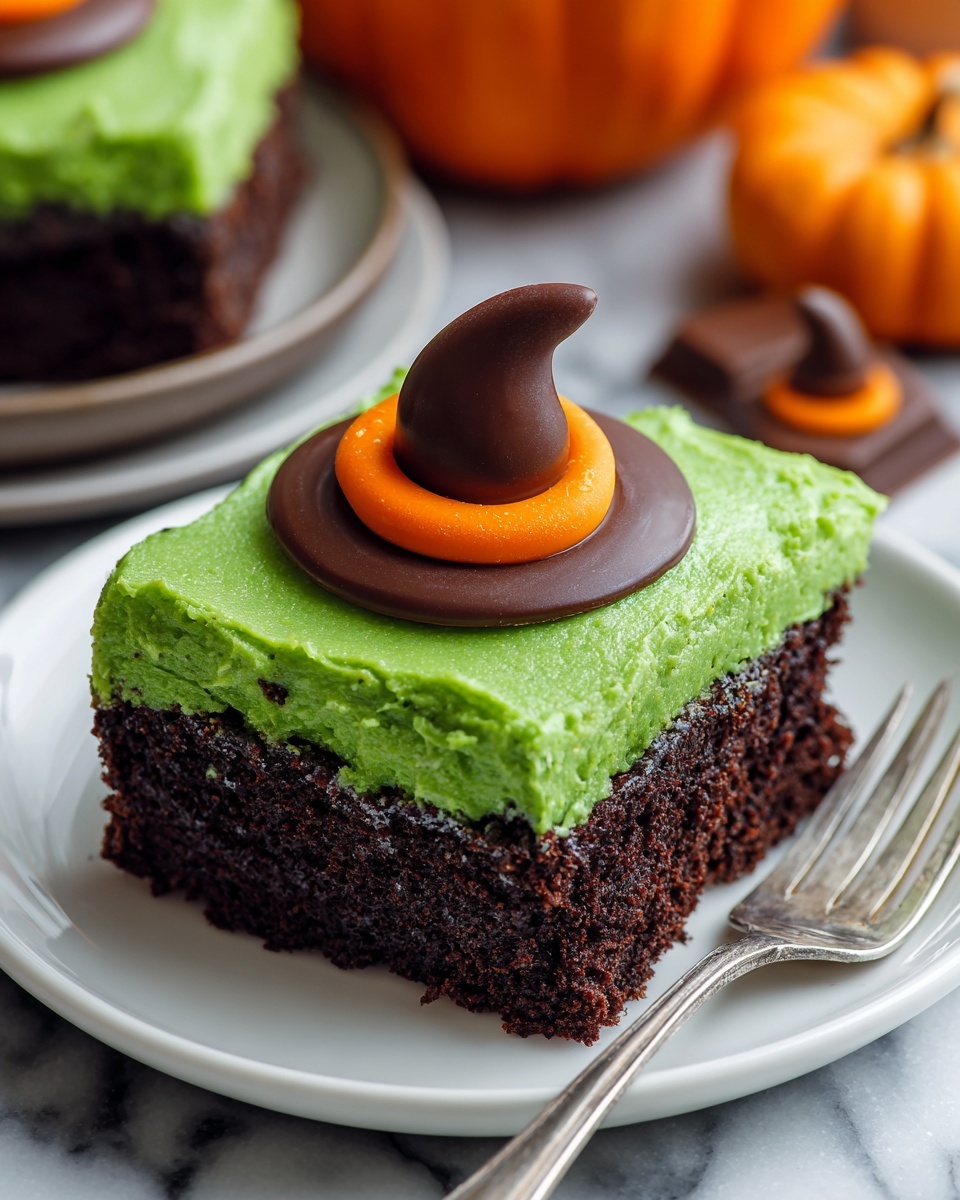
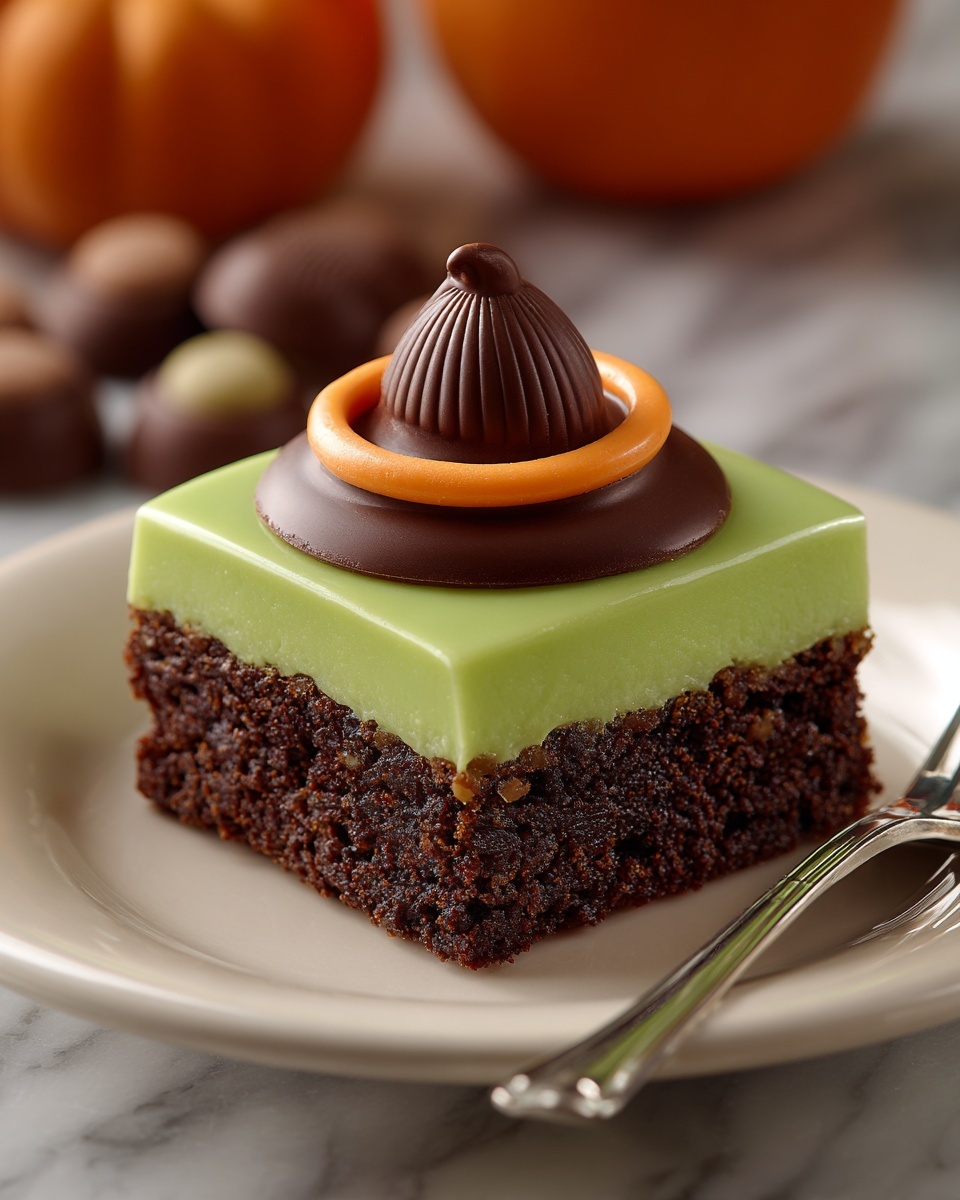
The Melting Witch Poke Cake Recipe is the perfect festive dessert to bring some spooky fun and deliciousness to your Halloween celebrations. Imagine a moist chocolate cake full of colorful green layers that mimic a bubbling witch’s brew, topped with whimsical candy witch decorations that look like they’re melting right into the dessert. This treat is not only eye-catching but also delightfully creamy and sweet, making it a show-stopping centerpiece that everyone will love to devour.
Ingredients You’ll Need
These simple yet essential ingredients come together harmoniously to create a cake bursting with flavor and festive color. From the rich chocolate base to the vibrant green pudding and creamy topping, every component plays a key role in building the perfect texture and spooky vibe of the Melting Witch Poke Cake Recipe.
- Chocolate cake mix: A reliable base that provides deep chocolate flavor and a moist texture, making your poke cake irresistible.
- Sweetened condensed milk: Adds luscious sweetness and seeps perfectly into the cake holes for decadent richness.
- Green food coloring: Infuses the pudding and condensed milk with that vibrant witchy green look that grabs attention instantly.
- Instant vanilla pudding mix: Creates a silky, creamy layer that contrasts beautifully with the chocolate cake.
- Milk: Needed to whisk the pudding to its perfect consistency and smoothness.
- Whipped topping: Adds lightness and a fluffy finish that balances the richer layers beneath.
- Halloween sprinkles or crushed chocolate cookies: Adds texture and a spooky touch, simulating dirt or candy debris.
- Green icing gel or candy melts: Useful for adding details or securing candy decorations to enhance the melted witch effect.
- Melting witch candy decorations: The magical finishing touch with candy witch hats, striped legs, or gummy witches that bring the theme alive.
How to Make Melting Witch Poke Cake Recipe
Step 1: Bake the Chocolate Cake
Start by preparing the chocolate cake mix according to the package instructions, then bake it in a 9×13-inch pan. Once baked, allow it to cool slightly so the cake doesn’t crumble and to prep for the next step.
Step 2: Poke the Cake
Using the handle of a wooden spoon, poke holes all over the surface of the cake. These holes are essential to allow the sweetened condensed milk mixture to soak in, creating bursts of flavor throughout the cake.
Step 3: Add the Green Sweetened Condensed Milk
Mix the sweetened condensed milk with a few drops of green food coloring until you achieve a bright, witchy color. Pour this mixture evenly over the cake so it seeps down into those holes, making each bite decadently moist and colorful.
Step 4: Prepare the Vanilla Pudding Layer
In another bowl, whisk together the instant vanilla pudding mix and cold milk. Add green food coloring to make an eye-catching green pudding layer. Let it sit for 5 minutes to thicken before spreading it smoothly over the cake.
Step 5: Add the Whipped Topping
After the pudding layer sets, spread the thawed whipped topping over the entire surface. This fluffy topping balances the dense chocolate and creamy pudding layers perfectly.
Step 6: Decorate and Chill
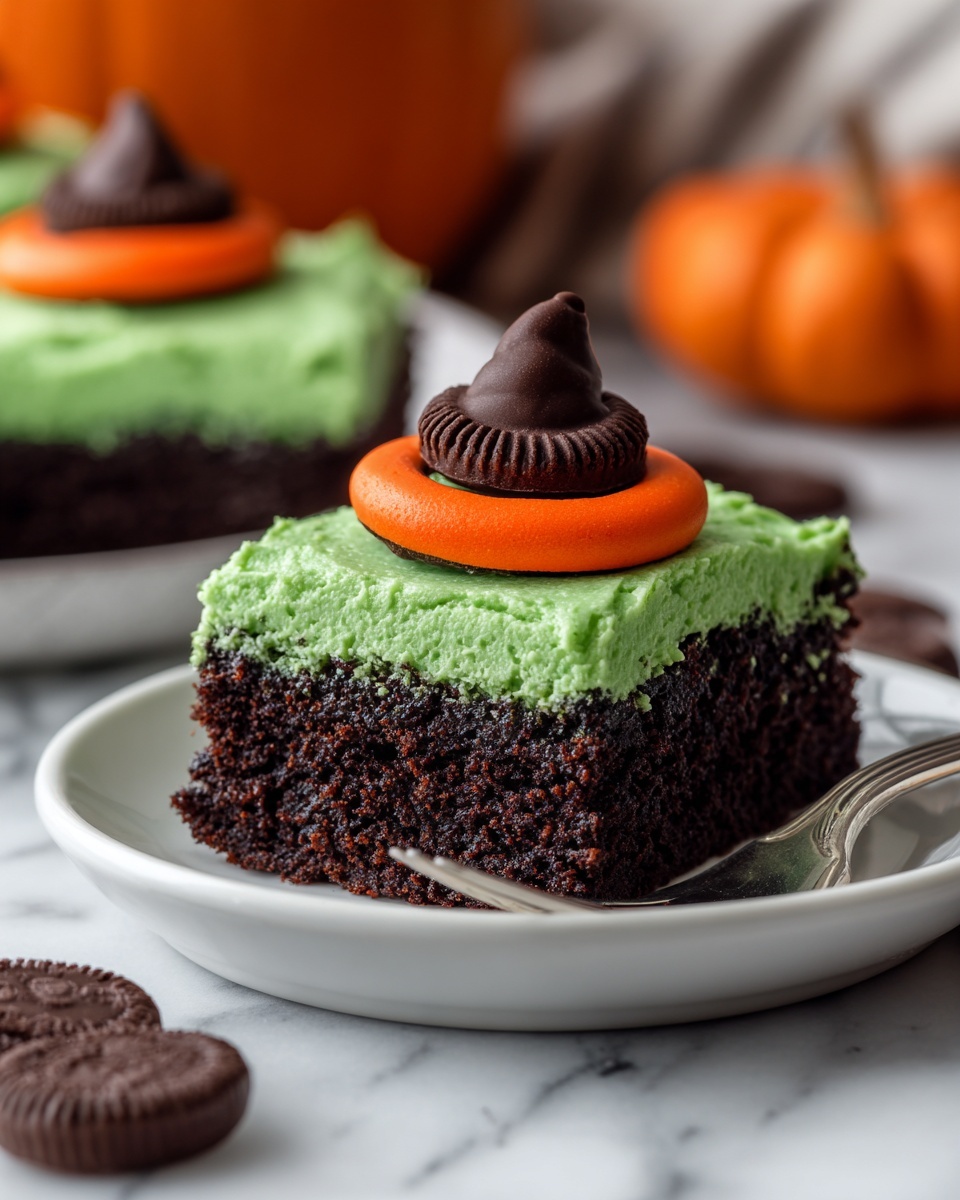
Sprinkle the cake with Halloween-themed sprinkles or crushed chocolate cookies for texture and extra fun. Then, add your melting witch candy decorations, positioning candy hats and legs to create the illusion of a whimsical witch melting into the cake. Chill the finished masterpiece in the fridge for at least 1 hour to let flavors meld and layers set beautifully.
How to Serve Melting Witch Poke Cake Recipe
Garnishes
A few colorful Halloween sprinkles or crushed Oreo crumbs sprinkled on top add crunch and contrast while enhancing the spooky theme. Using green icing gel, you can add little decorative touches or cobweb accents for extra flair right before serving.
Side Dishes
Serve this Melting Witch Poke Cake Recipe alongside a scoop of vanilla or mint ice cream for a cool contrast, or pair it with fresh berries that cut through the richness and add natural sweetness.
Creative Ways to Present
For a truly show-stopping presentation, place the poke cake on a rustic wooden board surrounded by mini pumpkins, dry ice for smoky effects, or create edible “witch potion” shots in small glasses to accompany each slice. The playful decorations make this cake a conversation piece as much as a delicious dessert.
Make Ahead and Storage
Storing Leftovers
Cover the cake tightly with plastic wrap and store any leftovers in the refrigerator to keep the pudding and whipped topping fresh. The cake will stay moist and tasty for up to 3 days.
Freezing
While freezing is possible, the pudding layer may lose some texture after thawing. If you choose to freeze, wrap the cake securely in aluminum foil and freeze for up to 1 month. Thaw overnight in the refrigerator before serving.
Reheating
This poke cake is best enjoyed chilled rather than reheated, as heating may alter the creamy layers. Serve straight from the fridge for the best texture and flavor experience.
FAQs
Can I make the Melting Witch Poke Cake Recipe dairy-free?
Yes! You can substitute the milk, whipped topping, and pudding mix with dairy-free alternatives to make this cake suitable for lactose intolerance or dairy-free diets.
What are some creative alternatives for the witch decorations?
If you want to DIY, chocolate-dipped Bugles make spooky witch hats and pretzel sticks topped with gummy candies create fun witch legs. Get creative with what you have on hand to keep the theme alive!
How far in advance can I prepare this cake?
This poke cake can be made a day ahead and refrigerated, which actually helps the flavors meld together even better. Just add the final candy decorations right before serving for the best look.
Can I use homemade cake instead of a cake mix?
Absolutely! A rich, moist chocolate cake from scratch will work wonderfully. Just make sure it’s sturdy enough to hold the pudding and whipped topping layers without falling apart.
Why do I need to poke holes in the cake?
Poking holes lets the sweetened condensed milk mixture seep deep into the cake layers, adding moisture and extra bursts of flavor throughout each slice. It’s the secret to that luscious texture that makes this recipe stand out.
Final Thoughts
I can’t recommend enough that you dive into making the Melting Witch Poke Cake Recipe this Halloween. It’s one of those desserts that perfectly balances ease, fun, and wow factor, delivering both a visual treat and a deliciously indulgent bite. Once you try it, it’s sure to become a seasonal favorite among your friends and family!
Print
Melting Witch Poke Cake Recipe
- Prep Time: 20 minutes
- Cook Time: 30 minutes
- Total Time: 1 hour 50 minutes
- Yield: 12 servings
- Category: Dessert
- Method: Baking
- Cuisine: American
- Diet: Vegetarian
Description
This Melting Witch Poke Cake is a spooky and festive Halloween dessert featuring a moist chocolate cake soaked with green-colored sweetened condensed milk, layered with vibrant green vanilla pudding, and topped with whipped topping. Decorated with fun witch-themed candy pieces and sprinkles, this cake is perfect for any Halloween party or gathering.
Ingredients
Cake:
- 1 box chocolate cake mix (plus ingredients listed on the box)
Filling and Topping:
- 1 (14-ounce) can sweetened condensed milk
- Green food coloring (a few drops and more for pudding)
- 1 (3.4-ounce) box instant vanilla pudding mix
- 2 cups milk
- 1 (8-ounce) tub whipped topping (thawed)
- Halloween sprinkles or crushed chocolate cookies for dirt
- Green icing gel or candy melts
- Melting witch candy decorations (such as candy witch hats, striped legs, or gummy witches)
Instructions
- Bake the Cake: Prepare and bake the chocolate cake in a 9×13-inch pan according to the package instructions. Once baked, allow it to cool slightly but remain warm enough for the next step.
- Poke the Cake: Use the handle of a wooden spoon to poke holes evenly all over the surface of the slightly cooled cake, creating channels for the sweetened condensed milk mixture.
- Add Condensed Milk Mixture: In a bowl, mix the sweetened condensed milk with a few drops of green food coloring until the color is well incorporated. Pour this mixture evenly over the entire cake, allowing it to seep into the holes for added moisture and flavor.
- Prepare Green Pudding: In another bowl, whisk the instant vanilla pudding mix with cold milk. Add green food coloring drop by drop until it reaches a vibrant green shade. Allow the pudding to set for 5 minutes until it thickens.
- Layer the Pudding: Spread the thickened green pudding evenly over the cake, creating a smooth layer atop the condensed milk-soaked cake.
- Add Whipped Topping: Spread the thawed whipped topping over the pudding layer, covering the entire surface to represent melting witch foam.
- Decorate: Sprinkle Halloween-themed sprinkles or crushed chocolate cookies over the whipped topping to mimic dirt. Use green icing gel or candy melts to add details, and arrange the melting witch candy decorations creatively on top to complete the spooky look.
- Chill: Place the cake in the refrigerator and chill for at least 1 hour to let the layers set and flavors meld before serving.
Notes
- To make homemade witch decorations, use chocolate-dipped Bugles for witch hats and stick pretzels with gummy candies as legs.
- Store leftover cake covered in the refrigerator for up to 3 days to maintain freshness.


