
If you’ve ever wondered how to get that perfect sticky yet fluffy base for your sushi creations, the Homemade Sushi Rice Recipe is your golden ticket. This recipe is all about transforming simple ingredients like sushi rice, vinegar, sugar, and salt into a beautifully balanced and flavorful foundation that elevates every bite. Whether you’re rolling traditional maki or layering a veggie sushi bowl, mastering this rice will make you feel like a sushi pro in your own kitchen.
Ingredients You’ll Need
Don’t be fooled by how few ingredients this Homemade Sushi Rice Recipe calls for—each one plays an essential role in giving your rice the right taste, texture, and shine. From the short-grain sushi rice to the perfectly seasoned vinegar mixture, these elements combine to create something truly special.
- 2 cups sushi rice: The star of the show, sushi rice has the perfect stickiness and starch content for authentic texture.
- 2 ½ cups water: Essential for cooking the rice just right to absorb moisture evenly and gently.
- ¼ cup rice vinegar: Adds a subtle tang and glossy finish, bringing balance and brightness to the rice.
- 1-2 tablespoons sugar: Sweetness cuts through the acidity and rounds out the flavors beautifully.
- 1 teaspoon salt (to taste): Enhances all the flavors and brings depth to the seasoning.
How to Make Homemade Sushi Rice Recipe
Step 1: Rinse the Rice
Start by placing your sushi rice in a fine mesh strainer and rinse it thoroughly under cold running water for 2 to 3 minutes. This crucial step washes away excess starch so the rice doesn’t turn out overly sticky or gummy. You’ll want to rinse until the water runs clear, signaling your rice is perfectly prepped for cooking.
Step 2: Boil the Rice
Transfer the rinsed rice to a pot and add 2 ½ cups of water. Bring it to a boil over high heat, then reduce the heat to a low simmer. Cover the pot and let the rice gently cook for 20 minutes without disturbing it. This slow simmer allows the grains to absorb the water evenly and achieve that soft but not mushy texture.
Step 3: Prepare the Vinegar Mixture
While your rice is cooking, combine the rice vinegar, sugar, and salt in a small saucepan. Warm it over medium heat, whisking until the sugar and salt dissolve completely—this only takes a couple of minutes. Remove from heat and set aside, letting it cool slightly while you finish cooking the rice.
Step 4: Season the Rice
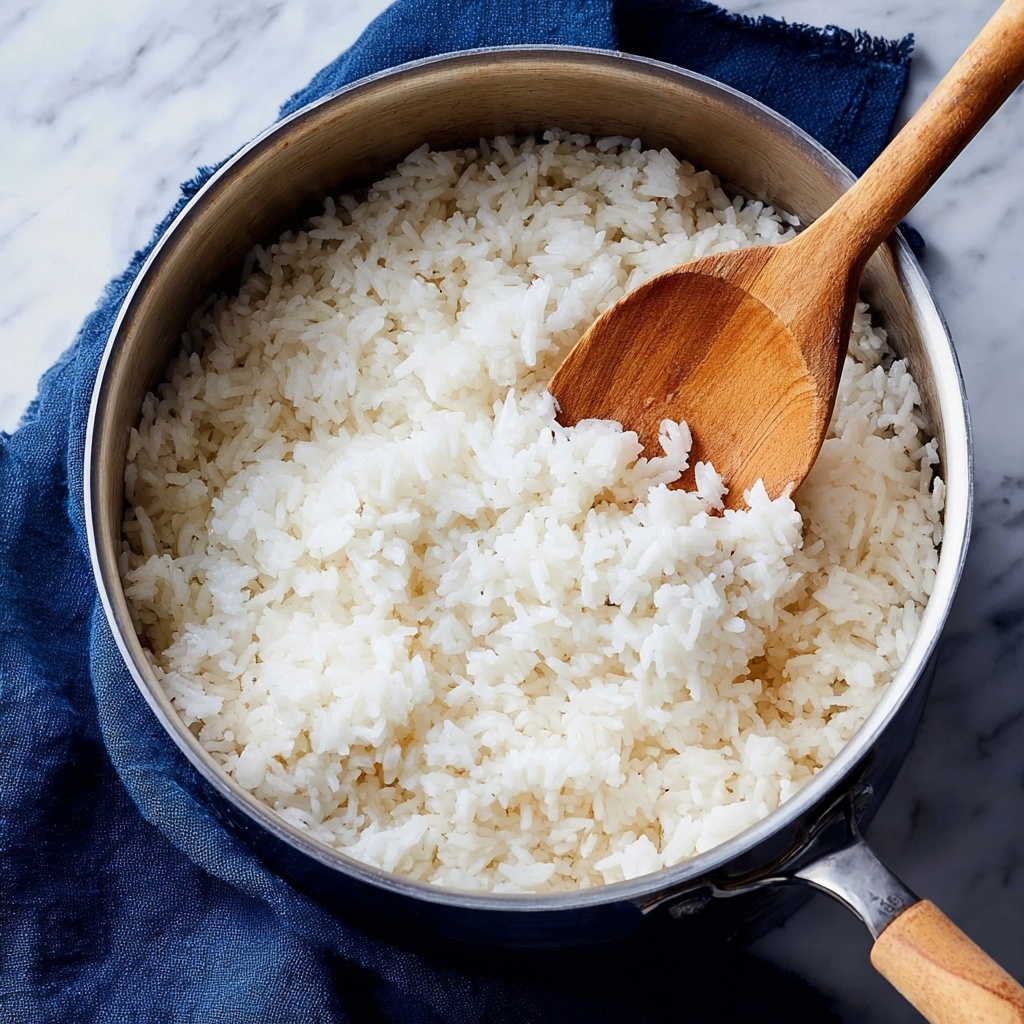
Once the rice is cooked through, immediately transfer it to a large bowl. Pour the vinegar mixture evenly over the warm rice. Using a rice paddle or silicone spatula, gently fold and toss the rice until every grain is coated with the flavorful seasoning. Be gentle and patient during this step to keep the rice’s texture light and fluffy without crushing the grains.
Step 5: Cover and Cool
To keep the rice moist and prevent it from drying out, cover the bowl with a damp paper towel. Let the rice cool down to room temperature before you use it for sushi rolls, bowls, or other dishes. This cooling lets the flavors fully integrate and helps your rice have that unmistakable sushi texture and shine.
How to Serve Homemade Sushi Rice Recipe
Garnishes
Serving your rice with thoughtful garnishes can elevate the dish dramatically. Sprinkle toasted sesame seeds, finely sliced nori strips, or fresh chopped scallions on top for added texture and bursts of flavor. A few pickled ginger slices on the side can also enhance the rice’s subtle tang.
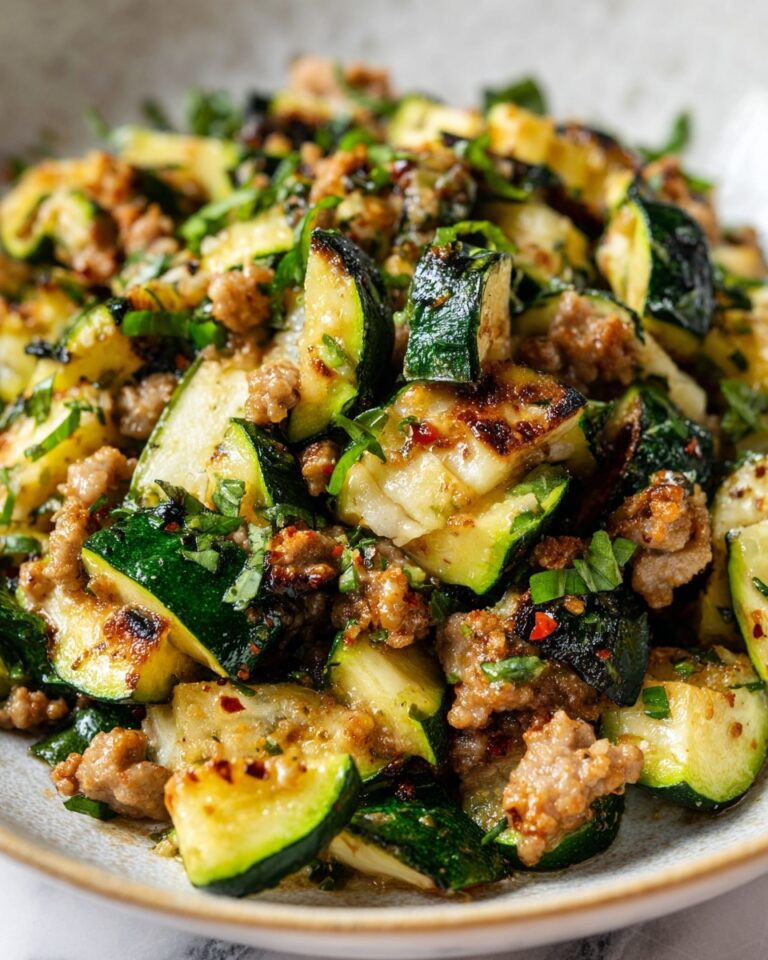
Side Dishes
Homemade sushi rice pairs wonderfully with classic Japanese sides such as miso soup, edamame, or seaweed salad. For a vegetarian-friendly platter, fresh cucumber or avocado slices provide refreshing contrast alongside the subtly vinegared rice.
Creative Ways to Present
Beyond rolls, try layering your seasoned sushi rice in a mason jar with colorful vegetables and tofu or fish for vibrant sushi bowls. You can also mold the rice into small balls to create onigiri, making snackable sushi bites that are perfect for parties or lunchboxes.
Make Ahead and Storage
Storing Leftovers
If you happen to have extra sushi rice, store it in an airtight container at room temperature for up to a day. Because the rice loses its ideal texture over time, it’s best enjoyed fresh, but storing properly ensures it stays moist and ready for quick sushi fixes the next day.
Freezing
Freezing isn’t recommended for this Homemade Sushi Rice Recipe since it can alter the texture and make the rice crumbly once thawed. For best results, make only what you need and store leftovers chilled rather than frozen.
Reheating
If your rice cools too much or feels a little dry, gently steam it or use a microwave with a damp paper towel cover to bring back some moisture and softness. Avoid overheating, as that can make the rice hard or sticky in undesirable ways.
FAQs
Can I use regular long-grain rice instead of sushi rice?
Regular long-grain rice lacks the starch and sticky texture that sushi rice provides, so the final result won’t have the same cohesive quality necessary for sushi rolls or nigiri. Sushi rice is specially cultivated for its texture and moisture balance.
Why is it important to rinse the rice before cooking?
Rinsing removes excess surface starch from the grains, which prevents the rice from clumping together or becoming gummy. This step ensures your rice remains fluffy with distinct grains that hold together just enough for sushi.
How sweet or salty should the vinegar mixture be?
The balance of sweetness and saltiness can be adjusted slightly based on your preference, but traditionally the vinegar mixture is gently sweetened to complement the savory flavor of sushi rice without overpowering it. Start with 1 tablespoon of sugar and add more if needed.
Can I prepare the rice ahead of time for sushi making later in the day?
Yes, you can make your sushi rice a few hours ahead and keep it covered with a damp cloth at room temperature. Avoid refrigeration as it dries out the rice and impacts texture, making it less ideal for sushi.
Is this recipe suitable for making vegetarian sushi?
Absolutely! This Homemade Sushi Rice Recipe creates a versatile base that works perfectly with vegetarian ingredients like cucumber, avocado, carrot, and tofu, making it ideal for meat-free sushi meals.
Final Thoughts
Mastering the Homemade Sushi Rice Recipe is such a rewarding achievement in the kitchen. It’s the foundation for endless sushi creations that bring joy and deliciousness with every bite. Take your time with each step, savor the aromas, and enjoy crafting sushi that’s authentically flavorful and perfectly textured. Your friends and family will thank you for bringing these delightful tastes home!
Print
Homemade Sushi Rice Recipe
- Prep Time: 5 minutes
- Cook Time: 25 minutes
- Total Time: 30 minutes
- Yield: 8 servings
- Category: Side Dish
- Method: Stovetop
- Cuisine: Japanese
- Diet: Vegetarian
Description
This Homemade Sushi Rice recipe teaches you how to cook perfect, flavorful sushi rice with the ideal sticky yet tender texture. Using a simple combination of sushi rice, water, rice vinegar, sugar, and salt, this recipe guides you through rinsing, simmering, and seasoning the rice to create the essential base for sushi rolls, nigiri, or vegetarian sushi bowls. The vinegar mixture adds the characteristic subtle tang and sweetness that balances well with fresh sushi ingredients.
Ingredients
Sushi Rice
- 2 cups sushi rice
- 2 ½ cups water
Vinegar Mixture
- ¼ cup rice vinegar
- 1–2 tablespoons sugar
- 1 teaspoon salt (to taste)
Instructions
- Rinse rice: Place the sushi rice in a fine mesh strainer and rinse under running water for 2 to 3 minutes until the water runs clear. This removes excess starch that can cause the rice to be too sticky or gummy.
- Boil rice: Combine the rinsed rice with 2 ½ cups of water in a pot. Bring to a boil over high heat, then reduce heat to low simmer. Cover with a lid and simmer gently for 20 minutes until the water is fully absorbed and the rice is tender.
- Prepare vinegar mixture: While the rice cooks, place rice vinegar, sugar, and salt in a small saucepan over medium heat. Whisk continuously until sugar and salt dissolve completely, about 2 to 3 minutes. Remove from heat and set aside.
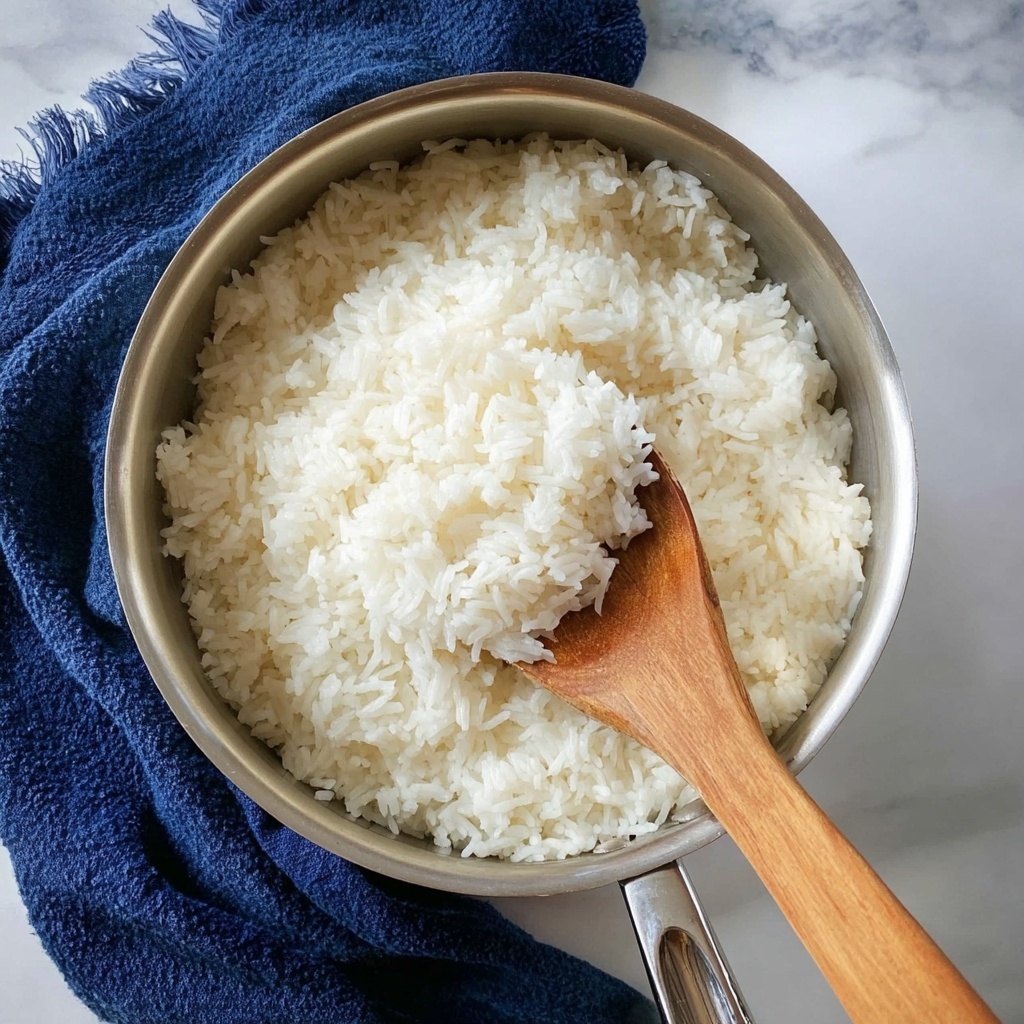
- Season rice: Transfer the cooked rice immediately to a large bowl. Pour the warm vinegar mixture evenly over the rice. Using a rice paddle or silicone spatula, gently fold and toss the rice to coat each grain evenly, taking care not to smash the rice.
- Cover and cool: Cover the rice with a damp paper towel to keep moisture and prevent drying. Let the rice cool to room temperature before using it for sushi rolls, nigiri, or sushi bowls to ensure the ideal texture.
Notes
- Rinsing the rice thoroughly removes excess starch and is key to preventing gummy texture.
- Use a wooden or silicone spatula to gently fold the rice when mixing in the vinegar to avoid crushing the grains.
- Adjust the sugar and salt in the vinegar mixture to suit your taste preferences.
- This rice can be used immediately after cooling or covered and refrigerated for up to one day.
- For best results, use authentic Japanese sushi rice rather than regular long-grain rice.


