If you’ve ever wished for the nostalgic comfort and rich chocolatey goodness of Nesquik but wanted to skip the artificial preservatives and control every ingredient, this Homemade Nesquik Recipe is your new best friend. It’s incredibly simple to make with pantry staples, giving you a fresh, customizable chocolate milk mix that tastes just like childhood memories in a glass. Whether you enjoy it cold, warm, or even sprinkled on desserts, this mix is a delightful treat that’s easy to prepare anytime.
Ingredients You’ll Need
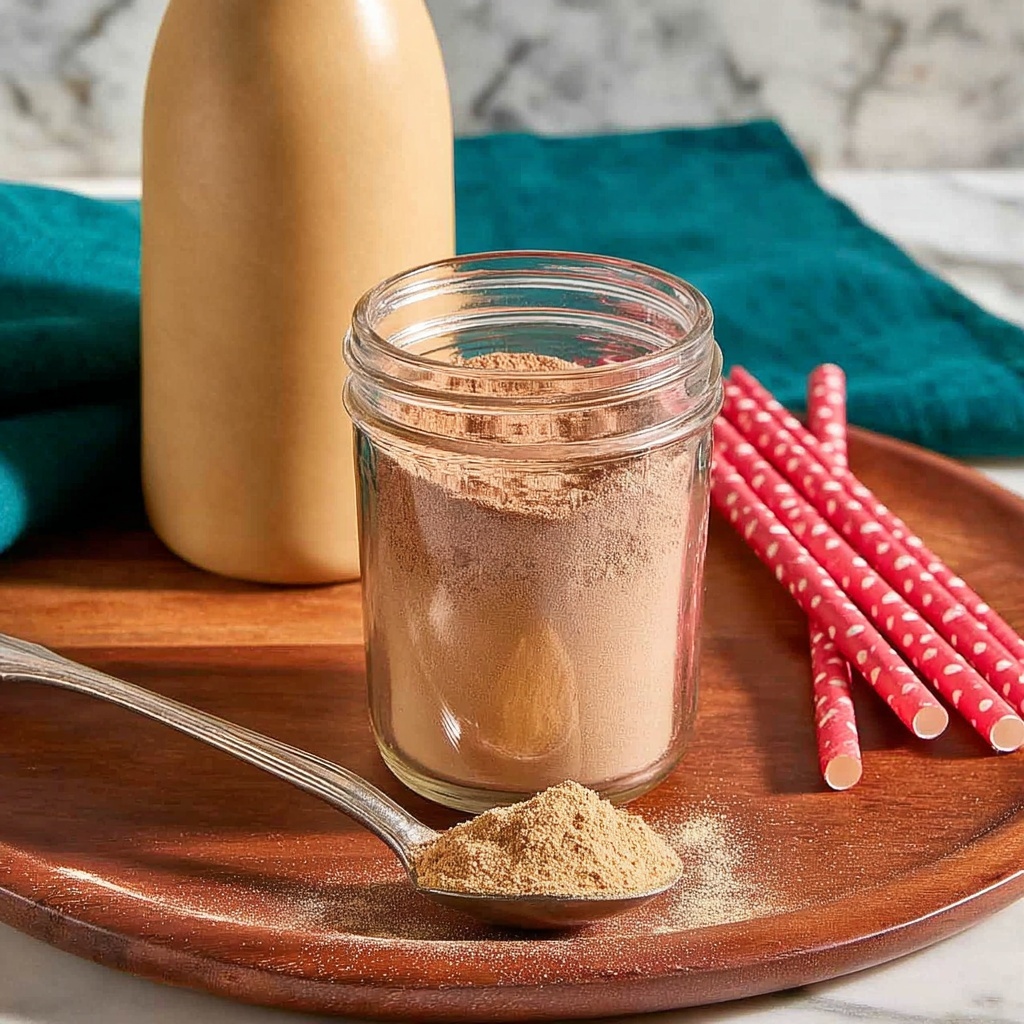
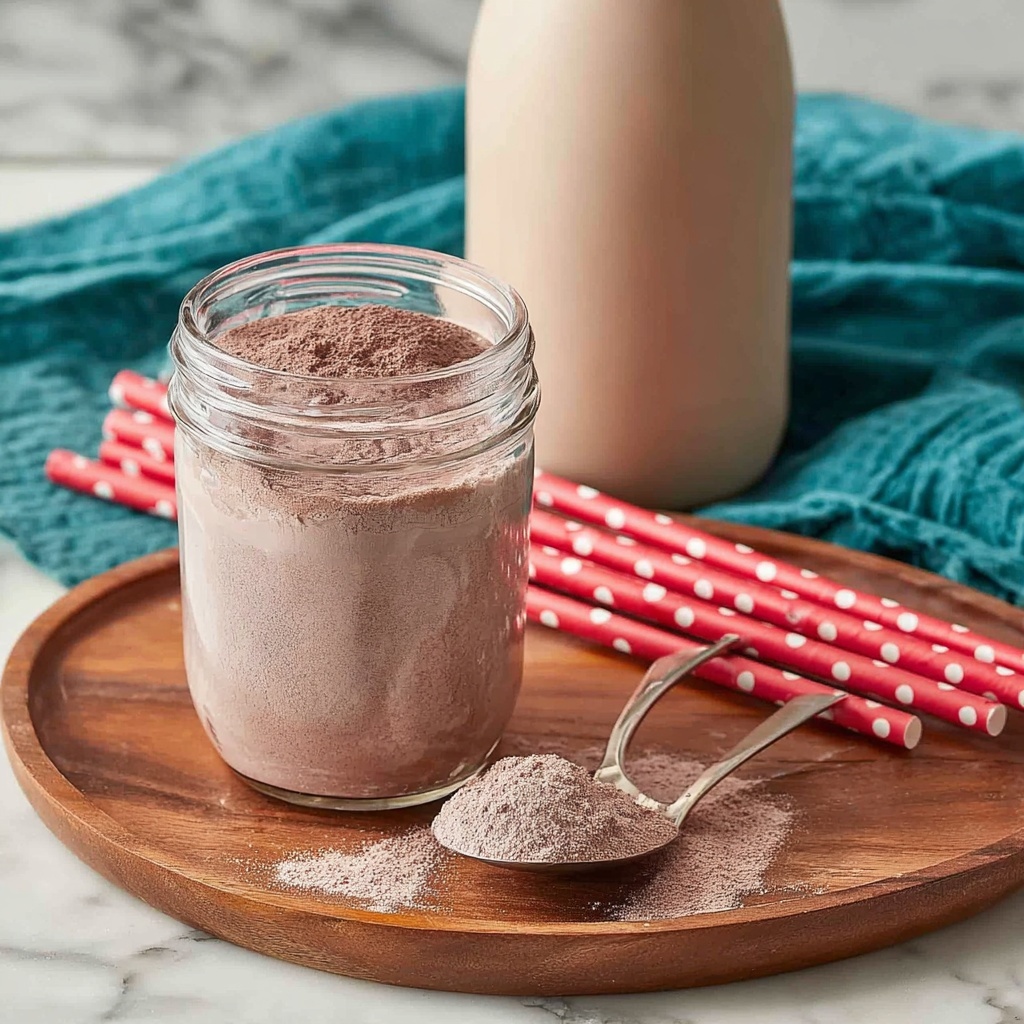
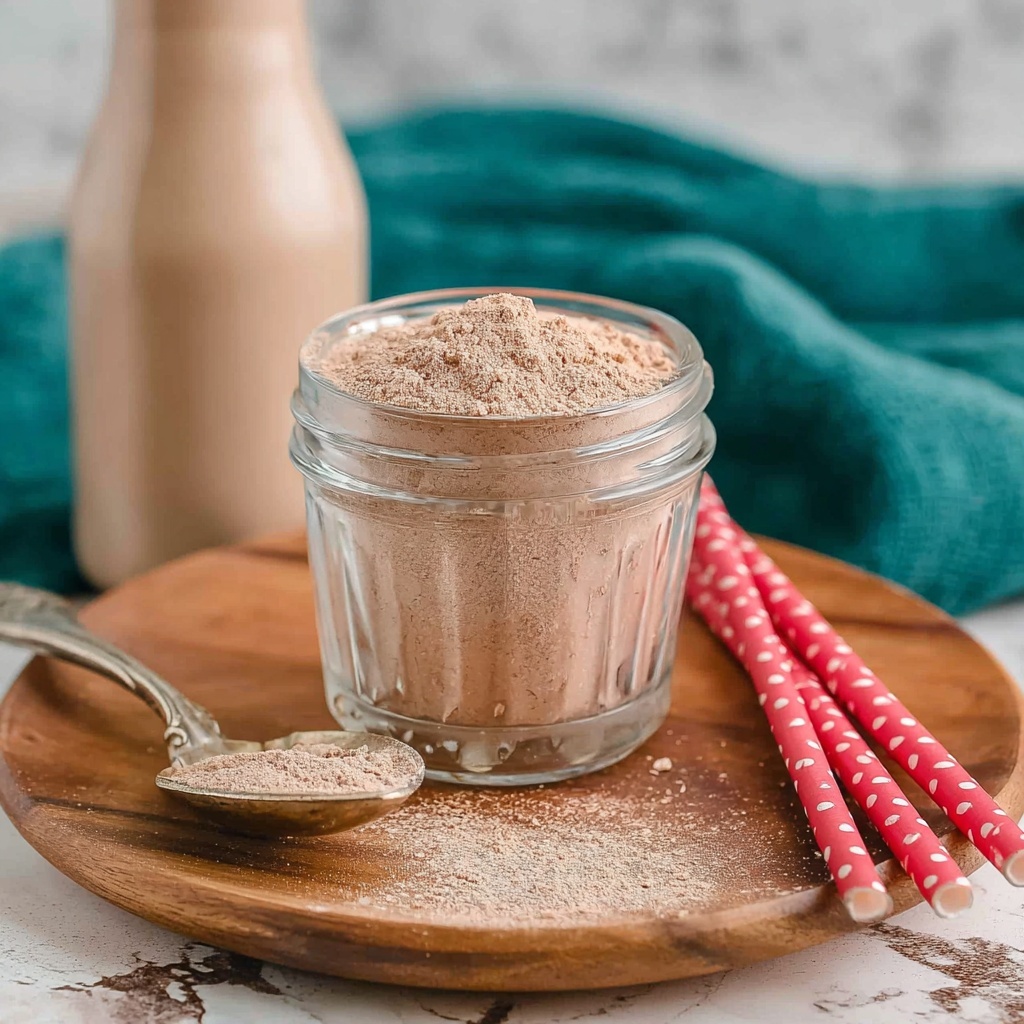
Gathering the right ingredients is the heart of this Homemade Nesquik Recipe. Each component plays a vital role in delivering that perfect balance of sweetness, chocolate depth, and creaminess, all coming together into one divine powder.
- 1 cup unsweetened cocoa powder: Provides the rich, intense chocolate flavor that’s the star of the show.
- 1 ½ cups powdered sugar: Adds the ideal level of sweetness that dissolves effortlessly into milk.
- 1 cup powdered milk: Contributes creaminess and body, making your chocolate milk satisfyingly smooth.
- ½ teaspoon salt: Enhances and balances the sweetness while deepening the chocolate notes.
- 1 teaspoon cornstarch (optional): A clever addition to keep the mix light and free-flowing by preventing clumps.
How to Make Homemade Nesquik Recipe
Step 1: Combine Your Dry Ingredients
Start by sifting the unsweetened cocoa powder, powdered sugar, powdered milk, and salt into a large mixing bowl. This step is crucial to remove any lumps and ensures the mixture will blend smoothly when you add milk later on.
Step 2: Add the Cornstarch (If Using)
Sprinkle in the cornstarch and gently stir it through your dry ingredients. Cornstarch helps keep everything free-flowing and prevents clumping over time, especially if you plan to store the mix for a while.
Step 3: Whisk Until Evenly Combined
Grab a whisk and blend all the ingredients thoroughly. You want a uniform powder that’s ready to dissolve quickly and easily when it hits your milk.
Step 4: Store Your Homemade Nesquik Mix
Transfer the mix into an airtight container or jar. This keeps it fresh and prevents moisture from ruining your batch. Proper storage means your mix will stay delicious for weeks.
Step 5: Make Chocolate Milk
To enjoy your creation, stir 2 to 3 tablespoons of the mix into 1 cup of cold or warm milk until fully dissolved. Adjust the amount to suit your desired sweetness and chocolate strength.
How to Serve Homemade Nesquik Recipe
Garnishes
Elevate your glass of chocolate milk by adding a fluffy dollop of whipped cream and a sprinkle of chocolate shavings or cocoa powder on top. A few mini marshmallows can add a fun twist, turning your drink into a little celebration in a cup.
Side Dishes
This Homemade Nesquik Recipe pairs beautifully with classic cookies like chocolate chip or shortbread. For a wholesome snack, try it alongside nutty granola bars or even simple toasted bread with peanut butter—both complement the drink’s creamy sweetness without overpowering it.
Creative Ways to Present
Try layering your chocolate milk with a splash of vanilla syrup or caramel for an indulgent treat. You can also blend it into smoothies or drizzle it over vanilla ice cream for a quick, decadent dessert. Pour it into fun glasses with colorful straws to delight kids and adults alike.
Make Ahead and Storage
Storing Leftovers
Keep any leftover homemade Nesquik mix in a tightly sealed jar at room temperature in a dry place. Proper sealing is key to preserving freshness and preventing moisture from creeping in, which can cause the mix to clump or spoil.
Freezing
This mix does not require freezing and it’s best kept at room temperature. Freezing isn’t necessary because the dry ingredients maintain their quality well, and moisture is the main enemy to watch out for.
Reheating
Since this recipe is a no-cook, powder mix, there’s no reheating involved. However, you can easily make warm chocolate milk by mixing the powder into heated milk rather than cold, and it will dissolve just as smoothly, providing that comforting hug in a mug.
FAQs
Can I make this Homemade Nesquik Recipe dairy-free?
Absolutely! Simply omit the powdered milk and mix the cocoa and sugar blend directly with your preferred plant-based milk like almond, oat, or soy to enjoy a delicious dairy-free chocolate milk.
How long does the homemade mix last?
Stored in an airtight container away from moisture and heat, this mix can last for up to 1 to 2 months, keeping its flavor and texture intact for many chocolatey sips.
Can I adjust the sweetness?
Yes! Feel free to tweak the powdered sugar amount to your taste. Whether you like it sweeter or with less sugar, this recipe is very forgiving and easy to customize.
Is cornstarch necessary?
Cornstarch is optional but recommended if you want your mix to stay free-flowing and avoid clumps. If you plan to use the mix quickly, omitting it is fine.
Can I use this mix for recipes other than chocolate milk?
Definitely! This homemade Nesquik works wonderfully for smoothies, baking, or even topping ice cream. It adds a quick burst of chocolate flavor wherever you want it.
Final Thoughts
Making your own homemade Nesquik Recipe is such a joyful and simple way to bring a childhood favorite back into your kitchen in the best possible form—fresh, pure, and perfectly tailored to your taste. Once you try this, you’ll wonder how you ever bought the store-bought stuff. Trust me, your chocolate milk moments are about to get a whole lot better!
Print
Homemade Nesquik Recipe
- Prep Time: 5 minutes
- Cook Time: 0 minutes
- Total Time: 5 minutes
- Yield: About 20 servings
- Category: Drinks
- Method: No-Cook
- Cuisine: American
- Diet: Vegetarian
Description
This homemade Nesquik recipe is a simple and delicious way to create your own chocolate milk mix at home. Made with unsweetened cocoa powder, powdered sugar, and powdered milk, it offers a quick no-cook solution to enjoy chocolate milk anytime. Customize the sweetness to your liking and use it in smoothies or over ice cream for a tasty treat.
Ingredients
Dry Ingredients
- 1 cup unsweetened cocoa powder
- 1 ½ cups powdered sugar
- 1 cup powdered milk
- ½ teaspoon salt
- 1 teaspoon cornstarch (optional, for anti-caking)
Instructions
- Combine Dry Ingredients: In a large mixing bowl, sift together the unsweetened cocoa powder, powdered sugar, powdered milk, and salt to remove any lumps and ensure an even mixture.
- Add Cornstarch (Optional): If using, stir in the cornstarch to help prevent clumping, ensuring the mix stays free-flowing.
- Mix Thoroughly: Whisk all the ingredients together until they are fully combined and uniform in texture.
- Store the Mix: Transfer the homemade Nesquik mix to an airtight container or jar to keep it fresh and clump-free.
- Prepare Chocolate Milk: To make chocolate milk, stir 2 to 3 tablespoons of the mix into 1 cup of cold or warm milk until completely dissolved, then enjoy.
Notes
- Adjust the amount of sugar based on your preferred sweetness level.
- For a dairy-free version, omit powdered milk and mix the powder directly with your choice of milk such as almond or soy milk.
- This homemade mix also works wonderfully in smoothies or poured over ice cream for a chocolatey enhancement.


