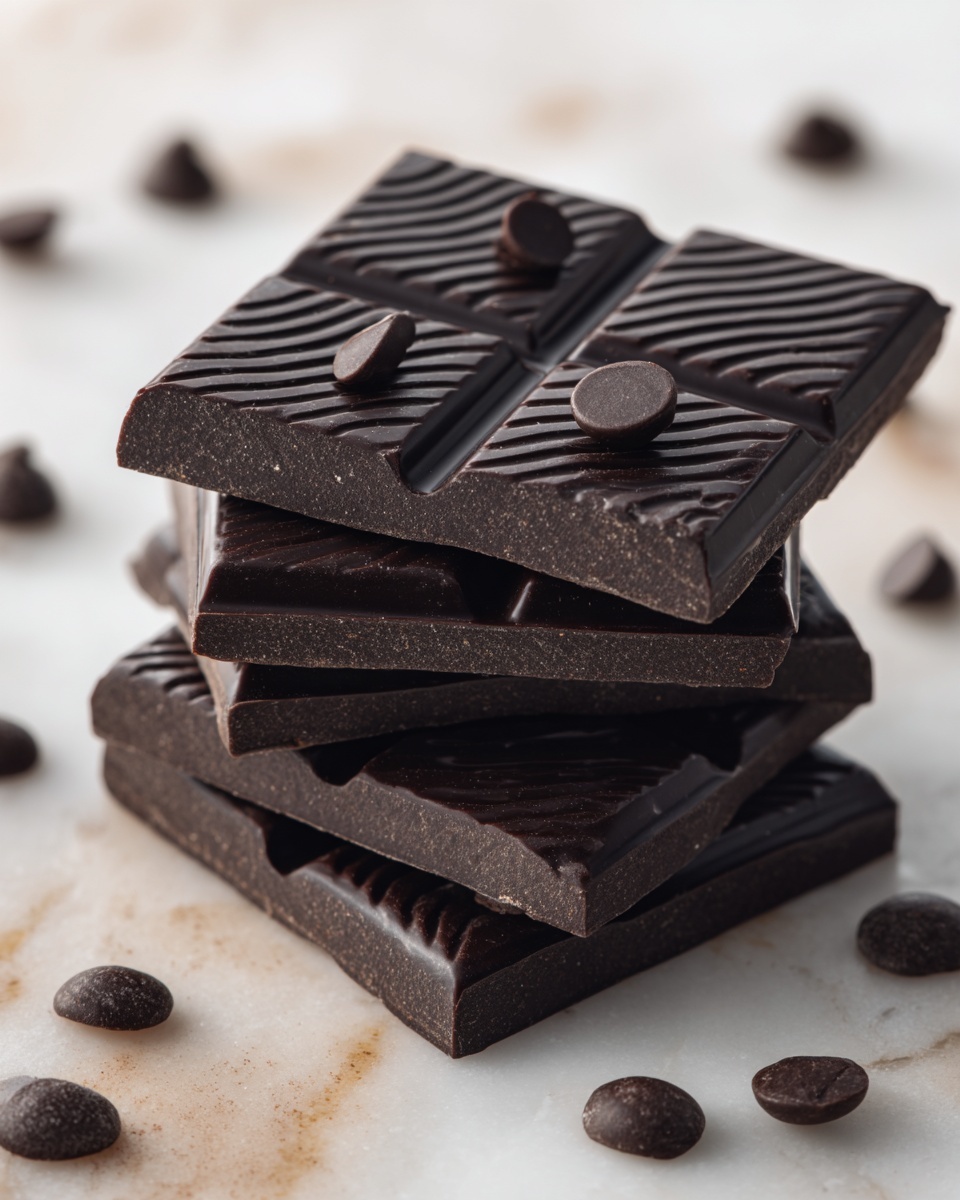
If you have a sweet tooth and love rich, decadent treats, this Homemade Chocolate Bars Recipe is about to become your new favorite indulgence. It’s so satisfying to whip up luxurious chocolate bars right in your own kitchen with just a handful of simple ingredients. Each bite offers a perfect balance of deep cocoa flavor and natural sweetness, with the flexibility to customize with your favorite nuts, fruits, or toppings. Whether you’re gifting them or savoring them all for yourself, these bars are a deliciously healthy alternative to store-bought chocolates and easy to make anytime you need a little chocolate fix.

Ingredients You’ll Need
To create these delightful homemade chocolate bars, you don’t need a long list of complicated ingredients. Each component plays a crucial role in building the bar’s smooth texture, rich taste, and satisfying snap. Here’s what you’ll need to get started:
- Coconut oil: Acts as the base to give the bars a creamy texture and helps them set beautifully once chilled.
- Unsweetened cocoa powder: Provides that deep, authentic chocolate flavor without any added sugars.
- Maple syrup: Adds natural sweetness and a subtle hint of caramel that balances the cocoa’s bitterness.
- Vanilla extract: Enhances the complexity of flavors, making the chocolate taste luxurious and smooth.
- Sea salt: Just a pinch to heighten the chocolate’s richness and balance the sweetness perfectly.
- Optional add-ins: Choose from chopped nuts, dried fruit, shredded coconut, or extra sea salt to add texture and personality to your bars.
How to Make Homemade Chocolate Bars Recipe
Step 1: Prepare Your Dish
Start by lining a small baking dish with parchment paper. This simple step makes it so much easier to remove your chocolate bars once they harden, ensuring clean edges and a perfect final presentation.
Step 2: Mix the Ingredients
In a medium bowl, whisk together the melted coconut oil, unsweetened cocoa powder, maple syrup, vanilla extract, and a pinch of sea salt. Take your time to make the mixture smooth and glossy—it’s the key to bars that melt sensuously in your mouth.
Step 3: Pour and Spread
Pour the luscious chocolate mixture into your prepared dish and spread it evenly with a spatula. Getting the thickness just right means your bars will have the perfect balance between firmness and melt-in-your-mouth tenderness.
Step 4: Add Your Toppings (Optional)
This is your chance to personalize the bars! Sprinkle chopped nuts for crunch, dried fruit for chewiness, or shredded coconut for tropical flair. A light sprinkle of sea salt on top also takes these chocolate bars to the next level with a delightful salty-sweet contrast.
Step 5: Chill to Set
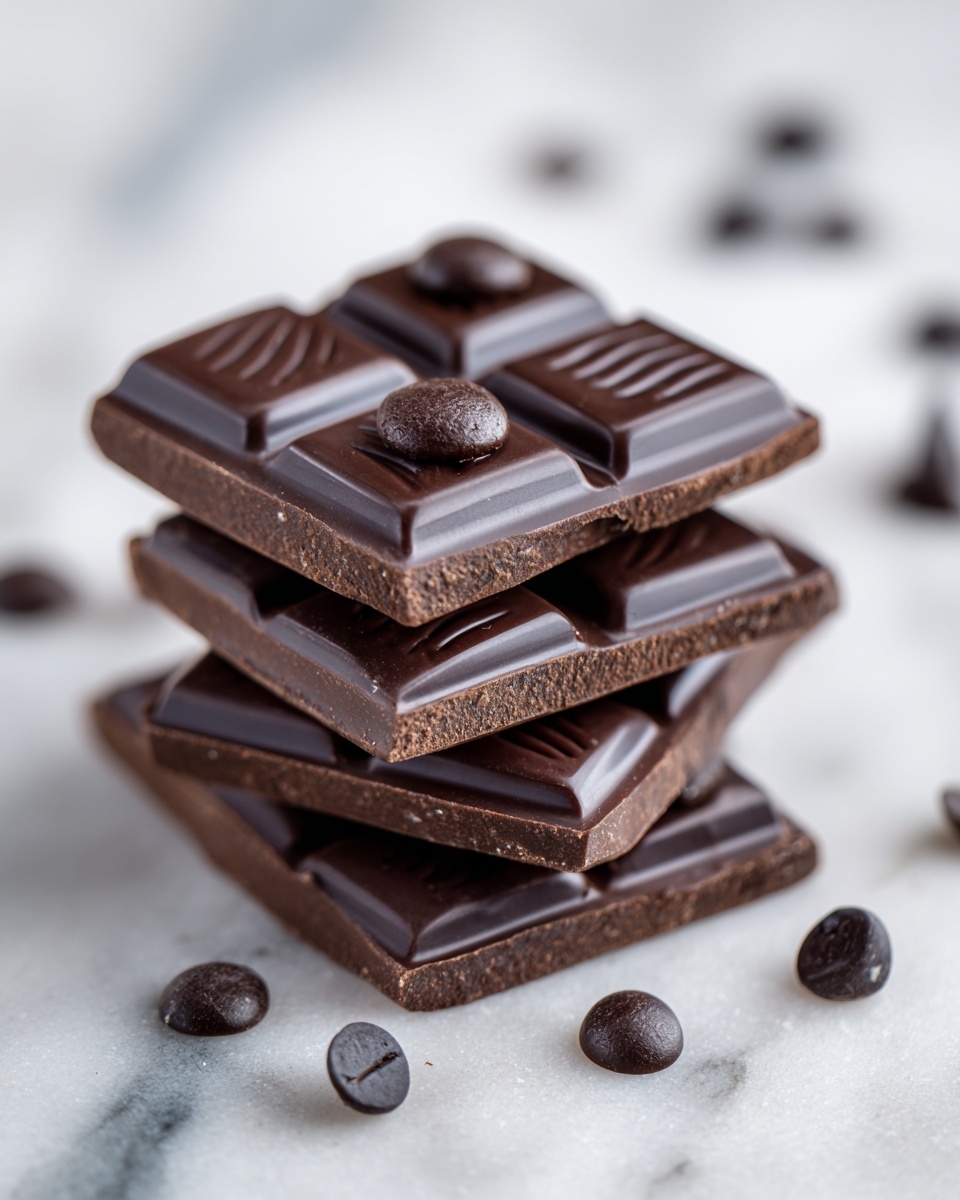
Pop the dish into the refrigerator and give it at least an hour to set completely. This chilling time allows the coconut oil to firm up, creating that satisfying snap when you bite into your homemade treats.
Step 6: Cut Into Bars
Once set, lift the chocolate slab out of the dish using the parchment paper and carefully cut into bars or squares. Having bite-sized pieces ready means you can enjoy a little chocolatey joy whenever you want.
Step 7: Store Properly
Finally, store your homemade chocolate bars in an airtight container in the fridge to keep them fresh and ready for snacking over the coming days.
How to Serve Homemade Chocolate Bars Recipe
Garnishes
While the bars are delicious on their own, sprinkling a bit of flaky sea salt, edible gold dust, or even a drizzle of melted white chocolate can elevate their appearance and flavor. Fresh mint leaves or a few berries on the side also add a refreshing pop of color and taste.
Side Dishes
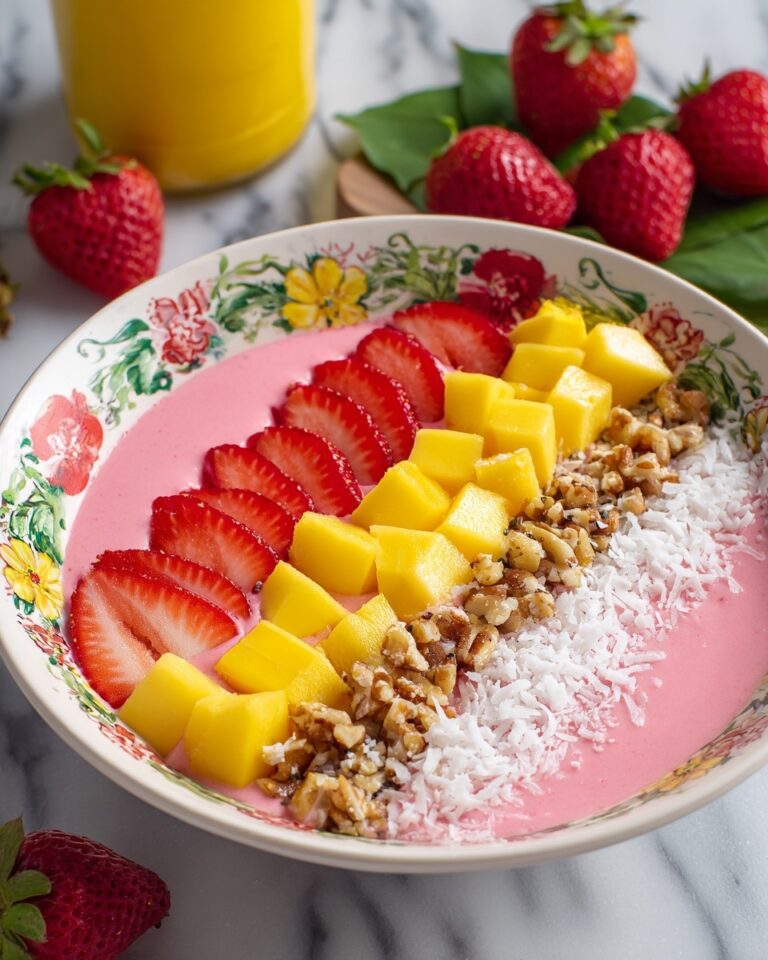
Pair these chocolate bars with your favorite cup of coffee, a glass of cold milk, or a cozy chai latte to create a comforting and satisfying treat experience. For a festive touch, serve alongside fresh fruit or a bowl of mixed nuts to complement the chocolate’s richness.
Creative Ways to Present
If you’re gifting or hosting, arrange the chocolate bars in a decorative box lined with parchment or colorful tissue paper. You can even wrap individual bars in wax paper and tie them with a ribbon for an extra special touch. Looking to impress? Serve them with a small scoop of homemade ice cream or crumble bars over desserts like mousse or pudding for an indulgent twist.
Make Ahead and Storage
Storing Leftovers
Keep your homemade chocolate bars in an airtight container in the refrigerator to preserve their texture and flavor. They stay fresh for up to two weeks, making them perfect to prepare ahead for a party or just to have on hand for daily treats.
Freezing
If you want to enjoy these bars for longer, they freeze beautifully. Wrap them tightly in plastic wrap or foil and place in a freezer-safe container. When you’re ready to enjoy, simply thaw in the fridge for a few hours before serving to maintain that perfect snap and creamy texture.
Reheating
Unlike some desserts, these chocolate bars are best enjoyed chilled or at room temperature. If they harden too much in the fridge, simply let them sit out for a few minutes to soften slightly before you indulge, allowing their luscious flavors to shine through.
FAQs
Can I use a different type of sweetener in this Homemade Chocolate Bars Recipe?
Absolutely! While maple syrup brings a lovely natural sweetness and depth, you can substitute honey or agave syrup if you prefer. Just keep in mind that some sweeteners may alter the flavor subtly.
What if I don’t have coconut oil? Can I use butter instead?
Coconut oil is ideal because it hardens when chilled, giving the chocolate bars their perfect firmness. Butter can work but won’t set quite the same, resulting in a softer bar that may melt faster at room temperature.
How long do these homemade chocolate bars last?
Stored properly in an airtight container in the refrigerator, your bars will stay fresh and delicious for up to two weeks. For longer storage, freezing is a great option.
Can I add dairy or make these bars vegan?
This recipe is naturally vegan since it uses coconut oil and plant-based sweeteners. To keep it dairy-free, avoid adding any milk-based toppings and stick to your favorite vegan add-ins.
Is it possible to make this recipe sugar-free?
Yes! You can swap the maple syrup for a sugar-free liquid sweetener like stevia or erythritol syrup, but be sure to adjust quantities to taste and test the texture, as sweetness level can vary greatly.
Final Thoughts
Making your own chocolate treats at home is one of those small pleasures that feels extra special. I promise you’ll fall in love with this Homemade Chocolate Bars Recipe for its simplicity, versatility, and incredible flavor. It’s perfect for sharing with friends, gifting, or simply sneaking a few bars just for yourself. Go ahead, give it a try and enjoy the pure joy of homemade chocolate!
Print
Homemade Chocolate Bars Recipe
- Prep Time: 10 minutes
- Cook Time: 0 minutes
- Total Time: 1 hour 10 minutes
- Yield: 8 servings
- Category: Dessert
- Method: No-Cook
- Cuisine: American
- Diet: Gluten Free
Description
Delicious and easy-to-make homemade chocolate bars using simple, wholesome ingredients like coconut oil, cocoa powder, and natural sweeteners. Perfect for a healthy treat, customizable with optional nuts, dried fruits, or shredded coconut toppings, and ready in about an hour.
Ingredients
Main Ingredients
- ½ cup coconut oil, melted
- ¼ cup unsweetened cocoa powder
- 3 tablespoons maple syrup (or honey)
- 1 teaspoon vanilla extract
- Pinch of sea salt
Optional Add-Ins
- Chopped nuts
- Dried fruit
- Shredded coconut
- A sprinkle of sea salt for topping
Instructions
- Prepare the Dish: Line a small baking dish (8×4 inches or similar) with parchment paper to ensure easy removal of the chocolate bars once they are set.
- Mix the Ingredients: In a medium bowl, whisk together the melted coconut oil, unsweetened cocoa powder, maple syrup or honey, vanilla extract, and a pinch of sea salt until the mixture is completely smooth and well combined.
- Pour and Spread: Transfer the chocolate mixture into the prepared baking dish, spreading it evenly with a spatula to create a uniform layer.
- Add Toppings (Optional): Sprinkle your choice of chopped nuts, dried fruit, shredded coconut, or a little extra sea salt on top of the chocolate mixture for added texture and flavor.
- Chill to Set: Place the baking dish in the refrigerator for at least 1 hour, allowing the chocolate mixture to harden completely.
- Cut into Bars: Once the chocolate has set, carefully lift it out of the dish using the parchment paper, then cut into bars or squares of your desired size.
- Store: Keep the chocolate bars in an airtight container in the refrigerator. They will stay fresh for up to two weeks.
Notes
- For a sweeter taste, adjust the amount of maple syrup or honey according to your preference.
- Use high-quality unsweetened cocoa powder for the best chocolate flavor.
- The bars must be stored in the refrigerator to maintain their firmness because of the coconut oil.
- Feel free to customize by adding nuts, dried fruits, or seeds to make your bars more nutritious and textured.
- This recipe is naturally gluten free and can be made vegan by using maple syrup instead of honey.


