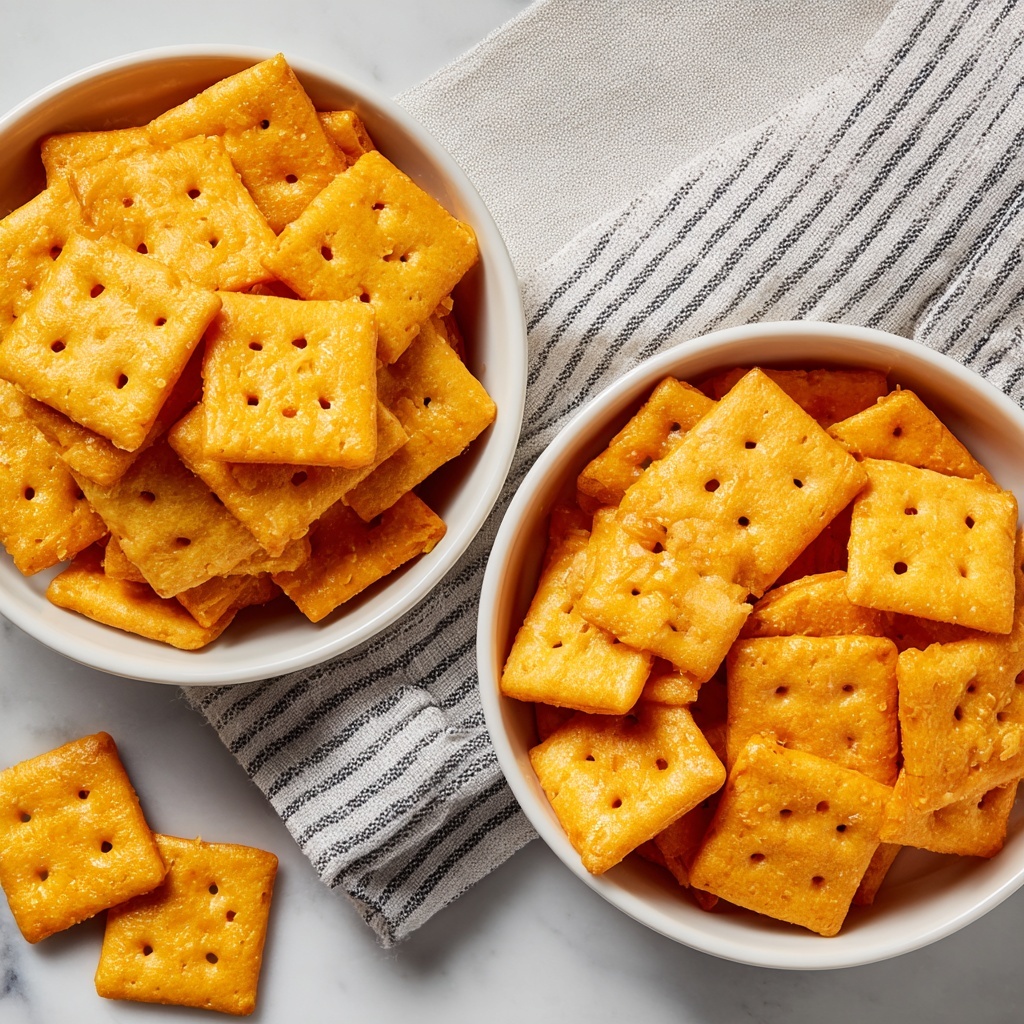
If you’ve ever wondered how to capture that perfectly crispy, cheesy, and utterly addictive snack in your own kitchen, look no further. This Homemade Cheez-Its Recipe is a game changer, combining sharp cheddar cheese with buttery, flaky dough to create crackers that rival any store-bought version — and honestly, taste even better. Every bite delivers that nostalgic crunch and rich flavor we all crave, making it a snack that’s impossible to put down and so rewarding to make from scratch.
Ingredients You’ll Need
These ingredients are incredibly simple yet crucial for nailing the authentic taste and texture of your Homemade Cheez-Its Recipe. Each one plays a specific role, from the extra sharp cheddar providing bold cheesy flavor to the ice water helping to bring the dough together perfectly.
- Extra sharp cheddar cheese (8-ounce block): This is the star ingredient that gives your crackers that unmistakable punch of cheesy goodness.
- Unsalted butter (4 tablespoons, cubed): Adds flakiness and richness without overpowering the cheese.
- Kosher salt (1 teaspoon): Enhances all the flavors and balances the sharpness of the cheddar.
- Unbleached all-purpose flour (1 cup / 120 grams): Provides structure and the perfect crispiness to the crackers.
- Ice water (2 tablespoons): Helps bring the dough together without making it tough, ensuring a tender yet crumbly bite.
How to Make Homemade Cheez-Its Recipe
Step 1: Mix the Cheese, Butter, and Salt
Start by placing the coarsely shredded cheddar, room temperature cubed butter, and kosher salt into the bowl of your stand mixer fitted with the paddle attachment. Mix these together until the mixture is soft and homogenous. This step ensures every cracker gets that rich cheesy flavor in every bite.
Step 2: Add the Flour
Slowly add the unbleached all-purpose flour while mixing on low speed. The dough will take on a dry and pebbly texture here, which is exactly what you want as it forms the base of your crackers.
Step 3: Incorporate the Ice Water
Next, drizzle in the ice water bit by bit while continuing to mix. The dough will start to coalesce into a single mass, bringing everything together beautifully without becoming sticky.
Step 4: Chill the Dough
Shape the dough into a disk, wrap it tightly in plastic wrap, and pop it in the fridge for at least one hour. Chilling helps the fats to firm up again, which is key for that flaky crunch you’re after.
Step 5: Preheat the Oven and Prepare Baking Sheets
Preheat your oven to 375 degrees Fahrenheit. Line two baking sheets with parchment paper or silicone mats to keep the crackers from sticking and to promote even baking.
Step 6: Roll Out the Dough
Divide the dough into two portions and roll each one extremely thin — about 1/8 inch or less — into 10 by 12-inch rectangles. Thin dough is essential for that delicate crispness.
Step 7: Cut into Squares
Using a fluted pastry cutter, slice each rectangle into 1-inch squares. Transfer these squares carefully to your prepared baking sheets.
Step 8: Poke Holes in Each Cracker
Grab a chopstick or similar tool to punch a small hole right in the center of each square. This step helps them bake evenly and gives them that classic Cheez-It appearance.
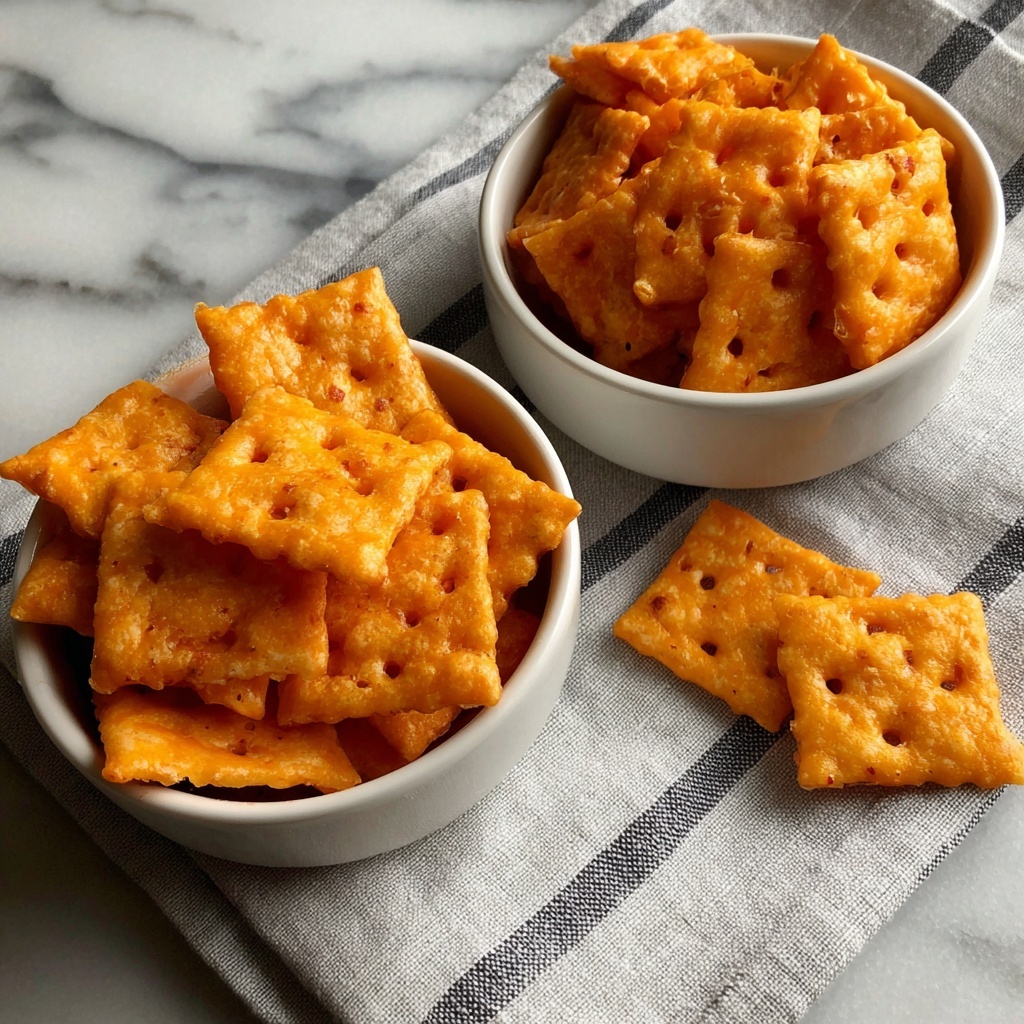
Step 9: Bake Until Golden
Bake the crackers for about 15 minutes or until they puff up slightly and brown delicately around the edges. Keep a close eye on them — since these crackers have a high-fat content, they can quickly tip from golden delicious to burnt.
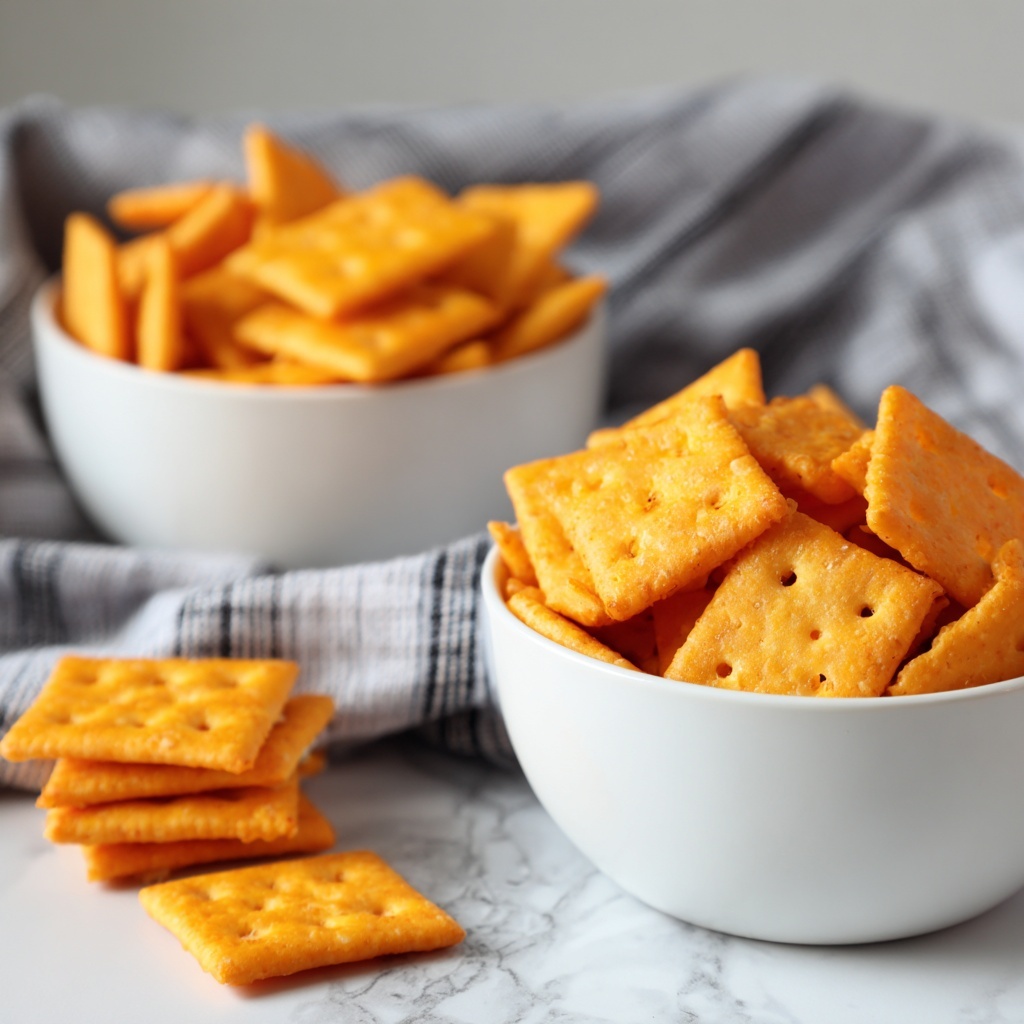
Step 10: Cool on Racks
Immediately transfer the hot crackers to wire racks to cool. This stops further cooking from residual heat and ensures they maintain their crisp texture.
How to Serve Homemade Cheez-Its Recipe
Garnishes
While Homemade Cheez-Its are fantastic on their own, sprinkling a tiny bit of smoked paprika, garlic powder, or even crushed red pepper flakes before baking can elevate them further. A little flaky sea salt on top right out of the oven also adds a beautiful finishing touch.
Side Dishes
These crackers pair wonderfully with dips like creamy spinach artichoke dip, hummus, or a bold pimento cheese spread. They also complement soups and salads perfectly when you want a crunchy sidekick.
Creative Ways to Present
For a fun party appetizer, serve your Homemade Cheez-Its in a rustic wooden bowl alongside a selection of cheeses, cured meats, and fresh fruit. Or stack them creatively on a platter as an unexpected base for mini open-faced sandwiches.
Make Ahead and Storage
Storing Leftovers
Keep your Homemade Cheez-Its fresh by storing them in an airtight container at room temperature. They will stay crisp for up to a week, making them perfect for munching over several days.
Freezing
If you want to make a big batch ahead of time, you can freeze the baked crackers in a sealed freezer bag. When stored properly, they hold up well for up to two months.
Reheating
To bring back that fresh-baked crispness after storage or freezing, pop the crackers in a 300-degree oven for 5-7 minutes. This quick reheat refreshes their crunch without drying them out.
FAQs
Can I use other cheeses instead of cheddar?
Absolutely! While extra sharp cheddar gives the iconic flavor, experimenting with cheeses like gouda or parmesan can create deliciously unique twists on the classic Homemade Cheez-Its Recipe.
Why is the dough flaky instead of smooth?
The flaky, pebbly texture comes from the butter and cheese not being fully incorporated, which is exactly what creates the tender, crunchy layers once baked.
How thin should I roll out the dough?
Roll the dough very thin — about 1/8 inch or less — to ensure the crackers bake evenly and achieve that perfect crisp texture we all love.
Can I make these gluten-free?
Traditional flour is key for the right texture, but you could try a gluten-free all-purpose flour blend with xanthan gum. Results may vary, so some experimentation might be needed.
Is the hole in the center necessary?
Yes, poking a hole helps the crackers bake more evenly and mimics the classic Cheez-It look. It also prevents too much puffing and keeps them flat and crispy.
Final Thoughts
Making your own Homemade Cheez-Its Recipe is such a rewarding experience, especially when you bite into those perfectly cheesy, crispy crackers. This recipe proves you don’t need a long list of fancy ingredients or complicated steps to create something truly special that will impress friends and satisfy snack cravings alike. So go ahead and give it a try — your snack game will never be the same again!
Print
Homemade Cheez-Its Recipe
- Prep Time: 20 minutes
- Cook Time: 15 minutes
- Total Time: 1 hour 35 minutes
- Yield: 15 servings
- Category: Snack
- Method: Baking
- Cuisine: American
Description
These Homemade Cheez-Its are crispy, cheesy crackers made from sharp cheddar cheese, butter, and simple pantry staples. Rolled thin and baked to golden perfection, they offer an irresistible snack with a rich sharp cheddar flavor and satisfying crunch, perfect for any occasion or to enjoy straight from the oven.
Ingredients
Cheese Dough
- 1 8-ounce block extra sharp cheddar cheese, coarsely shredded
- 4 tablespoons (2 ounces) cubed unsalted butter, at room temperature
- 1 teaspoon kosher salt
- 1 cup (120 grams; 4 1/4 ounces) unbleached all purpose flour
- 2 tablespoons ice water
Instructions
- Mix Cheese, Butter, and Salt: In the bowl of a stand mixer fitted with the paddle attachment, mix the coarsely shredded cheddar cheese, cubed unsalted butter at room temperature, and kosher salt until the mixture is soft and homogenous to create a creamy base.
- Add Flour: Add the unbleached all purpose flour and mix on low speed. The dough will become dry and pebbly, indicating the flour is incorporated but not yet fully bonded.
- Add Ice Water: Slowly pour in the ice water while continuing to mix. The dough will start to coalesce and form a cohesive mass suitable for rolling.
- Chill Dough: Pat the dough into a disk shape, wrap tightly with plastic wrap, and refrigerate for at least 1 hour to firm up the dough and enhance flavor melding.
- Preheat Oven and Prepare Baking Sheets: Preheat your oven to 375 degrees Fahrenheit. Line two baking sheets with parchment paper or silicone baking mats for easy cleanup and non-stick baking.
- Roll Out Dough: Divide the chilled dough into two equal portions. Roll each piece out very thinly (about 1/8 inch or less) into a 10×12-inch rectangle to ensure a crisp cracker texture.
- Cut Crackers: Using a fluted pastry cutter, cut the rectangular dough sheets into 1-inch squares, carefully transferring them to the prepared baking sheets.
- Dock Crackers: Use the tip of a chopstick to punch a small hole in the center of each square to help prevent puffing during baking.
- Bake Crackers: Bake in the preheated oven for approximately 15 minutes or until crackers are puffed and golden brown at the edges. Monitor closely to avoid burning due to the high fat content from butter and cheese.
- Cool: Immediately transfer the baked crackers to wire racks to cool completely, allowing them to crisp up as they cool.
Notes
- Ensure the dough is rolled out very thin to achieve the signature crispness of Cheez-Its.
- Use ice water to keep the dough cool and prevent the butter from melting prematurely, which helps in achieving a flaky texture.
- Punching a hole in each cracker helps maintain flatness and prevents excessive puffing.
- Watch the crackers carefully during baking as they can quickly go from perfectly golden to burnt because of the cheese and butter content.
- Store cooled crackers in an airtight container to maintain crispness for up to a week.


