“`html
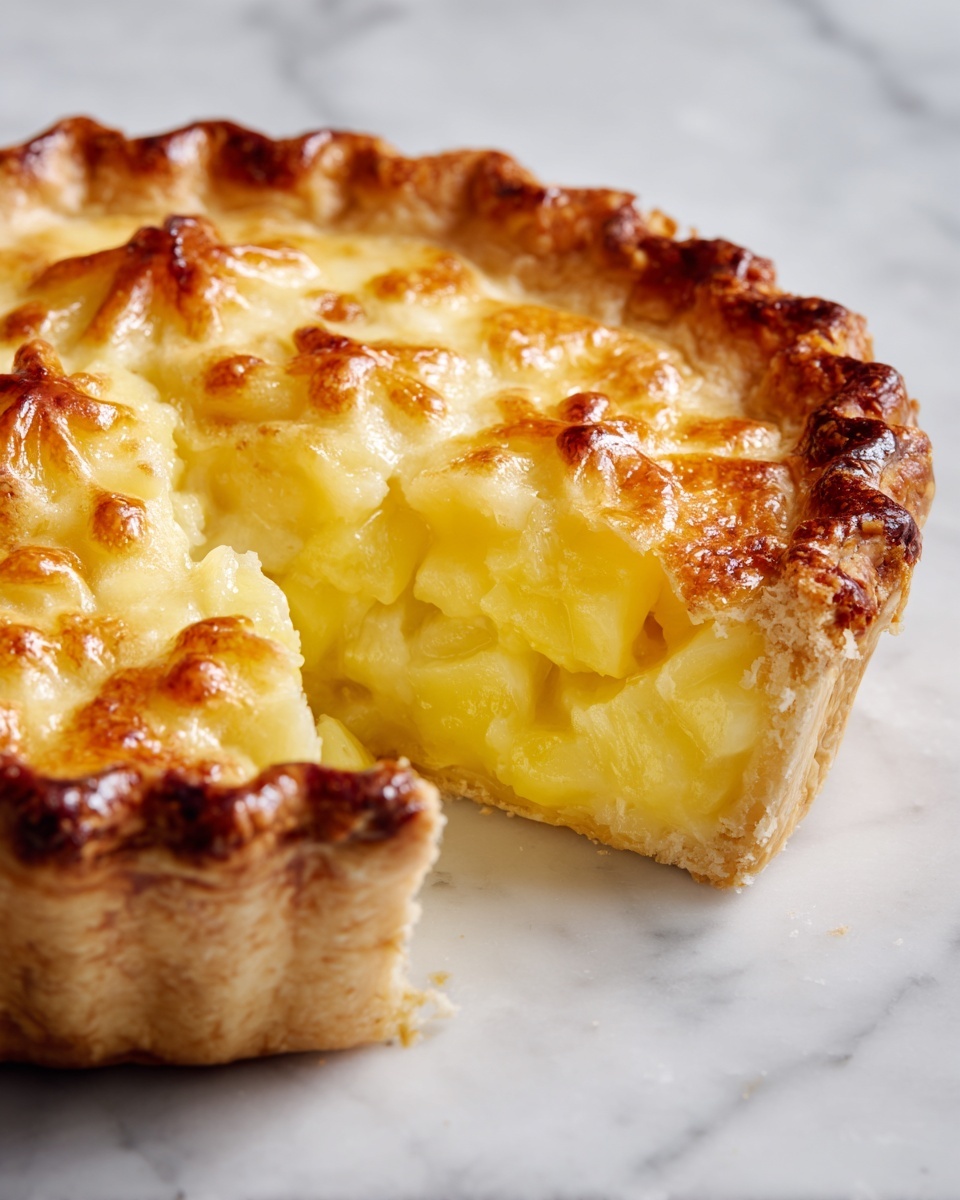
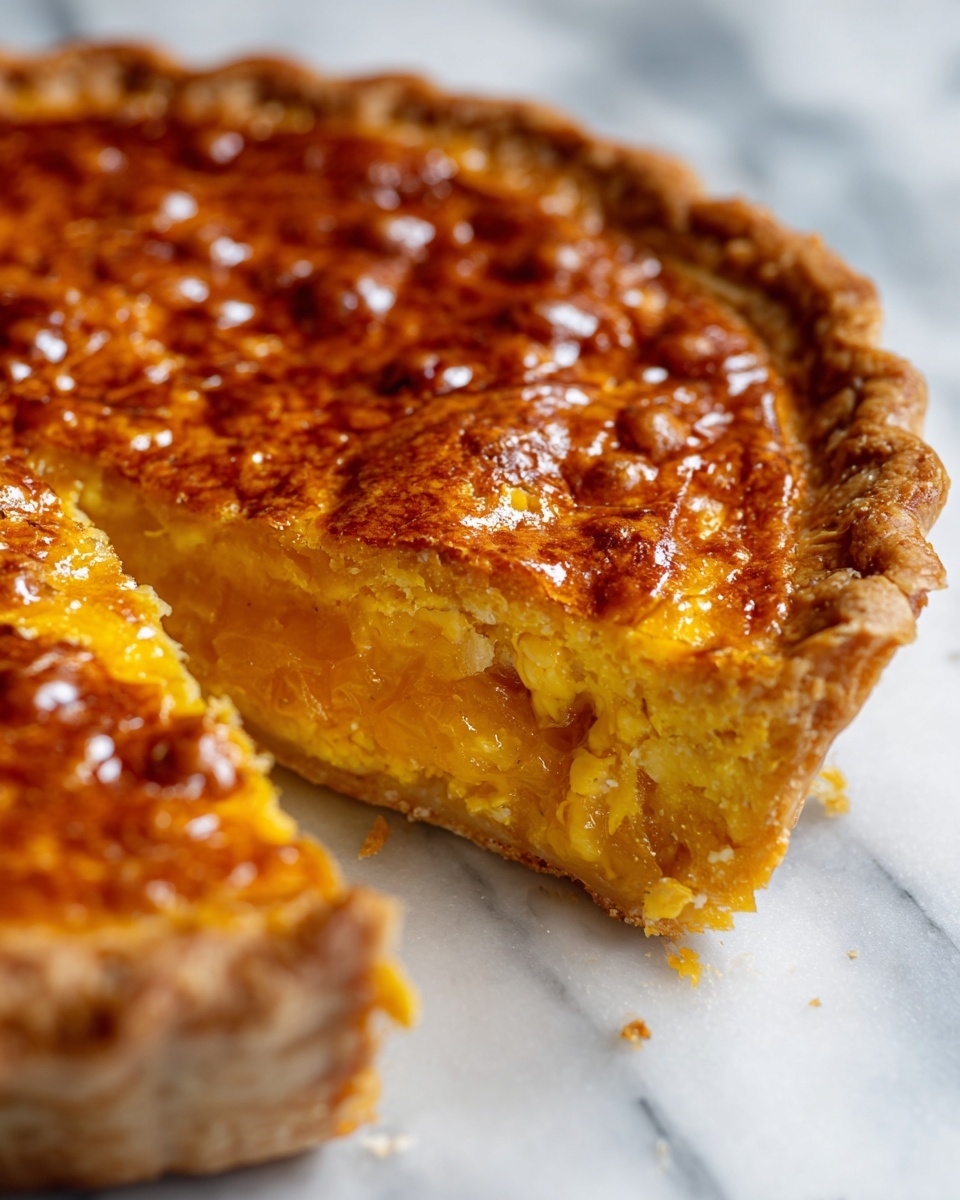
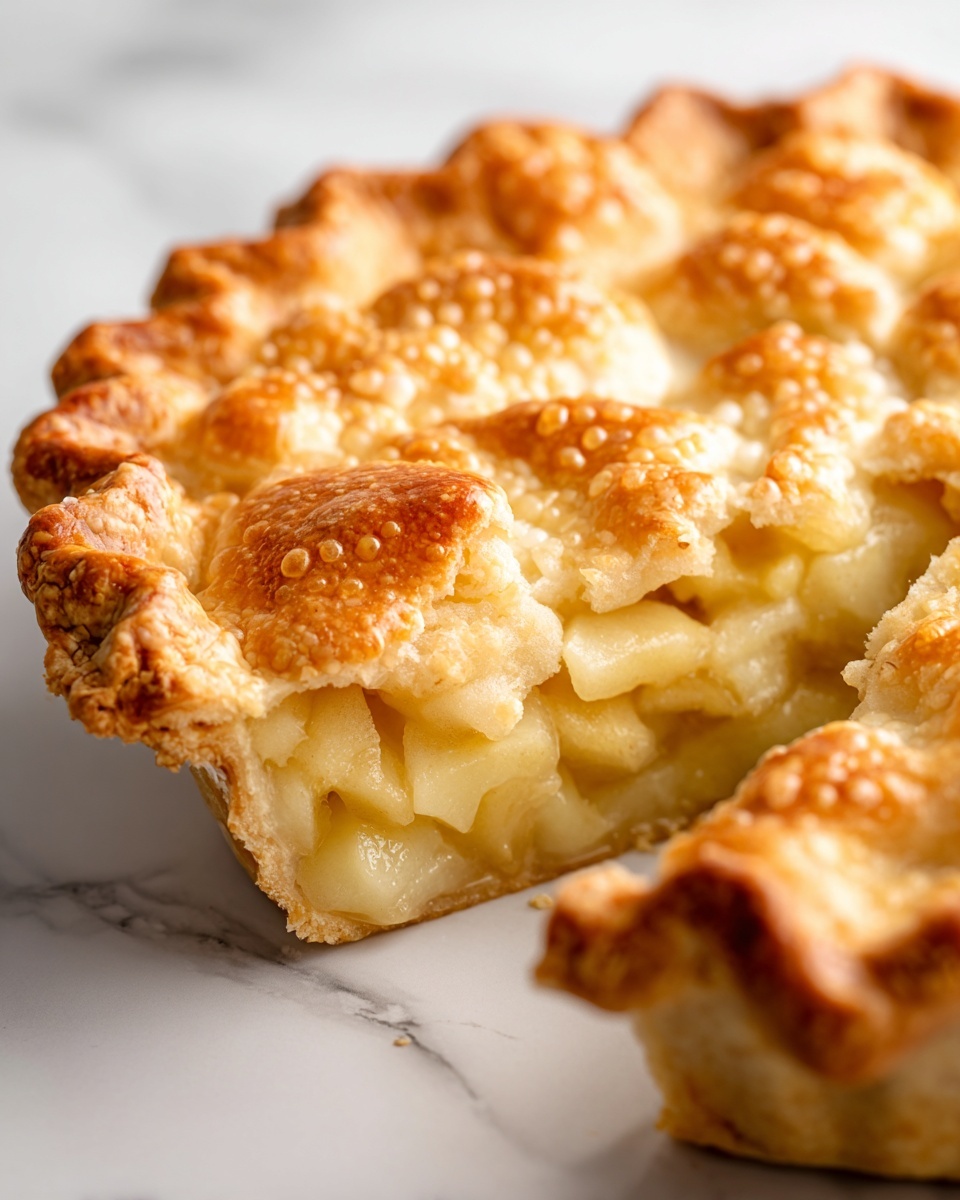
If you have ever longed for that perfect pie crust that melts in your mouth and carries just the right balance of flakiness and tenderness, look no further than this beloved Grandmother’s Classic Pie Crust Recipe. Passed down through generations, this recipe captures the heart of home baking with simple ingredients and straightforward steps, delivering a crust that’s buttery, crisp, and beautifully golden every single time. Whether you’re making a sweet or savory pie, this crust serves as the flawless foundation that brings your favorite fillings to life.
Ingredients You’ll Need
The beauty of Grandmother’s Classic Pie Crust Recipe lies in how humble yet essential the ingredients are. Each component plays a critical role—from the flour providing structure to the cold butter giving that signature flakiness, and just a touch of sugar enhancing sweetness if you prefer. Let’s take a closer look at what you’ll need:
- 2 1/2 cups all-purpose flour: Forms the sturdy base of the crust, providing necessary gluten development without toughness.
- 1 teaspoon salt: Balances the flavors and highlights the natural buttery taste.
- 1 tablespoon sugar (optional): Adds a subtle sweetness perfect for fruit or custard pies.
- 1 cup (2 sticks) unsalted butter, cold and cubed: The star ingredient that creates the flaky, tender layers.
- 6-8 tablespoons ice water: Helps bring the dough together while keeping it cool to prevent melting the butter prematurely.
How to Make Grandmother’s Classic Pie Crust Recipe
Step 1: Combine the Dry Ingredients
Start by sifting together the flour, salt, and optional sugar in a large mixing bowl. This ensures an even distribution of flavors and prevents clumps, setting a smooth base for your dough to form perfectly.
Step 2: Cut in the Butter
Next, add the cold, cubed butter to the dry mixture. Using a pastry cutter, fork, or even your fingertips, work the butter into the flour until you achieve a crumbly texture with pea-sized bits of butter still visible. If you prefer using a food processor, pulse carefully to avoid overmixing. These butter bits are essential for creating a deliciously flaky crust.
Step 3: Add Ice Water Gradually
Slowly drizzle ice water over the mixture, stirring gently after each tablespoon. The goal here is to bring the dough together without overworking it. When the edges just begin to hold when pinched together, stop adding water to keep your crust tender, not tough.
Step 4: Form and Chill the Dough
Turn the dough onto a lightly floured surface and softly knead it just once or twice to gather everything into a ball. Split the dough into two equal portions, press each into a flat disc, wrap them tightly in plastic wrap, and chill in the fridge for at least an hour. The chill time lets the gluten relax and the butter firm up, making rolling out easier and the crust flakier.
Step 5: Roll Out the Dough
Once chilled, remove one disc at a time from the refrigerator. Lightly flour your work surface and rolling pin, then roll the dough evenly into a circle about 12 inches across. Carefully transfer it to your pie dish, gently pressing it into the edges and bottom without stretching. If your recipe calls for a top crust, roll out the second disc just as smoothly.
Step 6: Bake or Fill
Now your pie crust is ready to be filled with your favorite fillings. For recipes requiring a pre-baked crust, prick the bottom with a fork and bake according to instructions. Otherwise, add your filling and bake your pie to perfection. This crust will beautifully embrace both savory or sweet creations.
How to Serve Grandmother’s Classic Pie Crust Recipe
Garnishes
A flawless pie crust deserves thoughtful garnishes. Sprinkle a light dusting of powdered sugar for sweet pies right before serving to add a delicate touch. Fresh herbs or a pinch of sea salt work wonders for savory pies, enhancing aroma and flavor while accentuating the crust’s golden edges.
Side Dishes
When serving pies with Grandmother’s Classic Pie Crust Recipe, consider complementary sides that elevate the meal. A scoop of vanilla ice cream or a dollop of whipped cream pairs exceptionally well with fruit pies. For savory pies, offer a crisp green salad with a tangy vinaigrette to balance richness beautifully.
Creative Ways to Present
Presentation can make a great pie unforgettable. Try crimping the edges with a fork or pinching them into waves for a rustic look. Adding lattice strips woven atop a fruit filling provides a charming, old-fashioned vibe. For a whimsical twist, use small cookie cutters to cut shapes from excess dough and bake them as edible pie toppers.
Make Ahead and Storage
Storing Leftovers
Grandmother’s Classic Pie Crust Recipe leftovers keep well in the refrigerator for up to three days. To maintain flakiness, wrap tightly in plastic wrap or an airtight container. If your pie is already filled and baked, refrigerate promptly to keep fillings fresh and safe.
Freezing
You can freeze unbaked pie crust dough discs for up to one month. Wrap each disc individually in plastic and then place them in a freezer bag to protect them from freezer burn. When ready to bake, thaw overnight in the refrigerator and roll out as usual—just as fresh and flaky as the day you made it.
Reheating
To enjoy a warm slice with that perfect crisp crust, reheat pie in a 350°F oven for 10-15 minutes. Avoid the microwave as it can make the crust soggy. This method refreshes the texture beautifully, giving you that fresh-baked experience any time.
FAQs
Can I use margarine instead of butter for this pie crust?
While margarine can be used, butter is highly recommended for Grandmother’s Classic Pie Crust Recipe because it imparts superior flavor and flakiness. Margarine often has more water content, which can affect texture and taste.
Why is my pie crust tough instead of flaky?
Tough crust usually results from overworking the dough or adding too much water. Be gentle, use cold butter, and add water slowly only until the dough just holds together. Chilling the dough before rolling also helps maintain flakiness.
Can I make this pie crust without sugar?
Absolutely! Sugar is optional and mainly used for sweet pies. Leaving it out won’t affect the dough’s structure, making it perfect for savory pies or those who prefer less sweetness.
What if I don’t have a pastry cutter?
No worries—your fingers or two forks work just as well to cut butter into the flour. The key is to keep the butter cold and work quickly to create those pea-sized pieces essential for flakiness.
How do I prevent the crust from shrinking during baking?
Avoid stretching the dough when fitting it into the pie dish and always chill the crust before baking. You can also dock it by pricking holes in the bottom with a fork or use pie weights for blind baking to hold its shape perfectly.
Final Thoughts
Making pie crust from scratch might sound intimidating, but Grandmother’s Classic Pie Crust Recipe makes the process straightforward and rewarding. Its unbeatable flakiness and buttery flavor elevate every pie you create, turning simple ingredients into comforting memories. I encourage you to roll up your sleeves and give this recipe a try—you might just find it becoming your own family’s treasured tradition.
“`
Print
Grandmother’s Classic Pie Crust Recipe
- Prep Time: 15 minutes
- Cook Time: Varies depending on pie filling, typically 45-60 minutes
- Total Time: 1 hour 15 minutes (including chilling time)
- Yield: 9 servings (enough for two 9-inch pie crusts)
- Category: Baking
- Method: Baking
- Cuisine: American
- Diet: Vegetarian
Description
This traditional Grandmother’s Pie Crust recipe yields a flaky, buttery crust perfect for both sweet and savory pies. Made from simple pantry staples like flour, cold butter, and ice water, this pie crust is easy to prepare and versatile enough to use as a bottom or top crust in your favorite pie recipes.
Ingredients
Dry Ingredients
- 2 1/2 cups all-purpose flour
- 1 teaspoon salt
- 1 tablespoon sugar (optional, for sweet pies)
Wet Ingredients
- 1 cup (2 sticks) unsalted butter, cold and cut into small cubes
- 6–8 tablespoons ice water (more if needed)
Instructions
- Combine dry ingredients: In a large mixing bowl, whisk together the all-purpose flour, salt, and sugar (if using) until fully blended.
- Cut in the butter: Using a pastry cutter, fork, or your fingertips, cut the cold butter into the flour mixture until the texture resembles coarse crumbs with pea-sized bits of butter. If preferred, you can pulse the mixture in a food processor for a few seconds to achieve the same consistency.
- Add ice water: Gradually sprinkle 6 to 8 tablespoons of ice water over the mixture, mixing gently with a fork until the dough begins to hold together when pinched. Add more water if necessary but be careful not to overwork the dough to maintain flakiness.
- Form the dough: Lightly knead the mixture once or twice in the bowl to bring it together into a cohesive ball. Avoid over-kneading to keep the crust tender.
- Divide and chill: Split the dough ball in half and shape each half into a flat disc. Wrap each disc in plastic wrap and chill in the refrigerator for at least 1 hour before using.
- Roll out the dough: Remove one disc from the refrigerator and, on a lightly floured surface, roll it out into a circle slightly larger than your pie dish. Carefully transfer the dough to the pie dish, pressing it gently into the bottom and sides to fit snugly without stretching.
- Prepare top crust (optional): If your pie requires a top crust, repeat the rolling process with the second disc of dough.
- Fill and bake: For a filled pie, add your preferred filling to the crust and bake according to your pie recipe’s instructions. Alternatively, if pre-baking (blind baking), follow your specific instructions for that process.
Notes
- Keep all ingredients cold to ensure a flaky crust.
- Do not overwork the dough; this prevents a tough crust.
- Use ice water sparingly; add just enough to bring the dough together.
- You can chill the dough discs overnight for better flavor and easier handling.
- If making a sweet pie, include the optional sugar in the dry ingredients.
- For blind baking, prick the dough with a fork and weigh it down with pie weights or dried beans before baking.


