
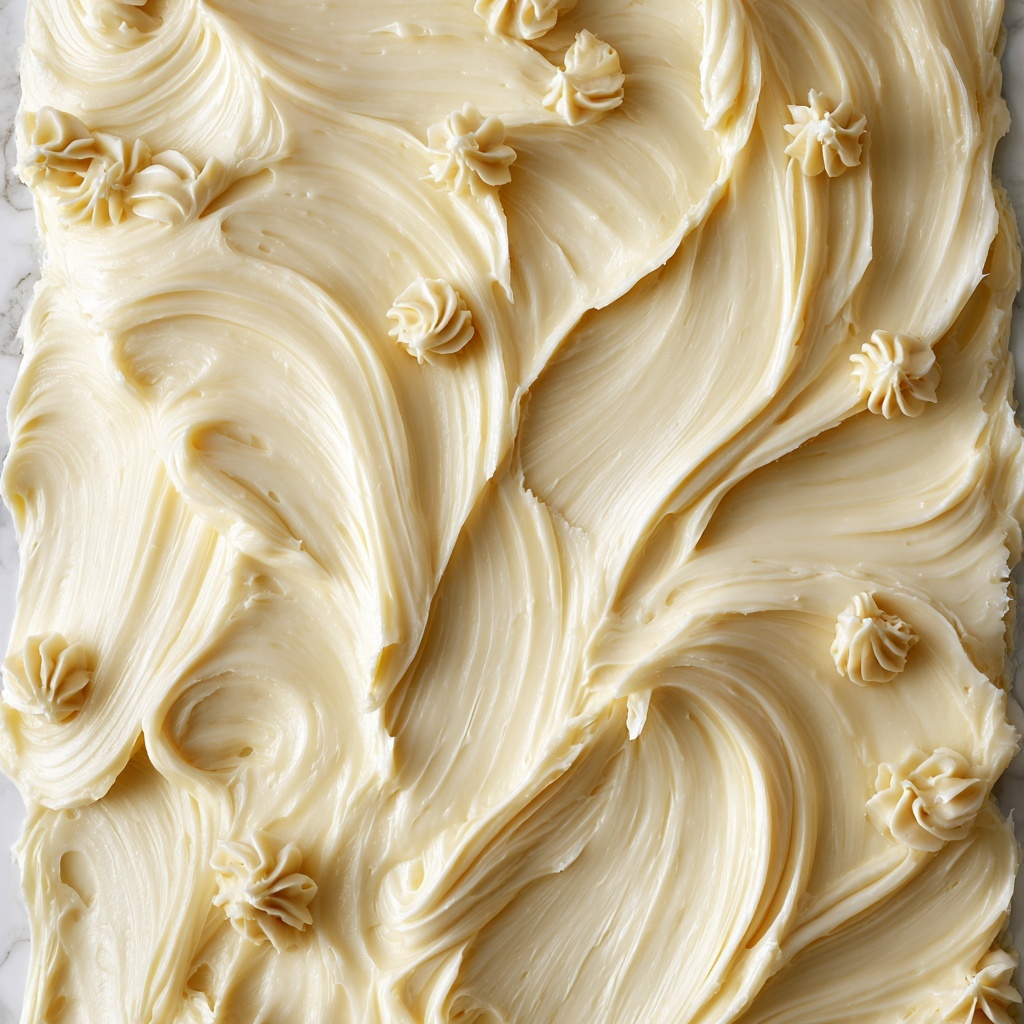
If you have ever dreamed of making your own creamy, dreamy dessert at home, look no further than this Classic Vanilla Ice Cream Recipe. It captures the essence of rich, velvety vanilla combined with the perfect balance of sweetness and smooth texture. This recipe offers a timeless treat that’s both satisfying and straightforward to prepare, making it an absolute favorite for family gatherings, warm afternoons, or whenever you crave a taste of pure comfort. Trust me, once you master this Classic Vanilla Ice Cream Recipe, you won’t want to go back to store-bought again.
Ingredients You’ll Need
The magic of this Classic Vanilla Ice Cream Recipe lies in its simple yet carefully chosen ingredients. Each element plays an essential role from flavor to texture, ensuring every scoop is perfectly creamy and deeply satisfying.
- Heavy Cream (2 cups/500 ml): Provides the luscious richness and smooth body required for silky ice cream.
- Whole Milk (1 cup/250 ml): Lightens the cream for a balanced texture and enhances the custard base.
- Granulated Sugar (3/4 cup/150 g): Sweetens the ice cream just right and helps achieve a soft, scoopable consistency.
- Vanilla Bean (1) or Pure Vanilla Extract (2 tsp): Delivers that iconic, aromatic vanilla flavor that’s absolutely essential in this recipe.
- Egg Yolks (4 large): Create the velvety custard foundation that gives the ice cream body and creaminess.
How to Make Classic Vanilla Ice Cream Recipe
Step 1: Prepare the Vanilla
If you’re lucky enough to have a vanilla bean, split it lengthwise and scrape out the tiny seeds—those little specks hold intense flavor! Adding both the seeds and pod to your cream and milk infuses the mixture naturally with rich vanilla notes. If you’re using vanilla extract, save it for later so the flavor stays fresh and vibrant.
Step 2: Heat the Milk and Cream
Combine the cream, milk, and half of your sugar in a saucepan. Warm it over medium heat while stirring until the mixture just reaches a gentle simmer. Be careful not to let it boil; this ensures you don’t lose any of the creamy texture that makes this ice cream so indulgent.
Step 3: Whisk the Egg Yolks
In a separate bowl, whisk the egg yolks together with the remaining sugar until they become pale and slightly thickened. This step adds air and sweetness, preparing the yolks to enrich the custard base beautifully.
Step 4: Temper the Eggs
To avoid scrambling, slowly whisk about half a cup of the hot milk mixture into the egg yolks. This warms the eggs gradually. Then, pour the combined yolks and milk back into the saucepan, ready for the crucial cooking step.
Step 5: Cook the Custard
Over low heat, stir your mixture constantly until it thickens enough to coat the back of a spoon and reaches around 170 to 175 degrees Fahrenheit (77 to 80 degrees Celsius). This gentle cooking creates a silky custard base that’s the heart and soul of classic vanilla ice cream. Remove from heat immediately to prevent curdling.
Step 6: Add Vanilla Extract
If you opted for vanilla extract instead of the bean, stir it in now to preserve the vibrant aroma and flavor that make vanilla ice cream a timeless favorite.
Step 7: Chill the Custard
For best results, strain the custard through a fine mesh sieve into a clean bowl to remove any bits. Cover tightly with plastic wrap pressed directly onto the surface to prevent a skin from forming. Then chill it thoroughly for at least four hours or overnight. This cooling step is key for developing the perfect texture and depth of flavor in your ice cream.
Step 8: Churn the Ice Cream
Pour your chilled custard into an ice cream maker and churn according to the manufacturer’s instructions until it reaches a soft, creamy consistency. If you don’t have a machine, pour the mixture into a shallow container and freeze, stirring vigorously every hour for 3 to 4 hours to mimic the churning process and keep the ice cream smooth.
Step 9: Freeze and Serve
Transfer your churned ice cream into an airtight container and freeze it for an additional two hours or more to firm up perfectly. When you scoop it out, you’ll be greeted with that unmistakable creamy texture and heavenly vanilla flavor that make every spoonful worth savoring.
How to Serve Classic Vanilla Ice Cream Recipe
Garnishes
Classic Vanilla Ice Cream Recipe is a versatile canvas that shines even brighter with the right garnishes. Fresh berries, a drizzle of warm chocolate sauce, or even a sprinkle of toasted nuts enhance its flavor and add delightful textures. A simple mint leaf can give a refreshing pop of color and aroma.
Side Dishes
Pair this ice cream with warm desserts like apple pie, brownies, or a slice of rich chocolate cake. The contrast of warm and cold makes every bite a little celebration. It’s also lovely alongside fresh fruit or a tangy berry compote to add brightness and balance to the creamy sweetness.
Creative Ways to Present
Impress your friends by serving scoops in waffle cones, atop homemade sundaes, or even inside delicate crepes for a decadent treat. You can also freeze the ice cream in small silicone molds to create elegant, individual frozen treats perfect for parties or a special dessert plate.
Make Ahead and Storage
Storing Leftovers
Leftover Classic Vanilla Ice Cream Recipe should be stored in an airtight container to prevent freezer burn and preserve its creamy texture. Press a piece of parchment or wax paper on the surface before sealing to keep ice crystals at bay.
Freezing
The ice cream keeps beautifully in the freezer for up to two weeks. For the freshest flavor and texture, try to enjoy it within this period. If it feels too hard, let it soften at room temperature for a few minutes before scooping.
Reheating
While ice cream doesn’t get reheated traditionally, allowing it to sit for about 5 minutes at room temperature before serving softens it just right. Avoid microwaving, as it will melt unevenly and ruin the texture.
FAQs
Can I use just vanilla extract instead of a vanilla bean?
Absolutely! While vanilla beans offer a rich, natural flavor with those beautiful specks, pure vanilla extract is a wonderful substitute and is easier to find. Just add it after cooking so the flavor stays bright and fresh.
What if I don’t have an ice cream maker?
No worries at all. This Classic Vanilla Ice Cream Recipe can be made without a machine by freezing the custard in a shallow container and stirring it every hour to break up ice crystals. It takes a bit more attention but still yields tasty results.
How do egg yolks improve the ice cream?
Egg yolks act as a natural emulsifier and thickener, creating that irresistibly smooth and creamy custard base. They give the ice cream body and richness that you just can’t get from simple cream and sugar alone.
Can I make this recipe dairy-free?
This particular Classic Vanilla Ice Cream Recipe relies on dairy for its traditional texture and flavor. However, you can experiment with dairy-free milks and creams, but results will vary, and you may need stabilizers for the best texture.
What’s the best way to store the ice cream long-term?
Store it in an airtight, freezer-safe container with a tight-fitting lid. To prevent ice crystals, cover the surface with plastic wrap or parchment paper before sealing. Keeping your freezer at a consistent, cold temperature also helps maintain quality.
Final Thoughts
There is something truly special about making ice cream from scratch, and this Classic Vanilla Ice Cream Recipe is the perfect way to start. Its balance of simplicity and elegance makes it a lasting crowd-pleaser. So, put on your apron, gather your ingredients, and treat yourself to the homemade magic of vanilla ice cream—you’ll be smiling with every spoonful!
Print
Classic Vanilla Ice Cream Recipe
- Prep Time: 15 minutes
- Cook Time: 20 minutes
- Total Time: 5 hours 35 minutes
- Yield: 6 servings
- Category: Dessert
- Method: Stovetop
- Cuisine: American
Description
Classic Vanilla Ice Cream is a rich and creamy homemade treat made with real vanilla beans or pure vanilla extract, heavy cream, whole milk, and egg yolks. Its smooth texture and authentic vanilla flavor make it a perfect dessert for any occasion. This recipe involves making a custard base, chilling it, then churning to achieve a luscious, scoopable ice cream.
Ingredients
Ice Cream Base
- 2 cups (500 ml) heavy cream
- 1 cup (250 ml) whole milk
- 3/4 cup (150 g) granulated sugar, divided
- 1 vanilla bean (or 2 tsp pure vanilla extract)
- 4 large egg yolks
Instructions
- Prepare the Vanilla: If using a vanilla bean, split it lengthwise and scrape out the seeds. Add the seeds and the vanilla pod to a saucepan along with the cream and milk. If using vanilla extract, wait to add it later in the process.
- Heat the Milk and Cream: Place the cream, milk, and half of the sugar in the saucepan over medium heat. Stir continuously until the mixture reaches a gentle simmer, making sure it does not boil.
- Whisk the Egg Yolks: In a separate bowl, whisk the egg yolks with the remaining sugar until the mixture is pale in color and slightly thickened.
- Temper the Eggs: Slowly pour about 1/2 cup of the hot milk and cream mixture into the egg yolks while whisking constantly to prevent curdling. Then, pour this tempered egg mixture back into the saucepan with the remaining milk mixture.
- Cook the Custard: Cook over low heat, stirring constantly, until the custard thickens and reaches a temperature between 170–175°F (77–80°C). Be careful not to overheat or boil. Once thickened, immediately remove from heat.
- Add Vanilla Extract: If using vanilla extract instead of a bean, stir it into the custard after removing it from heat.
- Chill the Custard: Strain the custard through a fine mesh sieve into a clean bowl to remove the vanilla pod and any cooked egg bits. Cover the bowl tightly with plastic wrap and refrigerate for at least 4 hours or overnight until thoroughly chilled.
- Churn the Ice Cream: Pour the chilled custard into an ice cream maker and churn according to the manufacturer’s instructions until it reaches a soft-serve consistency. For a no-churn option, freeze the custard in a shallow dish, stirring vigorously every hour for 3 to 4 hours to break up ice crystals.
- Freeze and Serve: Transfer the churned ice cream to an airtight container and freeze for at least 2 hours until firm. Scoop and enjoy your homemade classic vanilla ice cream.
Notes
- Use a candy or instant-read thermometer for accurate custard temperature.
- For a stronger vanilla flavor, use quality vanilla beans rather than extract.
- If you don’t have an ice cream maker, the no-churn method works well but requires more stirring during freezing to maintain creaminess.
- Be careful not to overheat the custard to prevent curdling.
- Storing the ice cream in an airtight container helps prevent ice crystals and freezer burn.

