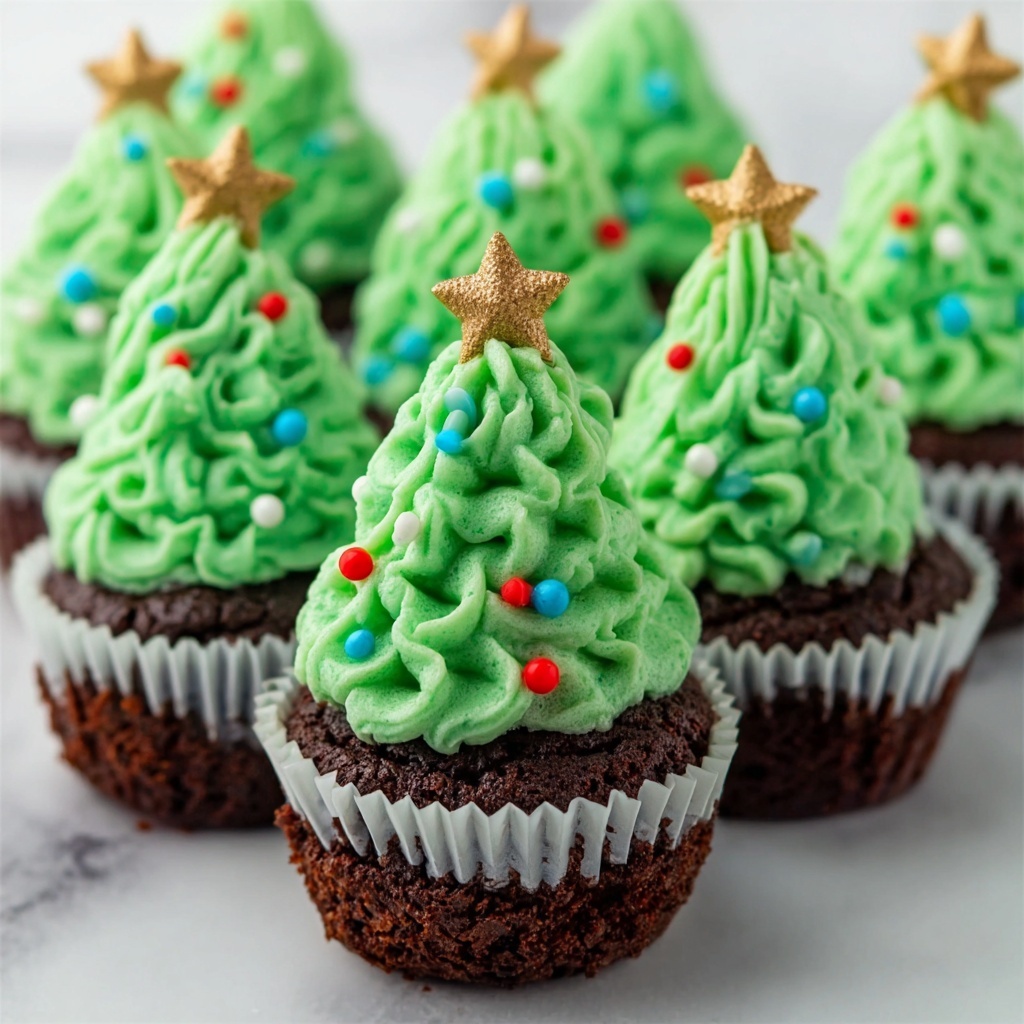
Nothing captures the festive spirit quite like these adorable and delicious Christmas Tree Brownie Cups Recipe. Imagine bite-sized fudgy brownies transformed into charming Christmas trees, topped with vibrant green frosting and decorated with colorful sprinkles and mini candy canes. They’re perfect for holiday parties, gift-giving, or simply bringing a cozy, joyful atmosphere to any gathering. This recipe blends simplicity with creativity, making it a guaranteed crowd-pleaser that’s as fun to make as it is to eat.
Ingredients You’ll Need
These ingredients are straightforward, yet each plays a vital role in creating that perfect balance of rich brownie flavor, festive green frosting, and delightful holiday charm. Using a mix ensures ease without sacrificing taste, while the decorations bring playful color and texture.
- Brownie mix (18–19 oz): The base of the dessert, providing a fudgy, chocolaty foundation with minimal effort.
- Eggs, oil, and water: These essentials activate and bind the brownie mix, ensuring moist and tender brownie cups.
- Green frosting or buttercream: Whether store-bought or homemade, this is key to creating the iconic Christmas tree look.
- Mini candy canes (cut in half): These serve as adorable tree trunks, adding a minty crunch and visual appeal.
- Holiday sprinkles or mini M&M’s: Perfect little ornaments to decorate your brownie trees with festive colors and texture.
- Powdered sugar (optional): A light dusting can mimic fresh snow, enhancing the winter wonderland feel.
How to Make Christmas Tree Brownie Cups Recipe
Step 1: Prepare Your Baking Setup
Preheat your oven to 350°F (175°C). Grease a mini muffin tin or line it with mini cupcake liners to ensure your brownie cups come out perfectly without sticking. This prep step lays the groundwork for an easy baking experience.
Step 2: Mix and Fill
Follow the package directions to prepare the brownie batter, combining eggs, oil, and water with the mix. Once smooth, fill each mini muffin cup about three-quarters full—the perfect amount to give you that rich, fudgy texture without overflow.
Step 3: Bake and Cool
Bake the brownie cups for 12 to 15 minutes, keeping an eye on them until the centers are just set and a toothpick reveals a few moist crumbs. This ensures your brownies stay chewy and dense. When done, let them cool in the pan for 10 minutes before transferring to a wire rack to cool completely—this cooling time is crucial for easy frosting later.
Step 4: Frost Your Trees
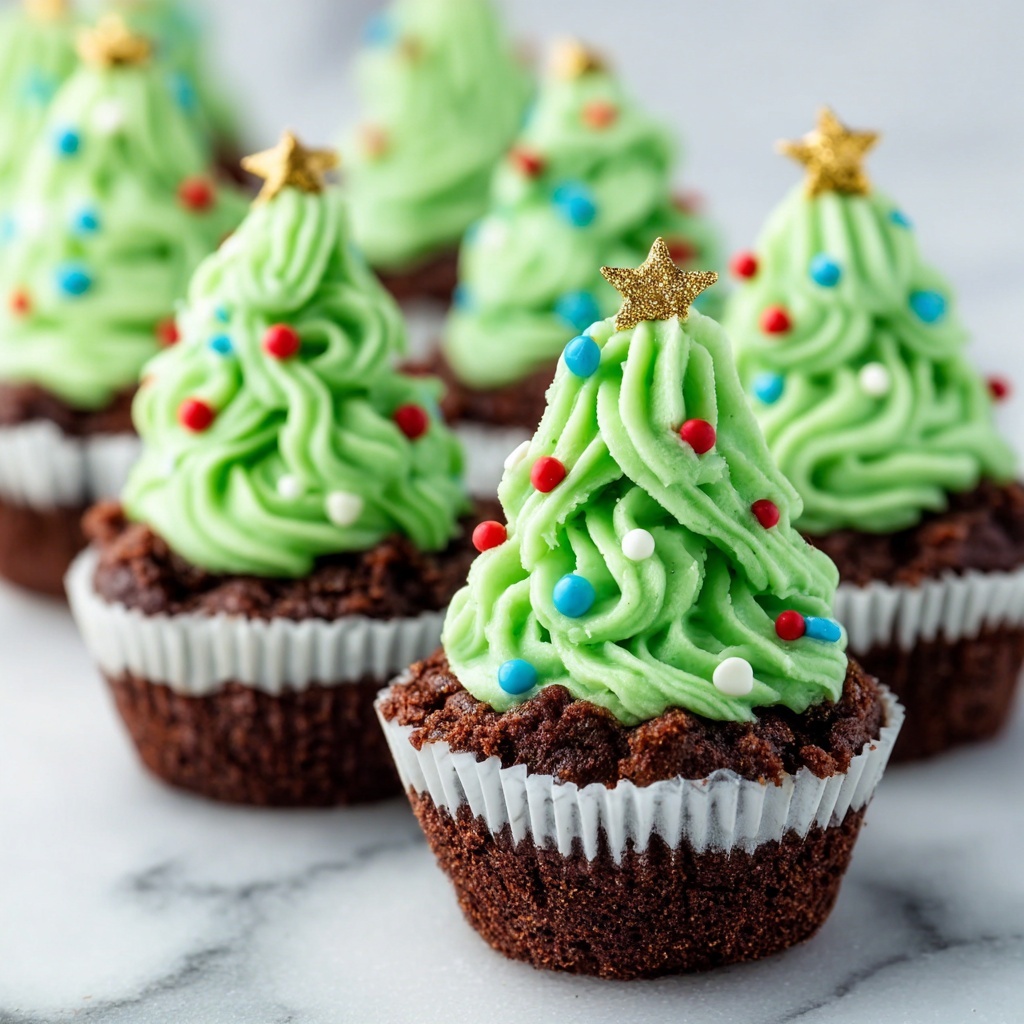
Once your brownies have completely cooled, pipe green frosting into swirled cone shapes on top of each brownie. The frosting mimics the fluffy, layered branches of a Christmas tree and adds a luscious creamy texture.
Step 5: Decorate with Mini Candy Canes and Sprinkles
Insert half a mini candy cane into the side of each frosted brownie to form the tree trunk. Then sprinkle holiday sprinkles or mini M&M’s over the frosting, creating colorful “ornaments” that bring your mini Christmas trees to life.
Step 6: Add a Snowy Finish
For that extra holiday touch, lightly dust the tops with powdered sugar to resemble fresh snow. This optional step adds visual magic and a delicate sweetness that complements the other flavors perfectly.
How to Serve Christmas Tree Brownie Cups Recipe

Garnishes
For an extra festive feel, try topping each brownie tree with a small star-shaped sprinkle or a bright yellow candy to represent a star on top. You can also drizzle a little white chocolate over the trees to mimic twinkling lights or icicles, making your desserts truly irresistible.
Side Dishes
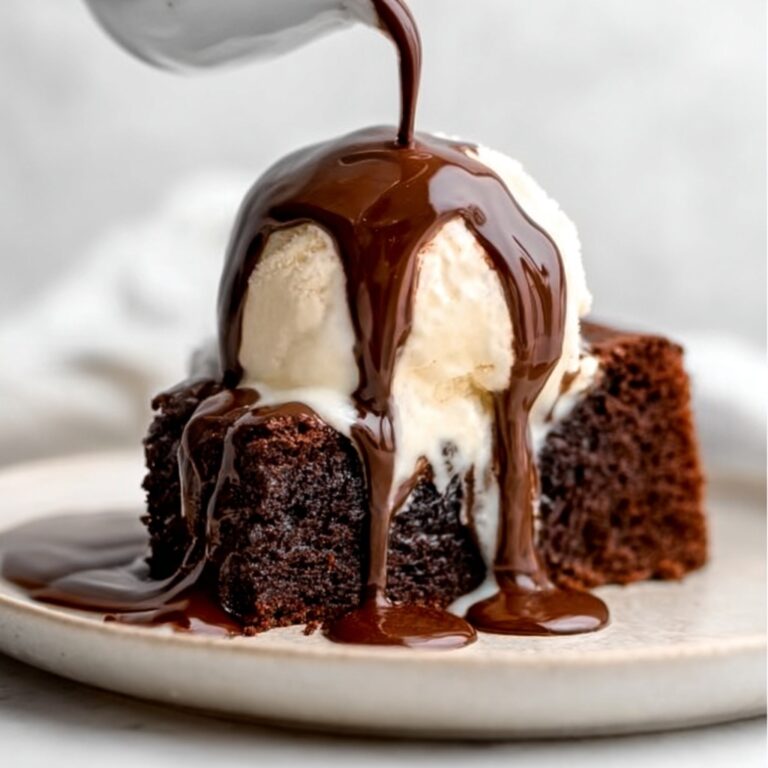
These brownie cups are fantastic on their own, but they also pair beautifully with a scoop of vanilla or peppermint ice cream for a delightful contrast of warm and cold. A cup of hot cocoa or mulled wine alongside them amps up the cozy, festive atmosphere.
Creative Ways to Present
Arrange your Christmas Tree Brownie Cups Recipe on a festive platter sprinkled with edible glitter or edible gold dust to catch the holiday light. Present them on tiered dessert stands to wow your guests, or package a handful in clear boxes tied with ribbon for charming holiday gifts that everyone will appreciate.
Make Ahead and Storage
Storing Leftovers
You can store leftover brownie cups in an airtight container at room temperature for up to 3 days without losing their delicious fudgy texture. If you refrigerate, keep them covered well to prevent drying out, but bring them back to room temperature before serving for the best flavor.
Freezing
To enjoy these treats longer, freeze the brownie cups without frosting in a single layer on a baking sheet until firm, then transfer them to an airtight container or freezer bag. They’ll keep well for up to 3 months. Thaw fully before frosting and decorating to preserve their freshness and shape.
Reheating
If you need to warm your brownies, pop them in the microwave for about 10 to 15 seconds—just enough to take the chill off and soften the texture, but not melt the frosting if already applied. This quick reheating rejuvenates the fudginess and makes each bite melt in your mouth.
FAQs
Can I make the frosting from scratch?
Absolutely! Homemade buttercream or cream cheese frosting dyed green can add a fresh and personalized touch. It allows you to control the sweetness and consistency, which can make your Christmas Tree Brownie Cups Recipe even more special.
What can I use if I don’t have mini candy canes?
If mini candy canes aren’t available, try pretzel sticks or small cinnamon sticks to mimic the tree trunks. Both add an appealing crunch and complement the brownie’s rich flavor.
Can I make these gluten-free?
Yes, substitute the brownie mix with a gluten-free version and check your sprinkles and candy canes for gluten-containing ingredients. This swap keeps your dessert inclusive without compromising on that festive look and taste.
Is there a way to make these without baking?
If you’re short on time, you can prepare no-bake brownie bites or purchase ready-made brownie bites and decorate them with green frosting and candy canes to create a similar effect. While not exactly the same, it’s a fun shortcut for last-minute celebrations.
How long do these brownie cups last after decorating?
Once frosted and decorated, it’s best to enjoy the Christmas Tree Brownie Cups Recipe within 1 to 2 days for optimal freshness. The frosting can dry out over time, but storing them in a cool place with a loose cover helps keep them moist and beautiful.
Final Thoughts
If you’re looking to add a sprinkle of magic and joy to your holiday dessert table, you simply must try this Christmas Tree Brownie Cups Recipe. It’s easy, charming, and delightfully delicious—a true crowd-pleaser that brings smiles with every bite. From the fudgy brownie base to the sweet, vibrant decorations, these mini treats capture the essence of holiday cheer, making your celebrations all the more memorable.
Print
Christmas Tree Brownie Cups Recipe
- Prep Time: 15 minutes
- Cook Time: 15 minutes
- Total Time: 30 minutes plus cooling time
- Yield: 24 mini brownie cups
- Category: Dessert
- Method: Baking
- Cuisine: American
- Diet: Vegetarian
Description
Celebrate the holiday season with these festive Christmas Tree Brownie Cups. These bite-sized treats combine rich, fudgy brownie bases topped with swirled green frosting shaped like Christmas trees. Decorated with mini candy cane trunks and colorful holiday sprinkles, they are perfect for gifting or serving at holiday parties.
Ingredients
Brownie Base
- 1 box (18–19 oz) brownie mix
- Eggs as called for on the box
- Oil as called for on the box
- Water as called for on the box
Decorations
- Green frosting or buttercream (store-bought or homemade)
- Mini candy canes, cut in half to form tree trunks
- Holiday sprinkles or mini M&M’s (for decorations)
- Powdered sugar (optional, for snow effect)
Instructions
- Preheat and Prepare: Preheat your oven to 350°F (175°C). Grease a mini muffin tin or line it with mini cupcake liners to prevent sticking.
- Make the Brownie Batter: Prepare the brownie batter following the package directions by combining the brownie mix with the required eggs, oil, and water until smooth.
- Fill the Muffin Tin: Spoon the batter into the muffin cups, filling each about three-quarters full to allow room for rising.
- Bake the Brownies: Bake for 12–15 minutes, or until the centers are just set and a toothpick inserted comes out with a few moist crumbs.
- Cool the Brownies: Let the brownie cups cool in the pan for 10 minutes, then remove them and transfer to a wire rack to cool completely.
- Decorate the Trees: Once cooled, pipe green frosting on top of each brownie in a swirled cone shape to resemble a Christmas tree.
- Add Candy Cane Trunks: Insert half a mini candy cane into the side of each frosted brownie to mimic the tree trunk.
- Apply Ornaments: Decorate the frosted trees with holiday sprinkles or mini M&M’s as festive ornaments.
- Optional Snow Effect: Lightly dust the decorated brownie trees with powdered sugar for a snowy look, if desired.
Notes
- Use a star-shaped sprinkle or a small yellow candy on top to create a tree topper for a completed Christmas tree look.
- These brownie cups are ideal for holiday parties or gifting to friends and family.
- Allow brownies to cool completely before frosting to prevent the frosting from melting.


