
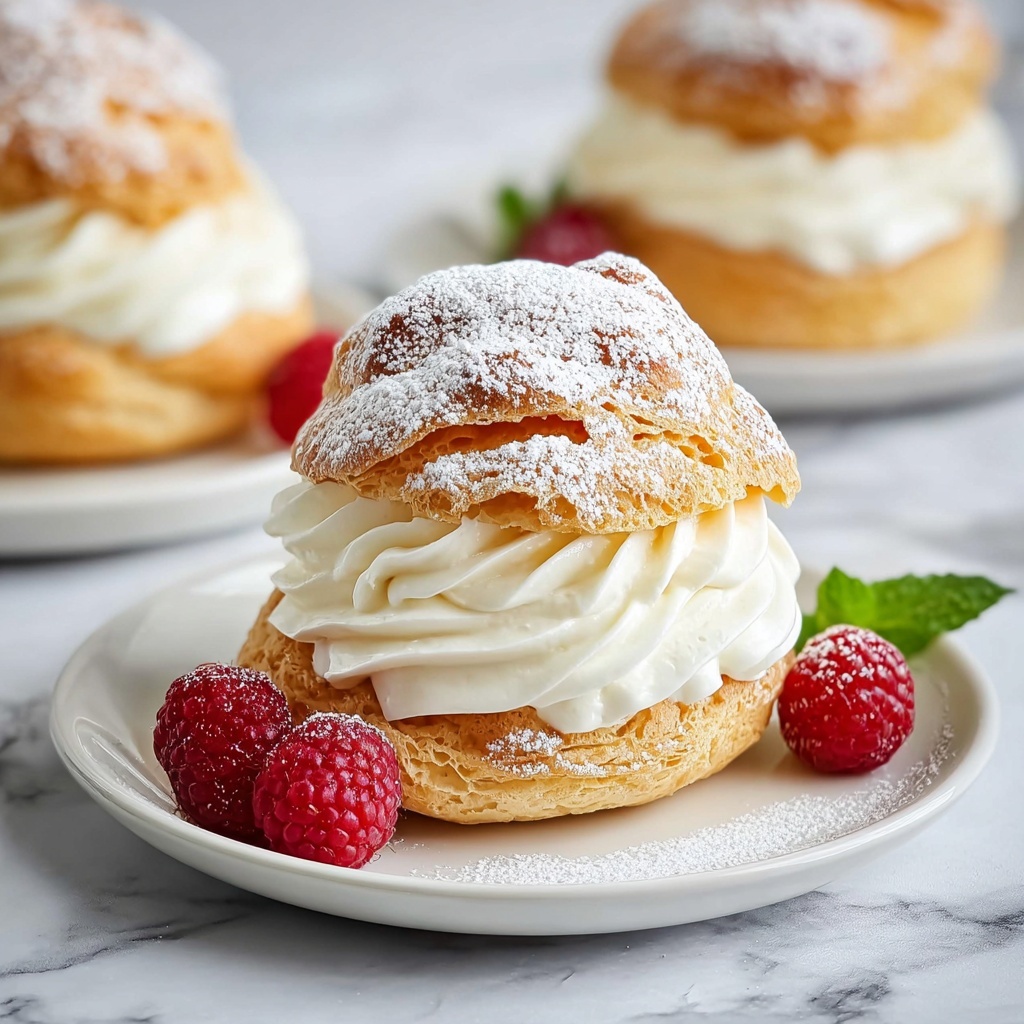
If you’ve ever admired those light, airy pastries at a bakery and wished you could make them at home, then this Choux Pastry (Pâte à Choux) Recipe is going to be a game changer. This classic French dough is truly magical: it puffs up to create perfect pockets of crispness outside with a soft, hollow interior ready to be filled with anything from luscious cream to savory delights. Whether you’re aiming to impress at a party or simply indulge a craving, mastering this Choux Pastry (Pâte à Choux) Recipe will give you a go-to foundation for countless delicious creations.

Ingredients You’ll Need
The beauty of this Choux Pastry (Pâte à Choux) Recipe lies in its simplicity. It calls for common kitchen staples, but each ingredient plays a crucial role in achieving that delicate texture and mouthwatering flavor. Let’s dive into what you’ll need:
- ½ cup water: Provides moisture and helps steam the dough to puff beautifully in the oven.
- ½ cup milk: Adds richness and contributes to the tender crumb inside your pastry.
- ½ cup unsalted butter: Crucial for flavor and creates the dough’s smooth, elastic texture.
- ¼ teaspoon salt: Enhances overall flavor without overpowering the subtle sweetness.
- 2 teaspoons sugar: A touch of sweetness that balances the pastry perfectly.
- 1 cup all-purpose flour: The structure powerhouse that binds everything together.
- 4 large eggs, beaten: The stars of the show, eggs give choux its unique rise and airy lightness.
- 1 large egg, beaten (for brushing): Creates that gorgeous golden sheen and helps seal the dough’s surface.
How to Make Choux Pastry (Pâte à Choux) Recipe
Step 1: Prepare Oven and Baking Sheet
First things first — preheat your oven to a toasty 425°F. Line a baking sheet with parchment paper and brush the surface with water. This little trick helps prevent sticking and encourages even browning, setting the stage for perfect puffed pastries.
Step 2: Combine Liquids and Butter
Into a medium saucepan, pour the water and milk, add the butter, salt, and sugar. Bring everything to a rolling boil over medium-high heat. The melting butter blends with the liquids to create a smooth base, essential for that tender but sturdy dough.
Step 3: Add Flour
As soon as your mixture boils, remove the pan from heat and quickly stir in the flour with a wooden spoon. You’ll feel the dough coming together, forming a smooth ball that pulls away from the pan. Pop it back on low heat and stir for 2 more minutes — this step helps cook out excess moisture, ensuring your pastry won’t be soggy.
Step 4: Cool and Add Eggs
Transfer the dough to a mixing bowl and let it cool just enough so it’s warm, not hot. This is important so you don’t scramble your eggs when adding them. Add the beaten eggs one at a time, stirring vigorously after each addition. The dough should turn glossy and smooth, the perfect consistency for piping.
Step 5: Pipe Pastries
Fill a piping bag fitted with a round tip (about 1-2 cm wide) with your choux dough. Pipe out shapes like éclairs or small rounds onto your prepared baking sheet. Size is up to you, but remember they will puff up quite a bit!
Step 6: Brush with Egg
Give your piped dough a generous brush of the beaten egg. This golden touch will give your pastries that irresistible color and finish once baked. If you see any sharp peaks or points, gently smooth them with your finger for an even rise.
Step 7: Bake
Pop your pastries onto the middle rack of your preheated oven. Bake them at 425°F for 10 minutes to jumpstart the puffing process. Then, lower the oven temperature to 375°F and bake for another 15 to 20 minutes. You’re looking for a deep golden color, and for the pastries to be puffed and dry to the touch — this means they’re perfectly crisp.
Step 8: Cool and Pierce
Remove the choux from the oven and immediately pierce each pastry with a sharp knife or toothpick to let steam escape. You don’t want trapped steam making your pastry soggy later on! Cool them completely on a wire rack before moving on.
Step 9: Fill and Serve
Now for the fun part — filling! Use whipped cream, vanilla custard, jam, or any filling you love. Whether you want sweet or savory, this Choux Pastry (Pâte à Choux) Recipe creates a blank canvas that’s ready for your delicious ideas.
How to Serve Choux Pastry (Pâte à Choux) Recipe
Garnishes
Adding a dazzling garnish can elevate your choux pastries to dessert-showstopper status. Dust powdered sugar over cream-filled puffs or drizzle with melted chocolate for instant elegance. A sprinkle of chopped nuts or fresh berries can add flavor, texture, and an inviting pop of color.
Side Dishes
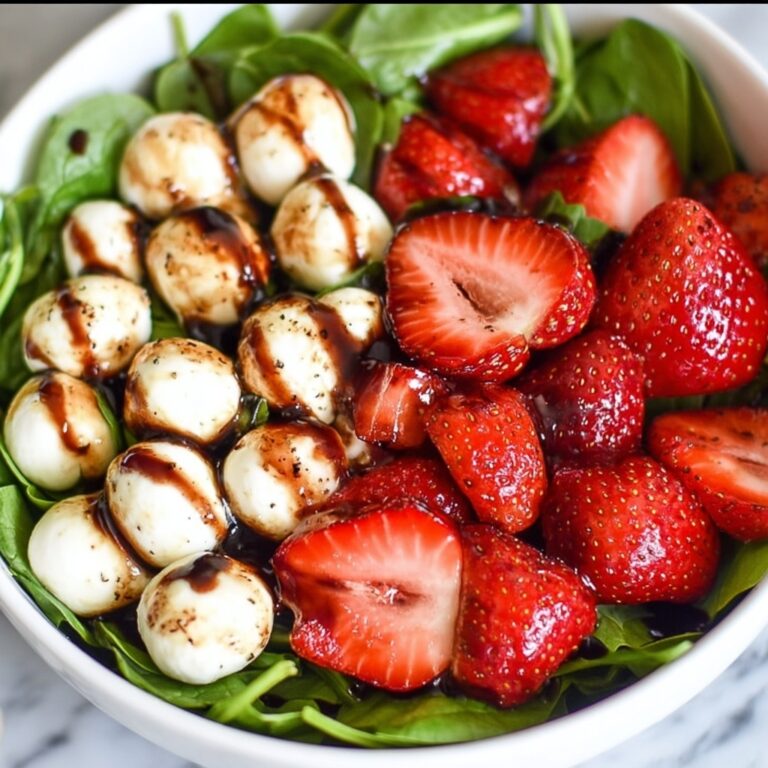
Choux pastries make fantastic accompaniments to both tea time and dinner parties. For savory versions filled with cheese or herbed cream, serve alongside a crisp green salad or a bowl of velvety soup. Sweet éclairs pair beautifully with fresh fruit salads or a scoop of ice cream for a delightful contrast.
Creative Ways to Present
Think beyond the classic presentation. Arrange your filled choux puffs into a towering croquembouche for celebration-worthy flair, or serve a trio of mini éclairs on a decorative platter with dipping sauces. This Choux Pastry (Pâte à Choux) Recipe is incredibly versatile and can fit any occasion, from casual brunches to fancy gatherings.
Make Ahead and Storage
Storing Leftovers
If you find yourself with leftovers, keep your unfilled choux pastries in an airtight container at room temperature for up to two days. Filled pastries are best stored refrigerated and eaten within 24 hours to maintain freshness and texture.
Freezing
Choux pastry freezes wonderfully. For best results, freeze the baked shells before filling in a sealed container or freezer bag for up to one month. When ready, just thaw at room temperature and fill as usual.
Reheating
To revive your choux pastry’s crispness, pop the baked shells in a 325°F oven for about 5 to 7 minutes. Avoid reheating filled pastries in the oven, as the fillings might overcook or melt. Instead, serve chilled or at room temperature.
FAQs
What makes Choux Pastry different from other doughs?
Unlike traditional pastry doughs, choux relies on steam for its rise rather than chemical leaveners. The unique cooking process of the dough on the stovetop before baking ensures its airy, hollow interior once puffed.
Can I make this Choux Pastry (Pâte à Choux) Recipe gluten-free?
While the traditional recipe calls for all-purpose flour, you can experiment with gluten-free flours designed for baking; however, results may vary, and you might need to adjust moisture and eggs to get the right consistency.
Why do my choux pastries sometimes collapse after baking?
Collapsing is often caused by underbaking or not allowing steam to escape after baking—piercing the pastries right after baking helps prevent this by releasing trapped steam and preserving their hollow structure.
Can I use this dough for both sweet and savory pastries?
Absolutely! Choux pastry is a blank canvas, perfect for sweet fillings like cream and chocolate or savory options like cheese, smoked salmon, or herbed mousses.
How should I pipe if I want éclairs instead of puffs?
Use a larger round or star tip and pipe longer, rectangular strips rather than small rounds. The length and shape will create the signature éclair form when baked.
Final Thoughts
There’s something truly special about making choux pastry at home—it’s a rewarding process that fills your kitchen with warmth and the promise of delicious treats. This Choux Pastry (Pâte à Choux) Recipe is your ticket to mastering a classic that will wow friends and family alike. Give it a try, and enjoy the endless possibilities this versatile dough unlocks. Trust me, once you’ve nailed it, there’s no going back!
Print
Choux Pastry (Pâte à Choux) Recipe
- Prep Time: 15 minutes
- Cook Time: 50 minutes
- Total Time: 1 hour 5 minutes
- Yield: 24 pastries
- Category: Dessert Pastry
- Method: Baking
- Cuisine: French
Description
Classic French Choux Pastry (Pâte à Choux) is a light, airy dough perfect for making éclairs, cream puffs, and profiteroles. This recipe combines boiling liquids with flour and eggs to create a versatile pastry base that puffs beautifully when baked, resulting in hollow shells perfect for sweet or savory fillings.
Ingredients
Liquids & Fats
- ½ cup water
- ½ cup milk
- ½ cup unsalted butter
Dry Ingredients
- ¼ teaspoon salt
- 2 teaspoons sugar
- 1 cup all-purpose flour
Eggs
- 4 large eggs, beaten
- 1 large egg, beaten, for brushing pastries
Instructions
- Prepare Oven and Baking Sheet: Preheat your oven to 425°F. Line a baking sheet with parchment paper and brush it with water to prevent the dough from sticking.
- Combine Liquids and Butter: In a medium saucepan, combine water, milk, unsalted butter, salt, and sugar. Bring the mixture to a boil over medium-high heat to melt the butter and dissolve the sugar.
- Add Flour: Remove the saucepan from heat and add the all-purpose flour all at once. Stir vigorously with a wooden spoon until the dough forms a smooth ball that pulls away from the sides of the pan.
- Cook Dough: Return the saucepan to low heat and cook the dough for another 2 minutes, stirring constantly to dry it slightly. This helps develop the dough’s structure.
- Cool Dough and Add Eggs: Transfer the dough to the bowl of a mixer and let it cool slightly. Add the beaten eggs one at a time, mixing thoroughly after each addition until the dough becomes smooth, glossy, and slightly thick but pipeable.
- Pipe Pastries: Fit a piping bag with a round tip about 1-2 cm wide. Pipe the choux dough into desired shapes such as éclairs or small balls onto the prepared baking sheet, spacing them well.
- Brush with Egg Wash: Lightly brush the piped dough with the beaten egg to give the pastries a shiny, golden finish and help them brown evenly during baking.
- Bake: Place the baking sheet in the middle rack of the preheated oven. Bake initially at 425°F for 10 minutes, then reduce the oven temperature to 375°F and continue baking for 15-20 minutes until the pastries are puffed and golden brown.
- Cool and Pierce: Remove the pastries from the oven and immediately pierce each with a knife or toothpick to release the steam inside, preventing sogginess. Allow pastries to cool completely on a wire rack.
- Fill and Serve: Once cooled, fill the hollow pastries with your favorite fillings such as whipped cream, vanilla custard, or jam. Serve fresh for best texture and flavor.
Notes
- Be sure to add the flour all at once to ensure proper dough formation.
- Adding eggs one at a time allows for better control of dough consistency. The dough should be smooth and glossy.
- Pricking the chilled pastries after baking prevents them from becoming soggy inside by releasing steam.
- You can freeze baked and cooled choux pastries after filling to preserve freshness.
- Use a kitchen towel to cover the dough while cooling to prevent it from drying out.
- The water to milk ratio creates a balance between tenderness and structure.
- The egg wash gives pastries a beautiful golden shine and crust.

