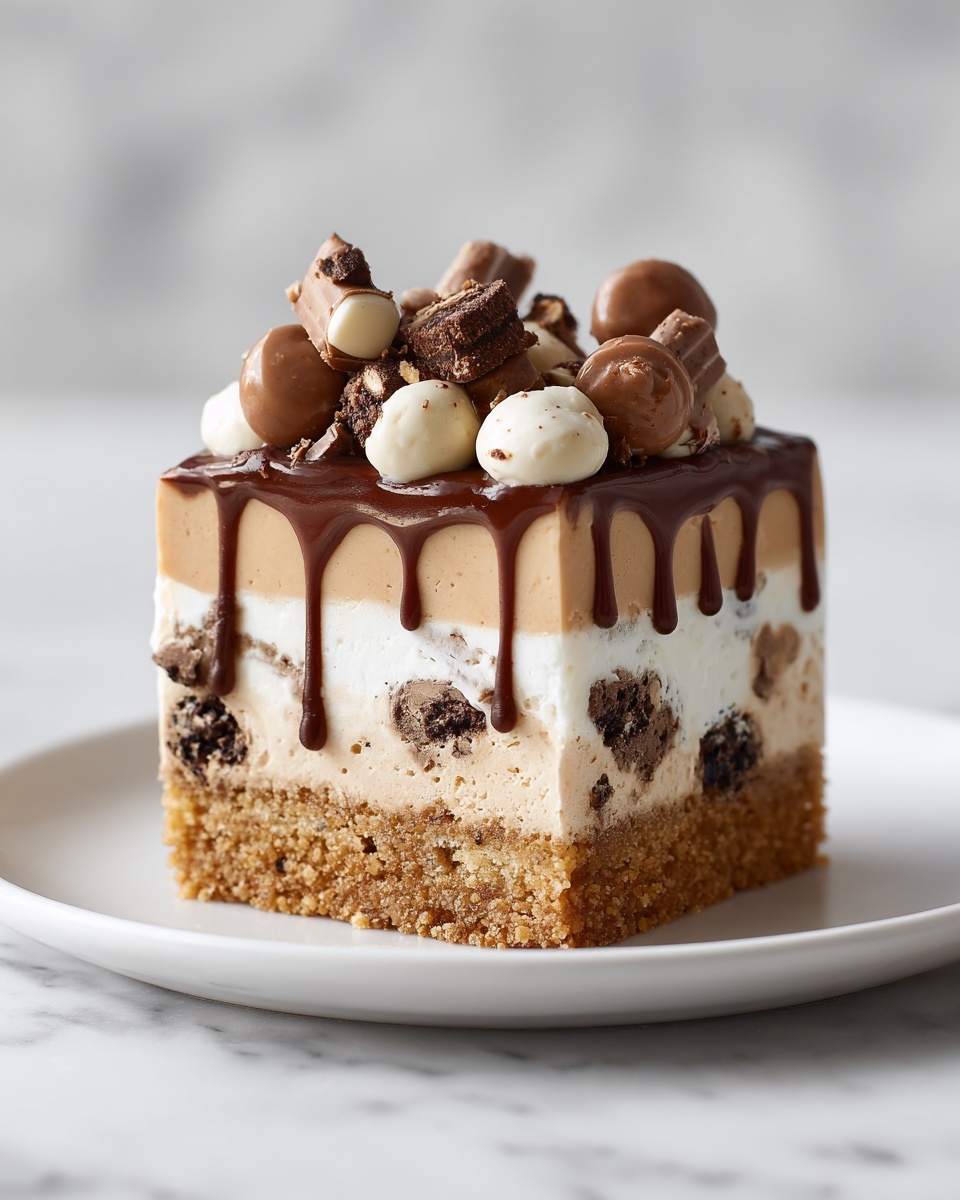
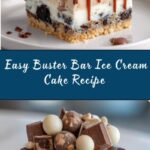
If you have a sweet tooth and love the nostalgic flavor of a candy bar, the Buster Bar Ice Cream Cake Recipe is an absolute must-try. This dreamy dessert combines the creamy comfort of vanilla ice cream with layers of rich chocolate, crunchy peanuts, gooey caramel, and soft ice cream sandwiches, resulting in a delightful texture and flavor combination that’s sure to impress any crowd. Whether you’re celebrating a special occasion or simply craving something indulgent, this dessert brings the joy of a classic candy bar to your freezer, ready to slice and serve whenever you want a cool, satisfying treat.
Ingredients You’ll Need
The magic of the Buster Bar Ice Cream Cake Recipe comes from its simplicity and balanced flavors, relying on just a few key ingredients. Each one plays an important role in creating a layered masterpiece that’s crunchy, creamy, and oh-so-chocolatey.
- Ice cream sandwiches: These provide the soft, chewy base and structure for the cake, delivering nostalgic chocolate and vanilla flavors in every bite.
- Chocolate chips: Melt down to form a rich, luscious chocolate layer that binds everything together and adds decadence.
- Unsalted butter: Helps smooth the melted chocolate, ensuring it spreads evenly and sets perfectly over the base.
- Peanuts, chopped: Bring a delightful crunch and salty contrast that elevates the sweetness without overpowering.
- Caramel sauce: Pours over the peanuts to add a gooey, sticky sweetness that complements both the nuts and chocolate deliciously.
- Vanilla ice cream: Provides a creamy, cold topping layer that softens the intense chocolate and caramel notes, finishing the cake perfectly.
How to Make Buster Bar Ice Cream Cake Recipe
Step 1: Prepare the Base
Start by lining a 9×13-inch baking dish with your ice cream sandwiches. This will serve as the cake’s bottom layer, offering a soft, chewy texture that’s both familiar and comforting. Taking care to fit them closely ensures a stable foundation for the layers above.
Step 2: Create the Chocolate Layer
Next, melt the butter and chocolate chips together, either in a microwave or over the stove, stirring continuously until smooth. Pour this rich chocolate mixture evenly over the ice cream sandwiches, covering the surface completely to help lock in flavor and texture.
Step 3: Add the Crunch with Peanuts
Sprinkle the chopped peanuts generously on top of the chocolate. This layer gives a satisfying crunch that contrasts beautifully with the smoothness of the melted chocolate and the softness of the ice cream sandwiches below.
Step 4: Drizzle Caramel Sauce
Drizzle the luscious caramel sauce over the peanuts, allowing it to seep into the gaps and combine flavors. This sticky layer adds a mouthwatering sweetness that makes this cake irresistibly good.
Step 5: Smooth on the Ice Cream
Spread a layer of vanilla ice cream evenly over the caramel, using a spatula to create a smooth, flat surface. This chilling layer balances the richness with refreshing creaminess.
Step 6: Freeze Until Firm
Place the cake in the freezer for at least 4 hours or until fully set. This step is crucial for allowing all the layers to meld together while giving the cake its signature texture.
Step 7: Slice and Enjoy
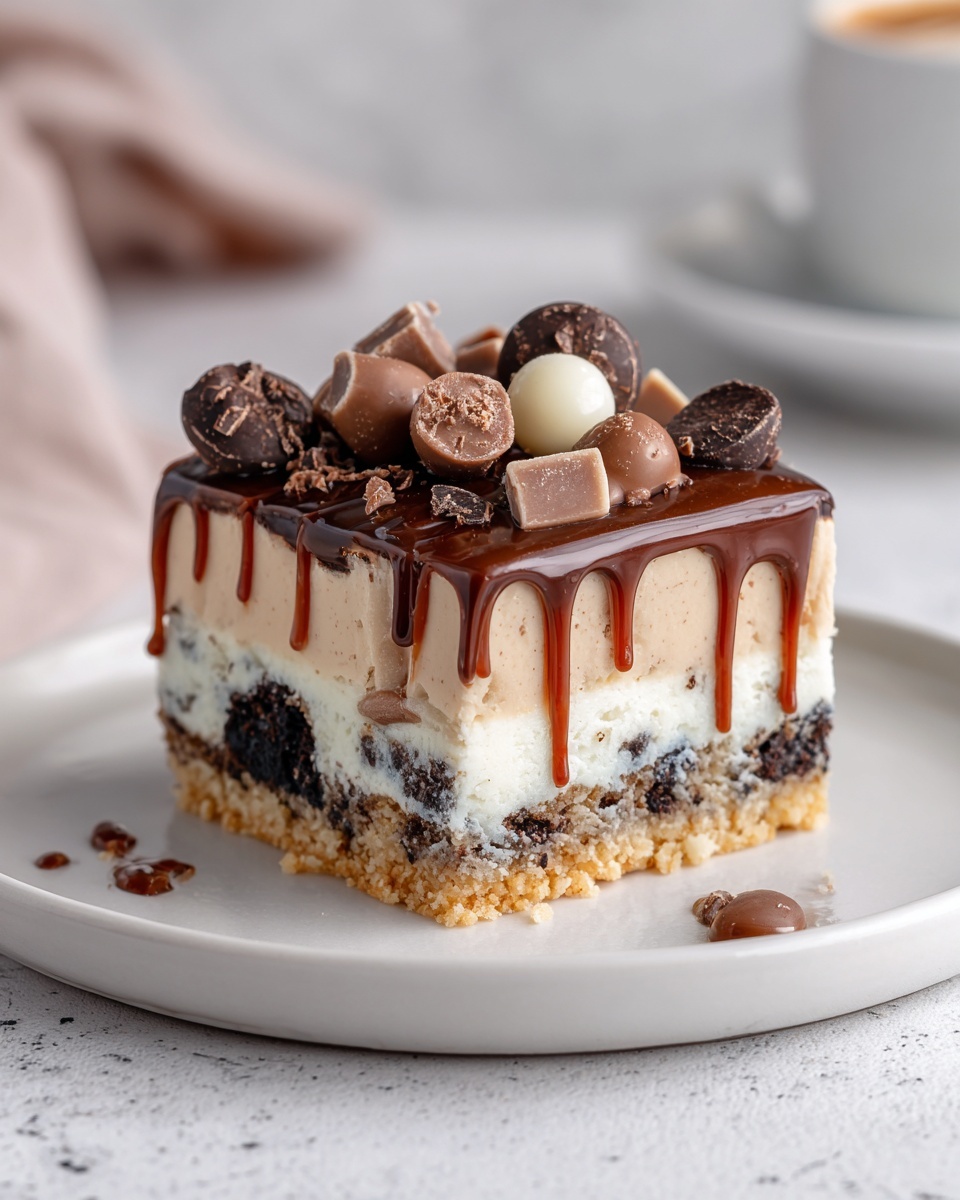
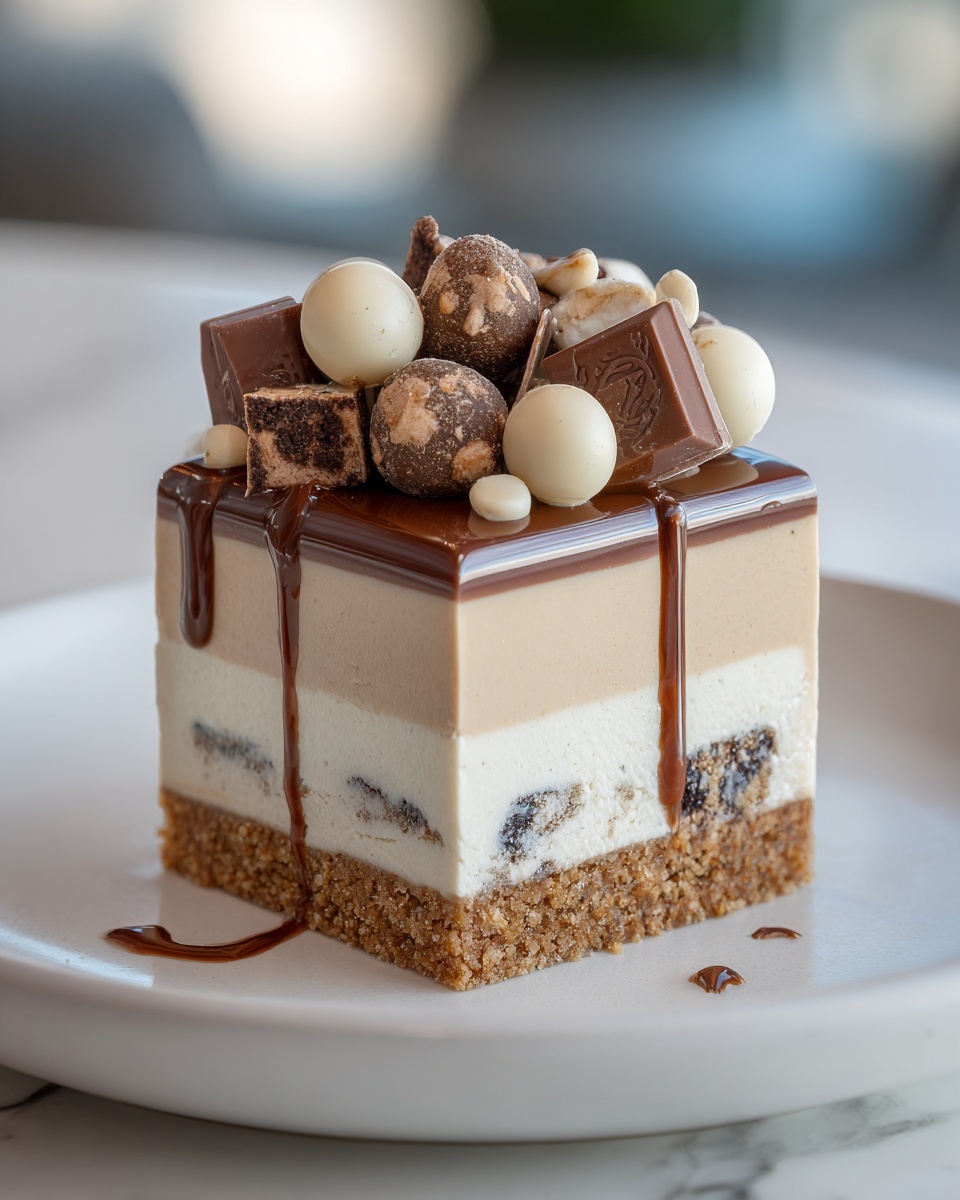
Once firm, cut into squares and serve cold for the perfect balance of flavors and textures. The Buster Bar Ice Cream Cake Recipe is meant to be enjoyed chilled for that satisfying bite of frozen decadence.
How to Serve Buster Bar Ice Cream Cake Recipe
Garnishes
A simple sprinkle of crushed peanuts or a drizzle of extra caramel sauce on top can enhance the presentation and add an extra burst of flavor with every bite. If you want to get fancy, a dollop of whipped cream with a cherry or a few mini chocolate chips scattered on top always brighten the plate.
Side Dishes
This cake stands proud as a dessert all on its own, but pairing it with a fresh fruit salad or a light berry compote can balance the sweetness and add a refreshing contrast. A cup of coffee or a creamy milkshake also complements the indulgent flavors beautifully.
Creative Ways to Present
For parties, consider layering the ingredients in individual glass cups or mini mason jars for a charming, portable version of the Buster Bar Ice Cream Cake Recipe. This not only looks stunning but lets everyone enjoy their own personal treat. You can also add a stick in each square to transform them into easy-to-eat dessert bars.
Make Ahead and Storage
Storing Leftovers
Store any leftover Buster Bar Ice Cream Cake wrapped tightly in plastic wrap or in an airtight container in the freezer. Keeping it well-covered prevents freezer burn and keeps the cake tasting fresh and delicious for up to two weeks.
Freezing
This dessert freezes beautifully—so it’s a great make-ahead option for celebrations or last-minute cravings. After assembling, simply cover and freeze until ready to serve. When you want to enjoy it, just slice and serve straight from the freezer for the best texture.
Reheating
This ice cream cake is best enjoyed cold and should not be heated. Allowing it to soften at room temperature for a few minutes before serving makes cutting easier but avoid leaving it out for too long to maintain that refreshing, frozen texture.
FAQs
Can I use different types of ice cream for this cake?
Absolutely! While vanilla is classic and balances the other flavors perfectly, you can substitute any flavor you love. Chocolate, peanut butter, or even a fruity ice cream would create a fun twist on the Buster Bar Ice Cream Cake Recipe.
Is this recipe gluten-free?
The traditional ice cream sandwiches usually contain gluten, so to make this dessert gluten-free, seek out gluten-free ice cream sandwiches or create your own base with gluten-free cookies.
How long does it take to set in the freezer?
You’ll want to freeze the cake for at least 4 hours, but overnight is best for a firmer texture that slices cleanly. This ensures all the flavors meld together beautifully.
Can I make this cake ahead of time for a party?
Yes! The Buster Bar Ice Cream Cake Recipe is perfect for making ahead since it freezes well. Prepare it the day before your event to save time and stress on the big day.
What’s the best way to cut the cake without it melting?
Use a sharp knife warmed slightly by running under hot water and then wiped dry. This helps make smoother cuts without sticking, and cutting quickly keeps the cake from melting too much.
Final Thoughts
There’s something so comforting about combining classic candy bar flavors into an easy, no-bake frozen cake that everyone loves. The Buster Bar Ice Cream Cake Recipe is an impression-making dessert that’s unbelievably simple but packed with texture and flavor. Whether for a family gathering or a personal treat, give this recipe a try—you’re going to be hooked from the very first bite!
Print
Buster Bar Ice Cream Cake Recipe
- Prep Time: 20 minutes
- Cook Time: 0 minutes
- Total Time: 4 hours 20 minutes
- Yield: 12 servings
- Category: Dessert
- Method: No-Cook
- Cuisine: American
Description
This Buster Bar Ice Cream Cake is a decadent frozen dessert featuring layers of ice cream sandwiches, rich chocolate, crunchy peanuts, gooey caramel, and creamy vanilla ice cream, all combined into a no-bake treat that’s perfect for any occasion.
Ingredients
Base Layer
- 1 box of ice cream sandwiches
Chocolate Topping
- 2 cups chocolate chips
- 1/4 cup unsalted butter
Nut and Caramel Layer
- 1 cup peanuts, chopped
- 1/2 cup caramel sauce
Top Layer
- 2 cups vanilla ice cream
Instructions
- Prepare the base: Line a 9×13-inch baking dish with ice cream sandwiches, placing them side by side to cover the bottom completely.
- Melt chocolate mixture: Melt the unsalted butter and chocolate chips together in a microwave or over the stove, stirring continuously until the mixture is smooth and fully combined.
- Add chocolate layer: Pour the melted chocolate mixture evenly over the ice cream sandwiches, spreading it gently to cover the surface.
- Sprinkle peanuts: Sprinkle the chopped peanuts evenly over the chocolate layer to add crunch and texture.
- Drizzle caramel: Drizzle the caramel sauce over the peanuts, distributing it evenly for a sweet, gooey finish.
- Add vanilla ice cream: Spread a layer of vanilla ice cream over the caramel and nuts, smoothing the surface with a spatula to create the top layer.
- Freeze: Place the assembled cake in the freezer for 4 hours or until the cake is firm and set completely.
- Serve: Once frozen solid, cut the ice cream cake into squares and serve immediately. Enjoy this rich and crunchy dessert cold!
Notes
- Use softened vanilla ice cream to make spreading easier and ensure even layering.
- For extra flavor, consider adding a pinch of sea salt over the caramel layer.
- Use high-quality chocolate chips for a richer chocolate taste.
- You can substitute peanuts with other nuts if preferred or omit for a nut-free version.
- Keep the assembled cake covered tightly with plastic wrap while freezing to prevent freezer burn and ice crystals.
