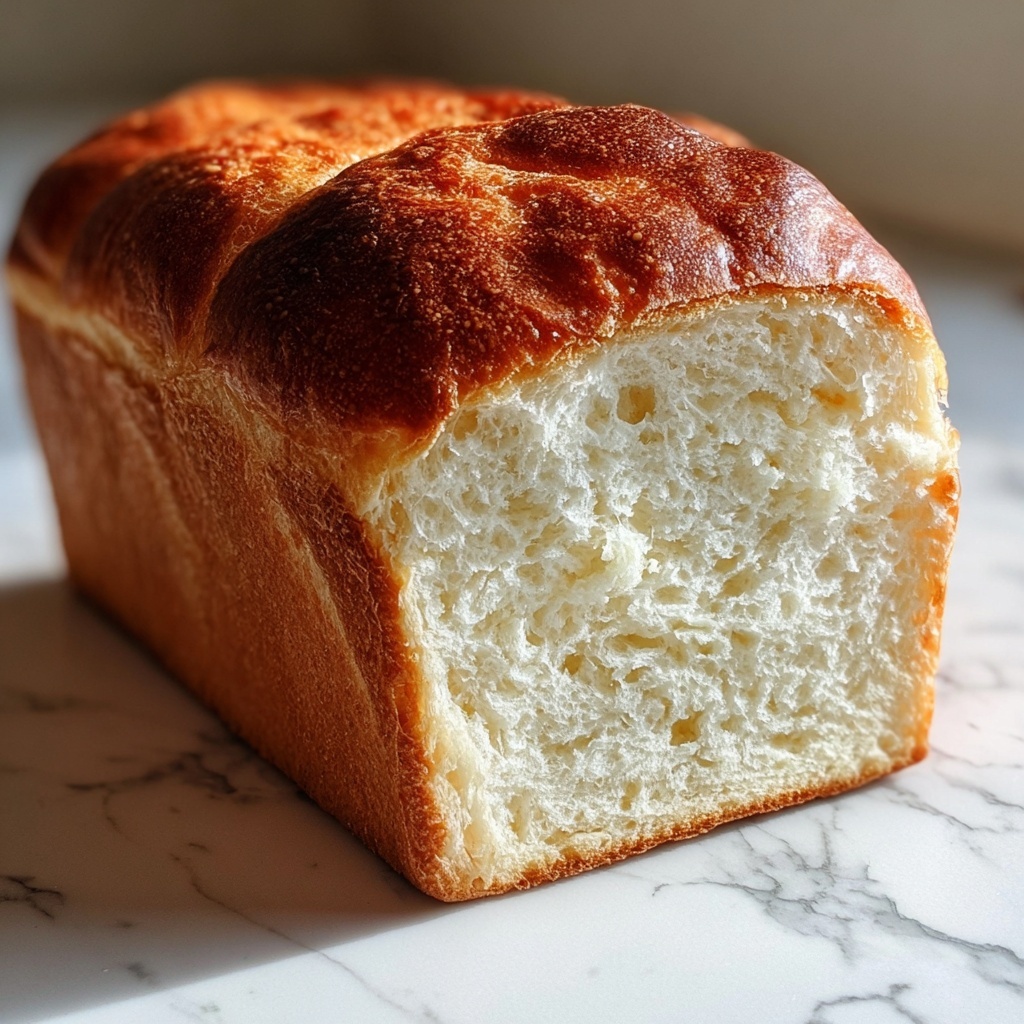
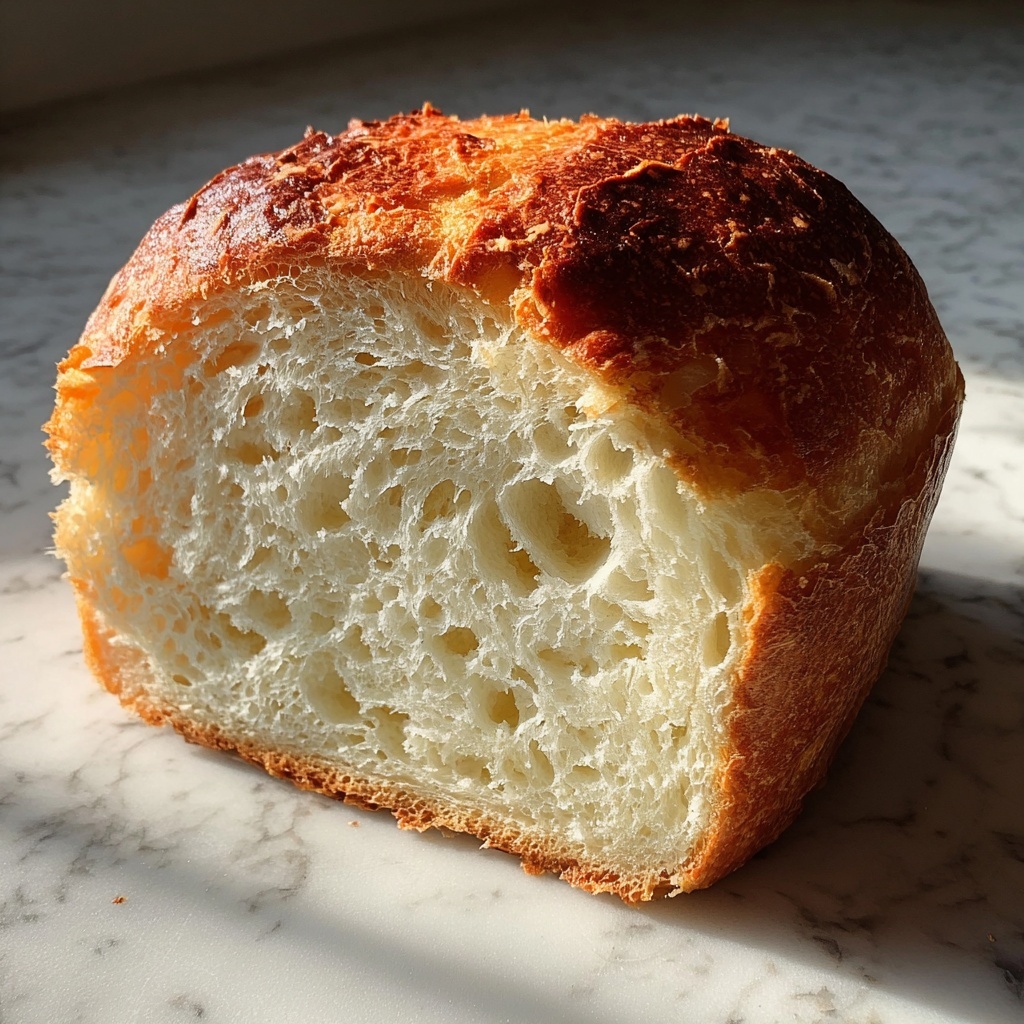
If you have ever craved that soft, fluffy comfort of homemade bread while needing to keep things gluten-free, then this Classic Gluten-Free White Sandwich Bread Recipe is an absolute game changer. It delivers all the nostalgic warmth and tender crumb you expect from a traditional white loaf but without the gluten, making it perfect for anyone with sensitivities or simply wanting a lighter, cleaner bread experience. This recipe blends simple, wholesome ingredients into a loaf that’s perfect for sandwiches, toast, or just enjoying fresh out of the oven. It’s approachable, reliable, and oh so satisfying!

Ingredients You’ll Need
The beauty of this recipe lies in its simplicity. Each ingredient plays a crucial role: the gluten-free flour provides the structure, sugar and yeast activate to give that gentle rise, eggs and olive oil add richness and moisture, and salt balances the flavors so every bite is perfectly seasoned.
- Gluten-free all-purpose flour (2 cups): The backbone of your loaf, ensuring it’s tender without gluten’s stretch.
- Sugar (1 tablespoon): Feeds the yeast for that lovely rise and adds a touch of sweetness.
- Salt (1 teaspoon): Enhances flavor and balances the sweetness, making your bread taste complete.
- Active dry yeast (1 tablespoon): The magic ingredient that helps your dough rise beautifully.
- Warm water (1 cup): Activates yeast and hydrates the flour, setting the stage for that perfect dough.
- Olive oil (2 tablespoons): Adds moisture and richness, keeping the bread soft and tender.
- Eggs (2): Provide structure and help give the bread a lovely golden hue.
How to Make Classic Gluten-Free White Sandwich Bread Recipe
Step 1: Prepare Your Oven and Pan
Begin by preheating your oven to 375°F (190°C). While it’s warming up, grease a standard loaf pan thoroughly. This step ensures your bread will release easily and maintain its perfect shape.
Step 2: Combine Your Dry Ingredients
In a large mixing bowl, start by whisking together the gluten-free all-purpose flour, sugar, salt, and active dry yeast. Mixing these first ensures that the yeast is evenly distributed throughout the flour, giving your bread an even rise and texture.
Step 3: Add Wet Ingredients and Form Dough
Now add the warm water, olive oil, and eggs to the dry mixture. Use a sturdy spoon or mixer to combine everything until you have a smooth, workable dough. This dough will feel slightly different from traditional bread dough but should be smooth and easy to spread in your loaf pan.
Step 4: Transfer and Smooth
Spoon your dough into the greased loaf pan. Use a spatula or the back of a spoon to smooth the surface evenly, helping your bread bake uniformly with a lovely top crust.
Step 5: Bake to Golden Perfection
Pop your loaf pan into the preheated oven and bake for about 40 minutes. You’ll know the bread is ready when it’s a gorgeous golden brown and sounds hollow when tapped gently on the bottom.
Step 6: Cool Before Enjoying
Once out of the oven, let the bread cool in the pan for about 10 minutes. This resting period helps the bread set before you remove it from the pan. Then transfer it to a wire rack to cool completely, ensuring you get the best sliceable texture.
How to Serve Classic Gluten-Free White Sandwich Bread Recipe
Garnishes
While this bread is delightful on its own, slathering it with creamy butter, a drizzle of honey, or your favorite nut butter elevates the experience. Lightly toasting slices also creates a crisp canvas perfect for fresh herbs or a sprinkle of sea salt.
Side Dishes
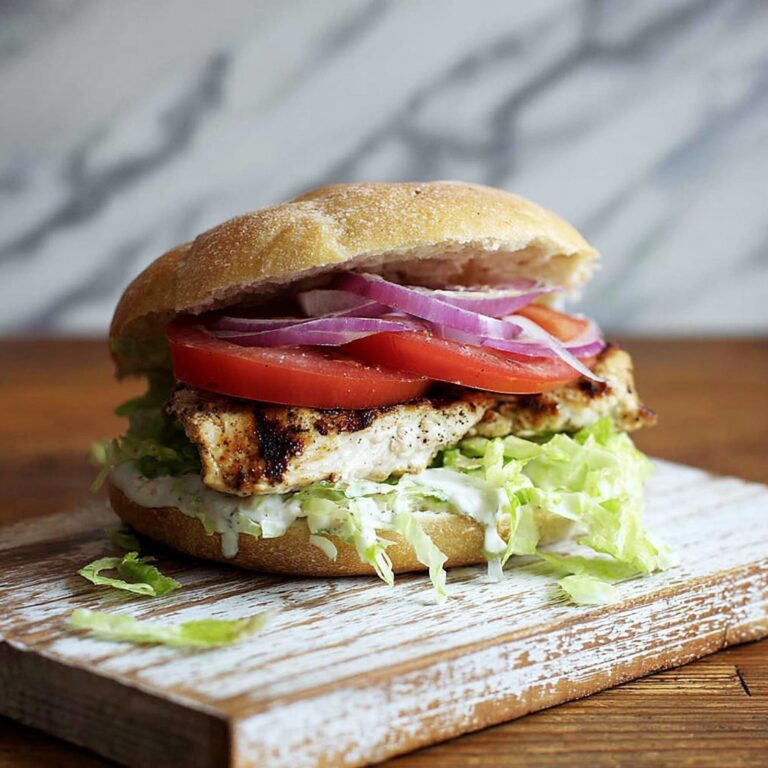
This versatile bread pairs perfectly with soups, hearty salads, or a generous bowl of chili. The tender crumb soaks up broths beautifully, making every meal feel extra comforting and homey.
Creative Ways to Present
Why not customize your loaf by slicing it thick and layering with avocado, tomatoes, and microgreens for a vibrant open-faced sandwich? Or turn it into French toast with cinnamon and maple syrup for a gluten-free breakfast treat that everyone will rave about.
Make Ahead and Storage
Storing Leftovers
Wrap any leftover slices tightly in plastic wrap or place them in an airtight container to keep the bread from drying out. Stored at room temperature, it should stay fresh for 2 to 3 days — perfect for quick sandwiches throughout the week.
Freezing
The Classic Gluten-Free White Sandwich Bread Recipe freezes wonderfully. Slice before freezing so you can pull out exactly what you need. Wrap tightly in foil or freezer bags, and it will keep well for up to 3 months without losing texture or flavor.
Reheating
To bring frozen bread back to life, simply toast slices directly from the freezer or warm the whole loaf at 300°F (150°C) wrapped loosely in foil for about 15 minutes. The bread regains its softness and warmth, ready to enjoy as if freshly baked.
FAQs
Can I use a different type of flour instead of gluten-free all-purpose?
For this Classic Gluten-Free White Sandwich Bread Recipe, using a gluten-free all-purpose blend is key because it’s formulated to mimic the texture and binding properties of wheat flour. Other gluten-free flours alone might not give you the same rise or crumb.
Do I have to use eggs, or can I make it vegan?
Eggs contribute to structure and moisture in this bread. If you want a vegan version, you can try substituting with flax eggs or other egg replacers, but the texture might differ slightly from the original recipe.
Is the bread suitable for sandwich making?
Absolutely! The Classic Gluten-Free White Sandwich Bread Recipe produces slices sturdy enough to hold your favorite sandwich fillings without crumbling, making it perfect for everything from grilled cheese to deli meats.
How do I know when the bread is fully baked?
The best test is tapping the bottom of the loaf after baking — if it sounds hollow, your bread is baked through. The top should be golden brown and the loaf should have risen well.
Can I add seeds or nuts to this bread?
Definitely! Adding a sprinkle of sesame seeds, poppy seeds, or chopped nuts on top before baking can add extra flavor and crunch. Just be mindful that additions might slightly affect the rise or texture.
Final Thoughts
There is something truly heartwarming about making your own bread, especially when it’s a gluten-free option that doesn’t compromise on taste or texture. This Classic Gluten-Free White Sandwich Bread Recipe is a simple way to enjoy fresh, wholesome bread every time you bake. I hope you have as much fun making and eating it as I do sharing it—your kitchen is about to smell amazing!
Print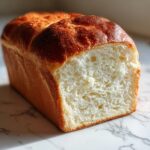
Classic Gluten-Free White Sandwich Bread Recipe
- Prep Time: 15 minutes
- Cook Time: 40 minutes
- Total Time: 55 minutes
- Yield: 1 loaf (about 8 slices)
- Category: Bread
- Method: Baking
- Cuisine: American
- Diet: Gluten Free
Description
This classic white sandwich bread is a gluten-free delight, perfect for sandwiches or toast. Made with simple ingredients like gluten-free flour, yeast, and eggs, it offers a soft, fluffy texture and a golden crust. Baked to perfection at 375°F, it’s an easy and quick recipe ideal for everyday baking.
Ingredients
Dry Ingredients
- 2 cups gluten-free all-purpose flour
- 1 tablespoon sugar
- 1 teaspoon salt
- 1 tablespoon active dry yeast
Wet Ingredients
- 1 cup warm water
- 2 tablespoons olive oil
- 2 eggs
Instructions
- Preheat and Prepare Pan: Preheat the oven to 375°F (190°C). Grease a loaf pan thoroughly to prevent the bread from sticking during baking.
- Mix Dry Ingredients: In a large mixing bowl, combine the gluten-free flour, sugar, salt, and active dry yeast. Stir well to evenly distribute the yeast and seasonings throughout the flour.
- Add Wet Ingredients: Pour in the warm water, olive oil, and eggs to the dry mixture. Mix thoroughly until a smooth and cohesive dough forms, ensuring there are no lumps.
- Shape Dough: Transfer the dough into the prepared loaf pan. Use a spatula to smooth and evenly spread the surface for a uniform loaf shape.
- Bake the Bread: Place the loaf pan in the preheated oven and bake for 40 minutes. The bread is done when it turns golden brown and produces a hollow sound when tapped on the bottom.
- Cool: Remove the bread from the oven and allow it to cool in the pan for 10 minutes. Then transfer it to a wire rack to cool completely before slicing to preserve texture and flavor.
Notes
- Ensure the water is warm, not hot, to properly activate the yeast without killing it.
- You can substitute olive oil with another mild-flavored oil if preferred.
- For best results, use fresh active dry yeast to guarantee good rise.
- Allow the bread to cool completely before slicing to prevent crumb from becoming gummy.
- Store bread in an airtight container to maintain freshness for up to 3 days.


