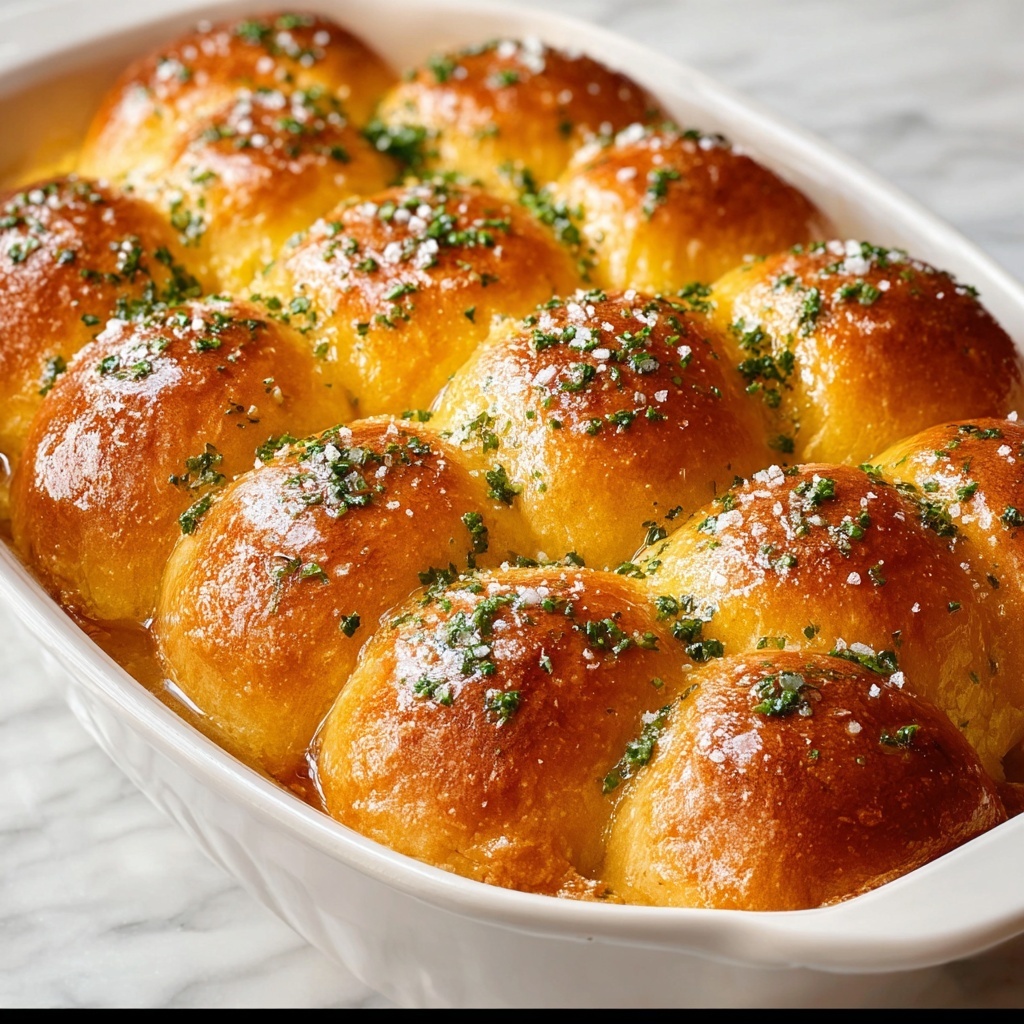
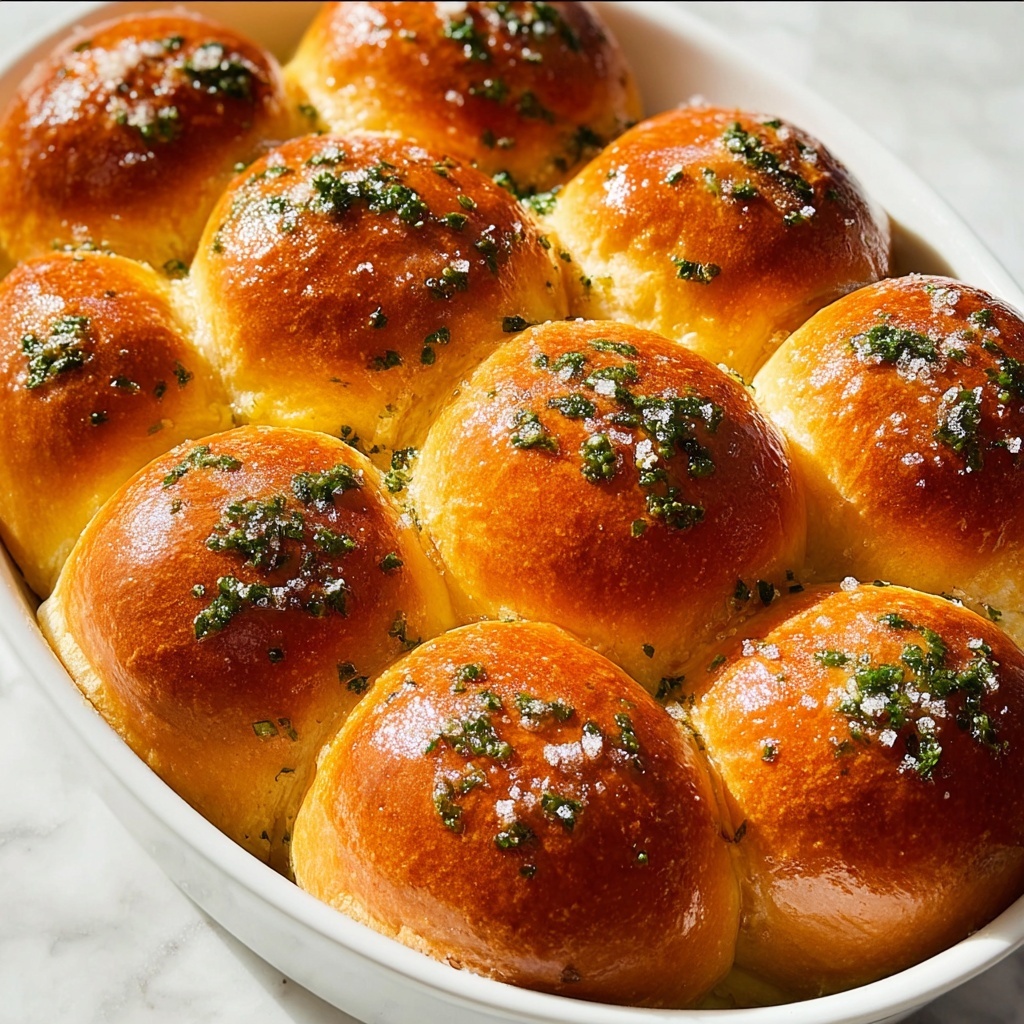
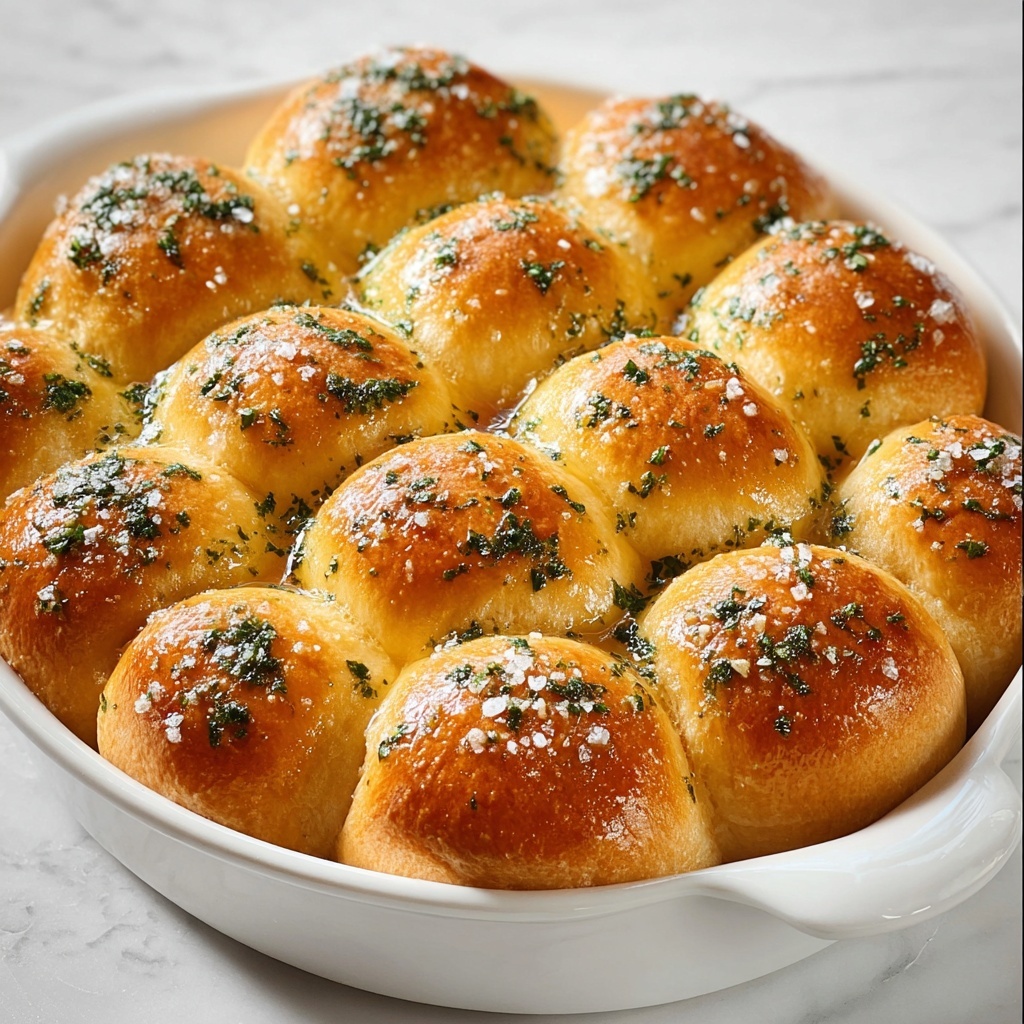
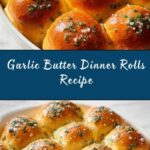
If you’re craving warm, fluffy, and irresistibly fragrant bread, this Garlic Butter Dinner Rolls Recipe is about to become your new go-to favorite. These soft rolls, kissed with a golden garlic butter glaze and sprinkled with fresh parsley, bring comforting flavors straight to your table. Perfect for cozy dinners, holiday feasts, or anytime you want to impress with minimal effort, these rolls are a wonderful way to elevate any meal with a homemade touch. Trust me, once you try these, you’ll wonder how you ever lived without them!
Ingredients You’ll Need
Each ingredient in this Garlic Butter Dinner Rolls Recipe has a simple but important role, coming together to create tender, flavorful rolls with just the right texture and aroma. With basic pantry staples, you’re minutes away from baking up something incredible.
- 220ml / 1 cup warm milk: Provides moisture and creates a tender crumb while helping activate the yeast.
- 1½ tsp sugar: Feeds the yeast, aiding in a light and airy rise.
- 7g / 1 tbsp active dry yeast: The magic ingredient that makes your dough rise beautifully.
- 3 tbsp vegetable oil: Adds richness and keeps the rolls soft.
- 1 large egg: Binds the dough and enriches flavor and color.
- 1 tsp salt: Balances sweetness and enhances overall flavor.
- 400g / 3 cups bread flour: Provides structure and chewiness—bread flour is ideal, but all-purpose works too.
- 1 egg for brushing: Gives the rolls a stunning golden crust.
- 1 tbsp butter (melted): Infuses buttery richness and creates the perfect finishing glaze.
- 1 clove garlic: Adds a fragrant punch to the finishing butter glaze.
- 1 tbsp fresh parsley (chopped): Brings a fresh, herbal hint that brightens each bite.
How to Make Garlic Butter Dinner Rolls Recipe
Step 1: Bloom Your Yeast
Start by whisking together warm milk, sugar, and active dry yeast in a small bowl. Let this sit for about 5 minutes until you see the yeast bubble up and become frothy. This step ensures your yeast is alive and ready to work wonders in your dough.
Step 2: Mix and Knead the Dough
Add vegetable oil, salt, and one egg to your yeast mixture, stirring with a fork until combined. Then gradually mix in the flour until a rough dough forms. Transfer the dough to a floured surface and knead vigorously for 8 to 10 minutes until the texture turns elastic and smooth. If you’re using a stand mixer, use the dough hook for 1 minute on low, then 4 minutes on medium speed. This kneading phase is key to develop gluten that makes your rolls soft yet sturdy.
Step 3: First Rise
Lightly oil your bowl to prevent sticking, place your dough back in, then cover it with plastic wrap and a towel. Let it rest in a warm spot for 1 to 1.5 hours, or until it has almost tripled in size. Meanwhile, preheat your oven to 180°C (350°F). This rise allows the yeast to create all those lovely air pockets that make rolls tender and fluffy.
Step 4: Shape the Rolls
Turn your dough out onto a floured surface and divide it into 16 equal portions. You can eyeball it or weigh them for even baking. Roll each piece into a tight ball and gently place them spaced about an inch apart in a buttered 9×13 inch baking dish. Cover again with a clean tea towel and let them rise for 30 minutes so they puff up just right before baking.
Step 5: Bake and Prepare Garlic Butter
Brush the tops with a beaten egg to give them a beautiful golden hue as they bake for 20 to 25 minutes, until perfectly golden. Meanwhile, melt 1 tablespoon of butter and mix it with freshly pressed garlic and chopped parsley to prepare the finishing glaze that will take these rolls to the next level.
Step 6: Finish with Garlic Butter
Once the rolls come out of the oven, immediately brush them generously with the garlic parsley butter. The warm rolls will soak up the butter, making every bite buttery, garlicky, and utterly delicious.
How to Serve Garlic Butter Dinner Rolls Recipe
Garnishes
Sprinkle a little extra fresh parsley or even a pinch of flaky sea salt over the buttered rolls for a pop of color and a hint more flavor. For special occasions, you could add finely grated Parmesan cheese on top right after baking for a cheesy crust.
Side Dishes
These rolls pair beautifully with soups like creamy tomato bisque or hearty chicken noodle. They’re also phenomenal alongside roasted meats, buttery mashed potatoes, or a vibrant salad—any dish you want to elevate with a comforting bread side.
Creative Ways to Present
Serve these rolls woven together in a basket lined with a cozy cloth napkin for a rustic vibe. For a fun twist, slice the rolls horizontally and turn them into mini garlic butter sliders with melted cheese and fresh herbs. Presentation that invites sharing adds so much joy to the meal!
Make Ahead and Storage
Storing Leftovers
Place cooled rolls in an airtight container or resealable bag at room temperature. They stay soft and fresh for up to 3 days, perfect for quick snacks or reheating alongside your meals.
Freezing
If you want to enjoy these rolls over a longer period, freeze them after baking and cooling completely. Wrap tightly in foil and store in a freezer-safe bag for up to 3 months. Thaw overnight in the refrigerator for best texture.
Reheating
To bring your rolls back to life, warm them in a preheated oven at 160°C (320°F) for 10-15 minutes. You can brush a little extra garlic butter on top to refresh that golden finish and aroma, making them taste just like freshly baked.
FAQs
Can I use all-purpose flour instead of bread flour?
Absolutely! All-purpose flour works fine if you don’t have bread flour on hand, though bread flour provides a slightly chewier texture thanks to its higher protein content.
Do I have to use fresh garlic for the butter?
Fresh garlic delivers the best flavor and vibrant aroma, but you can substitute with garlic powder if needed—just adjust the quantity to prevent overpowering the rolls.
Can I make these rolls vegan?
Yes! Replace milk with a plant-based alternative, swap the egg with flax egg or another binder, and use vegan butter for the garlic butter glaze.
Why do the rolls need two rises?
The first rise develops the dough’s structure and flavor, while the second rise after shaping ensures the rolls expand fully and become soft and fluffy without dense spots.
How do I know when the rolls are done baking?
Look for a golden-brown top and a hollow sound when tapped. The baking time of 20-25 minutes usually works well but ovens vary—trust your eyes and nose!
Final Thoughts
This Garlic Butter Dinner Rolls Recipe is a simple way to bring homemade warmth and flavor to your table, whether it’s a family dinner or a special celebration. I encourage you to try making these rolls—they’re not just easy but downright addictive, and your kitchen will smell like a garlic-butter dream come true. Once you taste that soft, buttery goodness, you’ll want to make these again and again!
Print
Garlic Butter Dinner Rolls Recipe
- Prep Time: 30 minutes
- Cook Time: 25 minutes
- Total Time: 2 hours 15 minutes
- Yield: 16 dinner rolls
- Category: Bread
- Method: Baking
- Cuisine: American
Description
These Garlic Butter Dinner Rolls are soft, fluffy, and infused with a rich garlic butter flavor. Perfect as a side for any meal, these homemade rolls feature a tender crumb and a golden crust brushed with a delicious garlic parsley butter, making them an irresistible addition to your dinner table.
Ingredients
Dough Ingredients
- 220ml / 1 cup warm milk (whole or skimmed)
- 1½ tsp sugar
- 7g / 1 tbsp active dry yeast
- 3 tbsp vegetable oil
- 1 large egg
- 1 tsp salt
- 400g / 3 cups bread flour (or all-purpose flour)
Topping Ingredients
- 1 egg (for brushing)
- 1 tbsp butter (melted)
- 1 clove garlic (pressed)
- 1 tbsp fresh parsley (chopped)
Instructions
- Activate the yeast: In a small bowl, combine warm milk, yeast, and sugar. Let the mixture sit for 5 minutes until the yeast blooms and becomes frothy, indicating it is active.
- Mix ingredients: Add vegetable oil, salt, and 1 egg to the yeast mixture, stirring with a fork until combined.
- Form the dough: Pour the liquid mixture into the flour and mix until a rough dough forms. Transfer the dough onto a floured surface and knead for 8-10 minutes until smooth and elastic. Alternatively, use a stand mixer with a dough hook: knead on low speed for 1 minute, then on medium speed for 4 minutes more.
- First rise: Lightly oil a clean bowl, place the dough inside, cover with plastic wrap and a towel. Let it rise in a warm place for 1 to 1.5 hours until the dough triples in size. Meanwhile, preheat oven to 180°C (350°F).
- Shape rolls: Turn dough onto a floured surface and divide into 16 equal portions. Roll each portion into a smooth ball and arrange them 1 inch apart in a well-buttered 9×13 inch baking pan. Cover with a tea towel and let the rolls rise again for 30 minutes.
- Prepare for baking: Brush the tops of the risen rolls with a beaten egg to achieve a golden, shiny crust.
- Bake: Place the rolls in the preheated oven and bake for 20-25 minutes until golden brown.
- Make garlic butter: While baking, melt butter in a small pan or microwave and stir in pressed garlic and chopped parsley.
- Finish rolls: Once baked, immediately brush the hot rolls generously with the garlic butter mixture to infuse them with flavor and shine.
Notes
- Use warm milk, not hot, to properly activate the yeast; ideal temperature is about 100°F (38°C).
- You can substitute bread flour with all-purpose flour but the texture may be slightly less chewy.
- For extra softness, cover the rolls with a clean kitchen towel after brushing with garlic butter while they cool.
- These rolls freeze well; freeze after the first rise or after baking for convenient reheating.
- Adjust parsley quantity or add fresh herbs like thyme or rosemary to garlic butter for variation.