
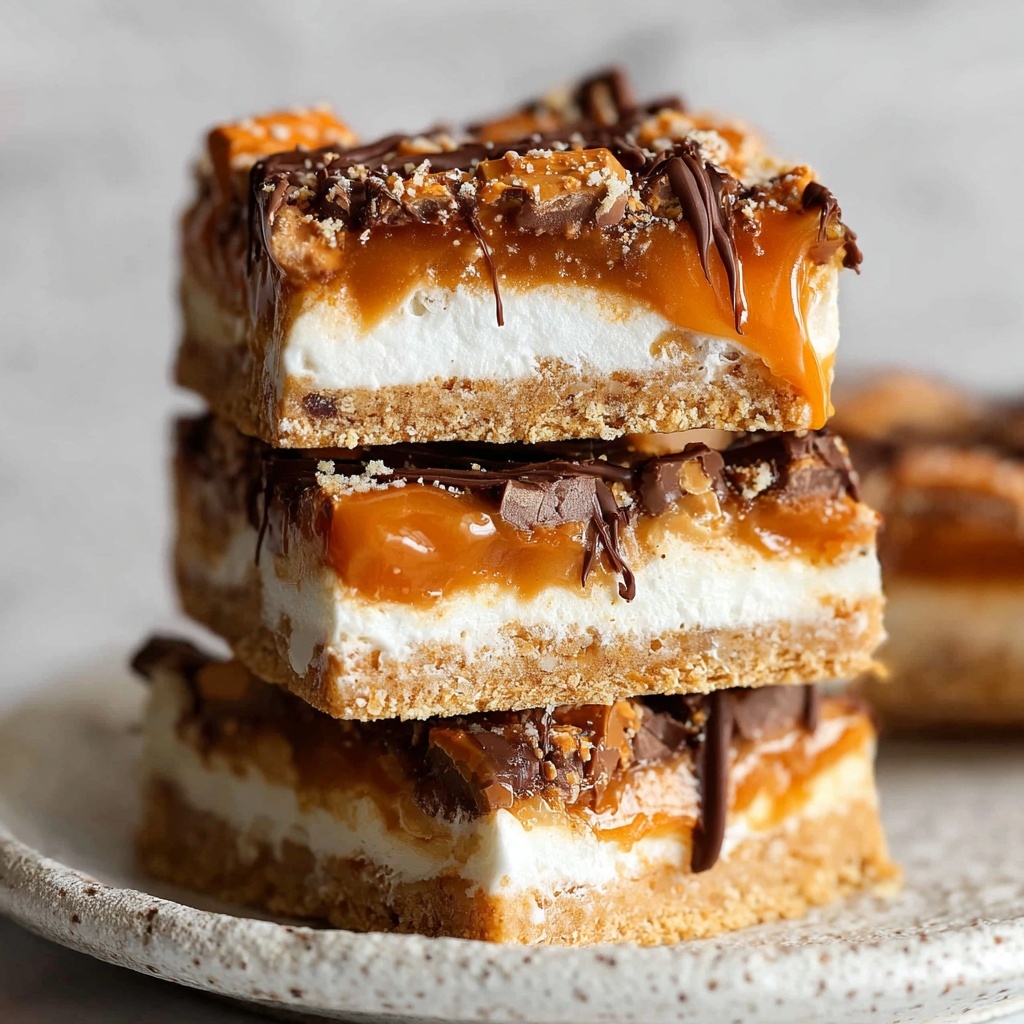
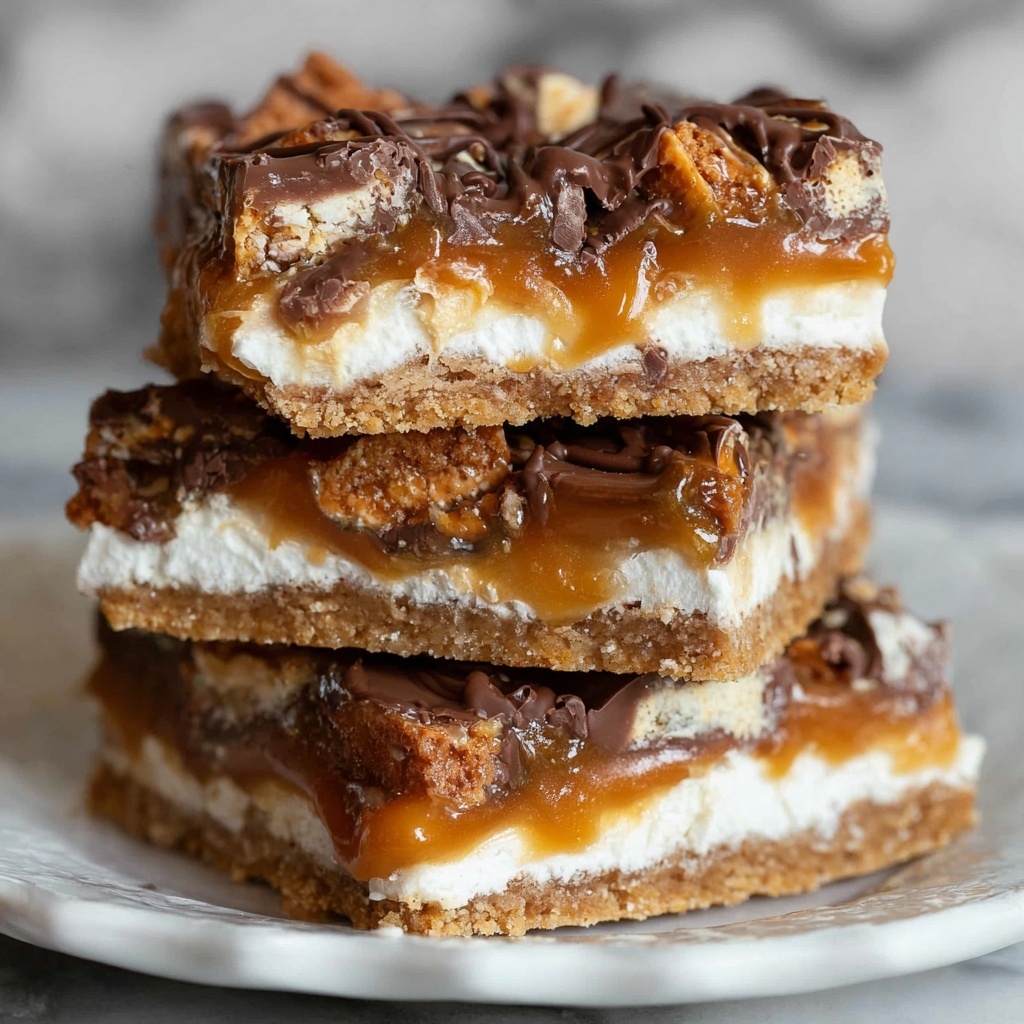
If you have a serious sweet tooth and a love for classic candy, the Butterfinger Caramel Bars Recipe is about to become your new obsession. Combining the crispness of graham crackers, the gooey delight of melted marshmallows, the rich, buttery allure of caramel, and the unmistakable crunch of Butterfinger Bites, this treat is a textural masterpiece. Topped off with a delicate drizzle of semi-sweet chocolate, these bars are perfect for sharing or savoring all by yourself on a cozy afternoon. The magic lies in how simple ingredients come together to create a dessert that feels indulgent without being complicated. Let me walk you through making these heavenly bars that will quickly become your favorite no-fuss sweet treat!
Ingredients You’ll Need
Don’t let the straightforward list fool you—each component plays a crucial role in creating the perfect balance of flavors and textures in this Butterfinger Caramel Bars Recipe. From the buttery base to the luscious caramel, every ingredient is essential for that mouthwatering experience.
- 6 1/2 graham crackers: Provides a sturdy, slightly sweet base that crisps up beautifully and contrasts perfectly with the gooey toppings.
- 2 cups mini marshmallows: Creates a melty, chewy layer that adds softness and sweetness.
- 1 (11 oz) bag Caramel bits: Melts down into a rich, buttery caramel sauce that binds everything together with luscious flavor.
- 2 Tbsp milk: Helps melt the caramel bits smoothly and adds creaminess.
- 1 (10 oz) bag Butterfinger Bites, coarsely chopped: The star ingredient that adds unforgettable crunch and a distinctive peanut buttery twist.
- 2 oz semi-sweet chocolate: For drizzling, offering a slightly bitter counterpoint to the sweetness and a glossy finish.
How to Make Butterfinger Caramel Bars Recipe
Step 1: Prepare Your Baking Pan
Line a 9×9-inch baking pan with foil, making sure to let the edges hang over the sides. This will make it so much easier to lift the bars out later without any mess or fuss. Lightly spray the foil with cooking spray to prevent sticking and allow those bars to come out flawlessly.
Step 2: Lay Down the Graham Crackers
Place the graham crackers on the bottom of the pan. You might need to break some pieces to cover every inch evenly. This crunchy base is absolutely key because it creates that satisfying outer shell that contrasts beautifully with the softer layers on top.
Step 3: Add the Marshmallows
Sprinkle the mini marshmallows evenly over the graham crackers. They will melt a bit later when the caramel is poured on, forming a chewy, cloud-like layer that makes every bite utterly dreamy.
Step 4: Melt the Caramel
In a microwave-safe bowl, combine the caramel bits and milk. Heat for 1 minute, then stir. Continue heating in 30-second intervals, stirring each time, until the caramel is fully melted and smooth. This warm caramel will seep into the marshmallows and graham crackers, creating a rich, sticky layer of pure bliss.
Step 5: Pour and Spread the Caramel
Pour the melted caramel evenly over the marshmallows, spreading gently so each part of the pan is coated. You’ll notice the marshmallows starting to soften and melt slightly—this is exactly what you want, as it helps everything stick together while adding gooey texture.
Step 6: Top with Butterfinger Bites
Sprinkle the coarsely chopped Butterfinger Bites all over the caramel and marshmallow mix. Press them gently into the mix so they nestle perfectly in the sticky layer. This step is where the bars transform into something extraordinary because that crunch combined with caramel is simply irresistible.
Step 7: Drizzle with Semi-Sweet Chocolate
Melt the semi-sweet chocolate in 30-second bursts in the microwave, stirring after each interval until smooth. Using a spoon or a piping bag, drizzle the melted chocolate artistically over the Butterfinger layer. This isn’t just about looks—it adds a subtle chocolate bitterness that perfectly balances the sweetness.
Step 8: Chill and Set
Put your pan in the refrigerator and let the bars chill for at least one hour or until completely set. This chilling step allows everything to firm up just right and makes cutting into perfect squares a breeze.
Step 9: Cut and Serve
Once set, use the foil edges to carefully lift the entire slab from the pan. Cut into 12 generous bars, and get ready for some major compliments and happy taste buds!
How to Serve Butterfinger Caramel Bars Recipe
Garnishes
These bars are showstoppers on their own but for an extra touch of flair, garnish with a light sprinkle of crushed Butterfinger pieces or a pinch of flaky sea salt to add contrast. You could even add a tiny dollop of whipped cream beside each piece for a touch of elegance.
Side Dishes
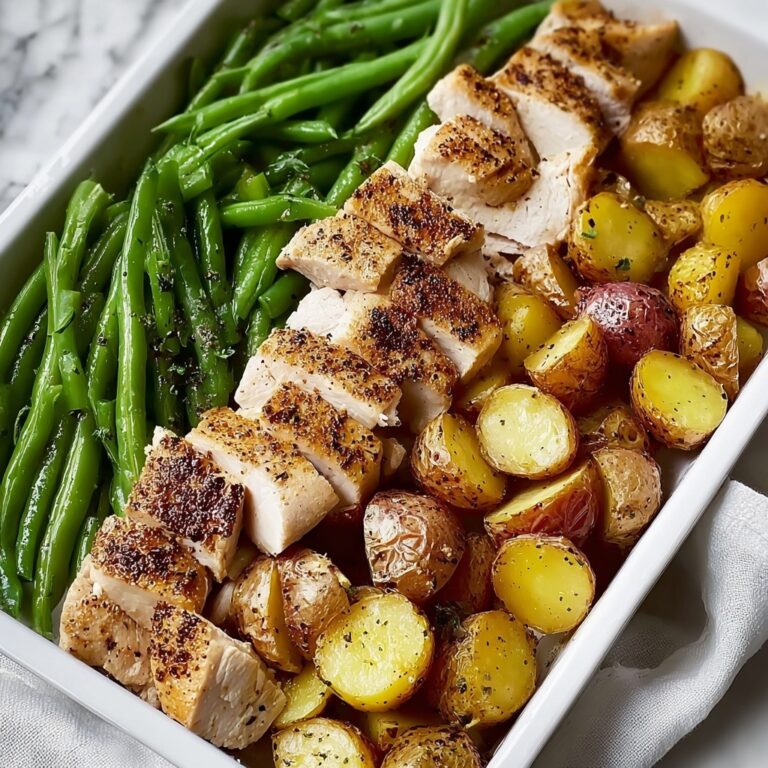
Serve these bars alongside a scoop of vanilla ice cream or a cup of rich coffee for a delightful afternoon treat. The creamy coldness of the ice cream perfectly complements the warm, sticky caramel bars, making them a total crowd-pleaser.
Creative Ways to Present
Try stacking the bars on a pretty dessert plate wrapped with parchment and tied with a ribbon for gift-giving occasions. Another fun idea is to layer small chunks in clear mason jars with whipped cream or pudding for a deconstructed dessert jar everyone will love.
Make Ahead and Storage
Storing Leftovers
To keep your Butterfinger Caramel Bars fresh, store them in an airtight container at room temperature for up to two days. For longer storage, the fridge works well and keeps them nice and firm but be aware the texture might become a bit less chewy over time.
Freezing
You can freeze these bars for up to 2 months. Wrap them tightly in plastic wrap and place them in a freezer-safe container. When you’re ready to indulge, thaw them overnight in the refrigerator before serving for the best texture.
Reheating
If you want to warm the bars slightly, pop a piece in the microwave for 10-15 seconds. This brings back some of the gooey warmth that makes these bars extra comforting without melting the chocolate drizzle completely.
FAQs
Can I use crunchy or creamy peanut butter instead of Butterfinger Bites?
While peanut butter itself is delicious, using Butterfinger Bites adds a specific crunch and malted flavor that’s hard to replicate. If you want to change things up, crushed peanut brittle or chopped chocolate peanut butter cups might work as alternatives.
Is there a way to make these bars gluten-free?
Yes! Simply swap out regular graham crackers for gluten-free graham crackers or similar gluten-free cookies. Just ensure all other ingredients, like caramel bits and Butterfinger Bites, are gluten-free as well.
Can I double the recipe for a larger batch?
Absolutely. Just use a larger pan—like a 9×13—and double all the ingredients. Keep an eye on cooking and chilling times as larger batches may take a bit longer to set properly.
What’s the best way to chop Butterfinger Bites?
Use a sharp knife and a sturdy cutting board. Coarse chopping is best to keep those delightful shards that provide texture, but avoid making the pieces too small so they don’t sink into the caramel completely.
Can I replace semi-sweet chocolate with milk or dark chocolate?
Definitely. Milk chocolate will make the bars sweeter, while dark chocolate will add a richer, deeper flavor. Adjust according to your taste preference; either way, the drizzle adds a beautiful finishing touch.
Final Thoughts
This Butterfinger Caramel Bars Recipe is one of those delightful surprises that feels fancy but is actually so simple to whip up. The crunchy-sweet combination with luscious caramel and chocolate touches is pure magic in every bite. Trust me, once you make these bars, they’ll become a beloved favorite you’ll want to pull out for parties, cozy nights in, or whenever you need a little sweet pick-me-up. So grab those ingredients, rally your inner baker, and get ready for some serious indulgence—you’re going to love every bite!
Print
Butterfinger Caramel Bars Recipe
- Prep Time: 10 minutes
- Cook Time: 1 minute (for melting caramel and chocolate)
- Total Time: 1 hour 11 minutes
- Yield: 12 servings
- Category: Dessert
- Method: No-Cook
- Cuisine: American
Description
These Butterfinger Caramel Bars are a delightful no-bake treat combining a crunchy graham cracker base with gooey marshmallows, rich caramel, and a generous topping of chopped Butterfinger candies and semi-sweet chocolate drizzle. Perfect for a quick, indulgent snack or dessert that sets easily in the refrigerator.
Ingredients
Base and Topping
- 6 1/2 graham crackers
- 2 cups mini marshmallows
- 1 (10 oz) bag Butterfinger Bites, coarsely chopped
- 2 oz semi-sweet chocolate (for drizzle)
Caramel Layer
- 1 (11 oz) bag Caramel bits
- 2 Tbsp milk
Instructions
- Prepare the Pan: Line a 9×9 inch baking pan with foil, leaving enough foil hanging over the edges to easily lift out the bars later. Spray the foil with cooking spray to prevent sticking.
- Add Graham Cracker Base: Arrange the graham crackers at the bottom of the pan, breaking pieces as needed to fit evenly and cover the entire base.
- Sprinkle Marshmallows: Evenly distribute the mini marshmallows over the graham cracker layer.
- Melt Caramel: In a microwave-safe bowl, combine the caramel bits and milk. Microwave on high for 1 minute, stir well, then continue heating in 30-second intervals until completely melted and smooth.
- Coat Marshmallows with Caramel: Pour the melted caramel mixture over the marshmallows. Gently spread it out to coat evenly—the marshmallows will soften slightly, which is expected. Make sure the caramel sticks well to the graham cracker base.
- Add Butterfinger Layer: Sprinkle the coarsely chopped Butterfinger bits over the caramel-coated marshmallows. Press down lightly to embed the candies into the sticky mixture.
- Melt Chocolate: In a microwave-safe bowl, melt the semi-sweet chocolate on high in 30-second intervals, stirring in between, until smooth and fully melted.
- Drizzle Chocolate: Drizzle the melted semi-sweet chocolate over the top of the Butterfinger layer for added flavor and decoration.
- Chill to Set: Place the pan in the refrigerator for about 1 hour or until the bars are firm and set.
- Serve: Once set, lift the bars out of the pan using the foil edges and cut into 12 servings. Serve and enjoy!
Notes
- For easier cutting, warm the knife slightly before slicing the bars.
- You can substitute mini marshmallows with regular marshmallows chopped into smaller pieces.
- If you prefer a softer chocolate drizzle, mix a teaspoon of vegetable oil into the melted chocolate before drizzling.
- Store leftover bars in an airtight container in the refrigerator to maintain freshness.

