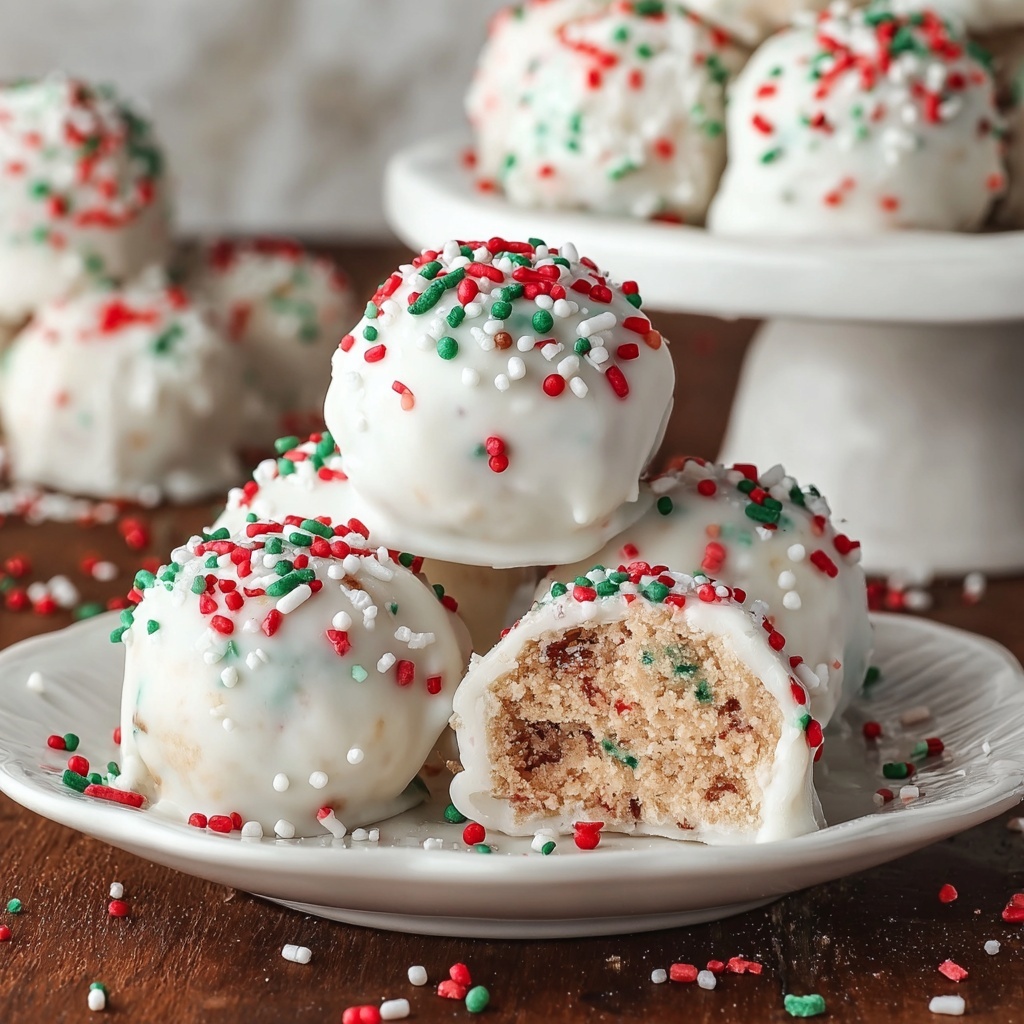
If you are looking for a delightful holiday treat that combines festive charm with irresistible flavor, you have to try the Little Debbie Christmas Cake Balls Recipe. These bite-sized wonders are soft, creamy, and coated in luscious white chocolate, making them perfect for sharing at parties or enjoying as a cozy, sweet snack during the holiday season. Using the iconic Little Debbie Christmas Tree Cakes as the base gives these cake balls a nostalgic vibe while the cream cheese adds richness, creating a fantastic texture that just melts in your mouth. This recipe is simple enough for a quick holiday project but impressive enough to wow your guests with every bite.
Ingredients You’ll Need
The beauty of this recipe lies in its simplicity—the ingredients are straightforward yet each plays an essential role in creating the perfect cake ball with creamy centers and festive finish. From the star ingredient, the Little Debbie Christmas Tree Cakes, to the white chocolate for coating, every component adds a layer of flavor or texture that makes this recipe shine.
- Little Debbie Christmas Tree Cakes (10 cakes): The nostalgic base with soft, spongy cake and creamy filling that gives the cake balls their signature taste.
- Cream cheese (1/2 cup, softened): Adds creaminess and helps the cake crumbs bind together for easy shaping.
- Vanilla extract (1/2 teaspoon): Enhances the flavors with a subtle aromatic warmth.
- White chocolate chips (1 cup): Used for dipping the cake balls to create a smooth, sweet coating.
- Vegetable oil (1 tablespoon): Helps melt the chocolate chips evenly for a glossy finish.
- Red and green sprinkles (optional): Adds a festive and colorful decoration to make the cake balls irresistibly charming.
How to Make Little Debbie Christmas Cake Balls Recipe
Step 1: Crumble the Cake
Begin by taking the 10 Little Debbie Christmas Tree Cakes and breaking them into fine crumbs. You can use your hands or a fork to crumble them thoroughly into a large bowl. This step is key because the finer the crumbs, the smoother the texture of your cake balls will be.
Step 2: Mix in the Cream Cheese and Vanilla
Add the softened cream cheese and vanilla extract to the bowl with the cake crumbs. Use your hands or a spatula to mix everything together until the mixture is smooth and holds together when pressed. This binding step is essential for shaping the cake balls without them falling apart.
Step 3: Shape the Cake Balls
Scoop out tablespoon-sized portions of the cake mixture and roll them gently between your palms to form uniform balls. Place each ball on a baking sheet lined with parchment paper, which will keep things tidy and make cleanup a breeze.
Step 4: Melt the White Chocolate
Place the white chocolate chips and vegetable oil in a microwave-safe bowl. Heat the mixture in 20 to 30-second bursts, stirring between each interval, until the chocolate melts completely and becomes smooth and glossy. The oil helps the chocolate coating glide on easily and adds a polished finish.
Step 5: Coat the Cake Balls
Using a fork, dip each cake ball fully into the melted white chocolate, rolling to cover evenly. Let any excess chocolate drip back into the bowl before placing the coated balls back onto the parchment-lined tray. This step creates that luscious, sweet shell that everyone adores.
Step 6: Decorate and Chill
If you want to turn up the holiday cheer, sprinkle the cake balls with red and green sprinkles while the chocolate is still wet. Once decorated, place the tray in the refrigerator for at least 30 minutes to allow the chocolate to set firm.
How to Serve Little Debbie Christmas Cake Balls Recipe
Garnishes
You can get creative with garnishes to add texture or a pop of color. Besides traditional holiday-colored sprinkles, try crushed peppermint candies or edible glitter for a show-stopping holiday presentation. These subtle touches make your cake balls even more festive and appealing.
Side Dishes
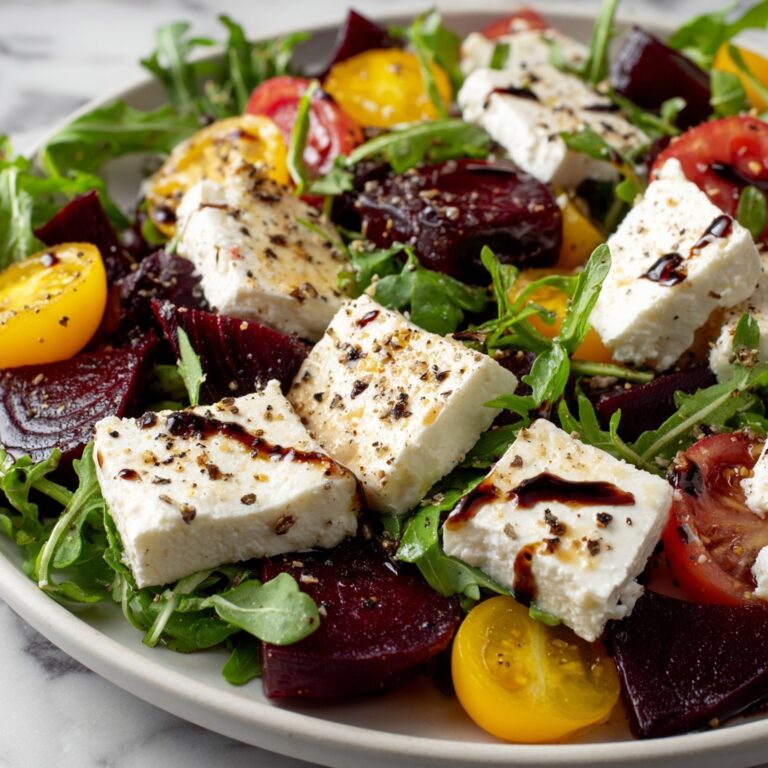
Although cake balls are sweet enough on their own, they pair beautifully with a cup of hot cocoa, a creamy latte, or even a glass of cold milk. For an indulgent holiday dessert tray, arrange them next to shortbread cookies, candy canes, or fruit slices to provide contrasting textures and flavors.
Creative Ways to Present
Looking to really impress? Serve your Little Debbie Christmas Cake Balls Recipe on a festive platter lined with evergreen sprigs or holiday napkins. You can also skewer individual cake balls on sticks and wrap them with cellophane to hand out as sweet party favors. The mini-bite size and pretty coating lend themselves perfectly to inventive displays.
Make Ahead and Storage
Storing Leftovers
If you find yourself with leftovers, store the cake balls in an airtight container in the refrigerator. They will stay fresh for up to a week, keeping their texture soft and the chocolate coating intact. Just make sure to separate layers with parchment paper to avoid sticking.
Freezing
These cake balls freeze wonderfully. Place them on a tray to freeze individually first, then transfer to a freezer-safe container or bag. They can be kept frozen for up to 2 months. When ready to enjoy, simply thaw them overnight in the refrigerator.
Reheating
Since cake balls are best enjoyed chilled or at room temperature, reheating is usually not necessary. If you want to soften them slightly, let them sit out at room temperature for 15-20 minutes before serving. Avoid microwaving as this may melt the chocolate shell and change the texture.
FAQs
Can I use a different flavor of Little Debbie cakes?
Absolutely! While the Christmas Tree Cakes are perfect for this festive recipe, you can experiment with other Little Debbie flavors like Zebra Cakes or Cosmic Brownies to create your own unique cake balls.
What if I don’t have cream cheese? Can I substitute it?
Cream cheese is essential for the richness and binding power in this recipe, but you can try using mascarpone or even a thicker frosting as alternatives, keeping in mind the flavor and texture might vary slightly.
Can I use dark or milk chocolate instead of white chocolate?
Yes, you can swap the white chocolate for milk or dark chocolate if you prefer a richer coating. Just melt it the same way with vegetable oil to keep the coating smooth and shiny.
How do I prevent the cake balls from falling apart?
Make sure the cream cheese is softened and fully mixed into the cake crumbs so the mixture holds together when pressed. Also, chilling the formed balls before dipping can help keep them intact during coating.
Are these cake balls suitable for parties with kids?
Definitely! Their bite-sized size, sweet festive look, and familiar flavors make these cake balls a hit with children and adults alike, perfect for any holiday gathering.
Final Thoughts
There is something truly magical about a recipe that brings joy with every bite, and the Little Debbie Christmas Cake Balls Recipe does exactly that. It’s easy, fun, and a guaranteed crowd-pleaser that allows you to share a sweet slice of holiday spirit with friends and family. Whether you’re whipping them up for a festive party or just indulging in some holiday cheer at home, these cake balls are sure to become one of your season’s favorites. Give them a try—you will not regret it!
Print
Little Debbie Christmas Cake Balls Recipe
- Prep Time: 15 minutes
- Cook Time: 0 minutes
- Total Time: 45 minutes
- Yield: 12 servings
- Category: Desserts
- Method: No-Cook
- Cuisine: American
Description
These Little Debbie Christmas Cake Balls are a festive and delightful holiday treat made by combining crumbled Christmas Tree Cakes with cream cheese, then coated in smooth white chocolate and decorated with colorful sprinkles. Perfect for parties or as a sweet snack during the holiday season.
Ingredients
For the Cake Balls
- 1 box Little Debbie Christmas Tree Cakes (10 cakes)
- 1/2 cup cream cheese, softened
- 1/2 teaspoon vanilla extract
For the Coating
- 1 cup white chocolate chips
- 1 tablespoon vegetable oil
For Decoration (Optional)
- Red and green sprinkles
Instructions
- Crumble the Cake: Begin by crumbling the Little Debbie Christmas Tree Cakes into a large bowl. Use your hands or a fork to break them into fine, crumb-like pieces to ensure an even texture when mixed.
- Mix: Add the softened cream cheese and vanilla extract to the cake crumbs. Mix thoroughly until the mixture is smooth and holds together well when pressed, forming a cohesive dough for shaping.
- Shape: Scoop tablespoon-sized portions of the mixture and roll them into balls with your hands. Place the formed balls on a baking sheet lined with parchment paper to prevent sticking and for easy cleanup.
- Melt Chocolate: In a microwave-safe bowl, combine the white chocolate chips and vegetable oil. Microwave in 20-30 second intervals, stirring between each, until the chocolate is melted completely and smooth.
- Coat: Dip each cake ball into the melted white chocolate using a fork, rolling to evenly coat the entire surface. Allow any excess chocolate to drip off before placing the balls back onto the parchment-lined baking sheet.
- Decorate: If desired, sprinkle red and green sprinkles over the coated cake balls for a festive holiday appearance while the chocolate is still wet.
- Chill: Refrigerate the cake balls for at least 30 minutes or until the white chocolate coating is fully set to ensure firmness and easy handling.
- Serve: Enjoy the cake balls chilled from the fridge or at room temperature as a tasty holiday snack or dessert.
Notes
- Make sure the cream cheese is softened to ensure easy mixing with the cake crumbs.
- Use parchment paper to line your baking sheet for effortless cleanup and to prevent sticking.
- You can substitute white chocolate chips with candy melts if preferred.
- Store leftovers in an airtight container in the refrigerator for up to 5 days.
- For a different flavor, try adding a pinch of cinnamon or nutmeg to the cake mixture.

