
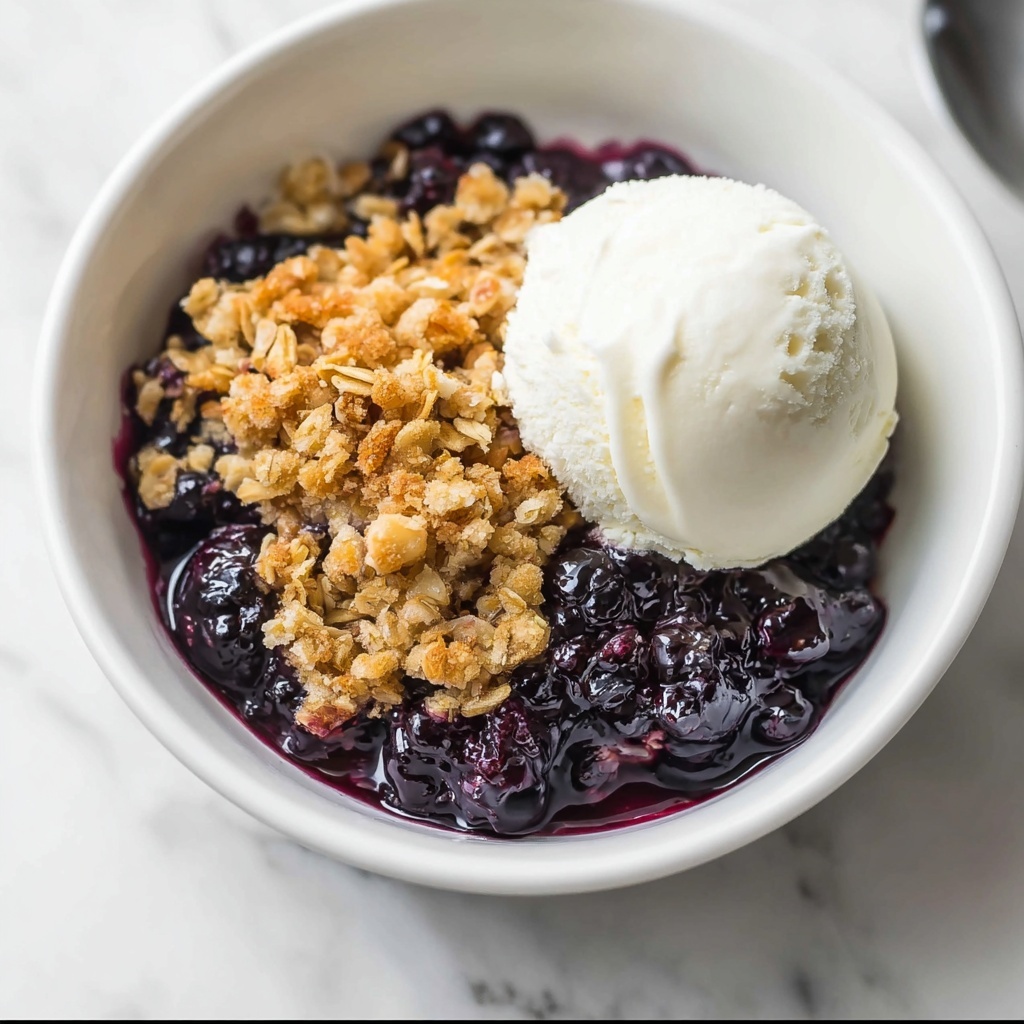
If you’re looking for a dessert that feels like a warm hug on a plate, my beloved Blueberry Crisp Recipe is exactly what you need. This delightful dish combines juicy, fresh blueberries with a crunchy, buttery oat topping that’s both comforting and irresistibly tasty. It’s simple enough for a weeknight treat but special enough to impress guests, capturing the perfect balance of sweet-tart fruit and a golden, crumbly crust that melts in your mouth. Once you try this recipe, it’ll quickly become one of your go-to desserts that everyone asks for again and again.
Ingredients You’ll Need
This Blueberry Crisp Recipe uses straightforward, pantry-friendly ingredients that come together to create a perfect harmony of flavors and textures. Each element plays a crucial role, from the freshness of the blueberries to the buttery crisp topping that adds that signature crunch.
- 6 cups fresh blueberries: The star of the dish, juicy and bursting with color and natural sweetness.
- ½ cup granulated sugar: Balances the tartness of the blueberries without overpowering them.
- 3 tablespoons cornstarch: Helps thicken the blueberry filling to a luscious consistency.
- 1 cup old-fashioned rolled oats: Adds hearty texture and a nutty flavor to the topping.
- ½ cup all-purpose flour: Provides structure to the crisp topping for the perfect crumb.
- ½ cup brown sugar: Infuses warmth and caramel-like notes to the crunchy layer.
- ½ teaspoon cinnamon: A subtle spice that elevates the overall flavor with a hint of cozy warmth.
- ½ teaspoon salt: Enhances all the sweet and fruity flavors in the dish.
- 1 stick (½ cup) unsalted butter, cold and cut into pieces: The magic ingredient for that rich, flaky topping you’ll adore.
How to Make Blueberry Crisp Recipe
Step 1: Preheat and Prepare Your Oven
Start off by preheating your oven to 350°F (175°C), ensuring it’s at just the right temperature for baking your blueberry crisp to golden, bubbly perfection. A well-preheated oven makes all the difference for that perfectly cooked topping and juicy filling.
Step 2: Make the Blueberry Filling
Grab your favorite baking dish, whether it’s 8×8 inches or a 9-inch round. Toss together the fresh blueberries, granulated sugar, and cornstarch right in the dish. The sugar sweetens the blueberries while the cornstarch thickens their natural juices as they bake, preventing any watery mess.
Step 3: Combine the Dry Topping Ingredients
In a mixing bowl, whisk together rolled oats, flour, brown sugar, cinnamon, and salt. This blend creates the base of your crisp topping and sets the stage for that perfect crumbly texture.
Step 4: Cut in the Butter
Sprinkle in the cold, cubed butter. Use your hands or a pastry cutter to break down the butter into the dry ingredients. The goal is a sandy texture with some pea-sized lumps — these chunks of butter are what give the topping a flaky, melt-in-your-mouth quality once baked.
Step 5: Assemble the Crisp
Sprinkle the crumbly topping evenly over the blueberry filling. Use your fingers to break it into clusters and distribute it so each bite is equally coated in crunch and buttery goodness.
Step 6: Bake Until Golden and Bubbling
Bake your Blueberry Crisp Recipe for 40 to 45 minutes. Check if the filling is bubbling at the edges and the topping has turned a gorgeous golden brown. If not quite there, pop it back in for another 10 to 20 minutes. Baking times can vary a bit depending on your pan size, but patience here results in the best texture and flavor.
Step 7: Cool Before Serving
Let your crisp cool for 10 to 15 minutes before serving. This pause allows the filling to set slightly and makes it easier to scoop out. Plus, it gives you a moment to admire that beautiful golden topping before indulging.
How to Serve Blueberry Crisp Recipe
Garnishes
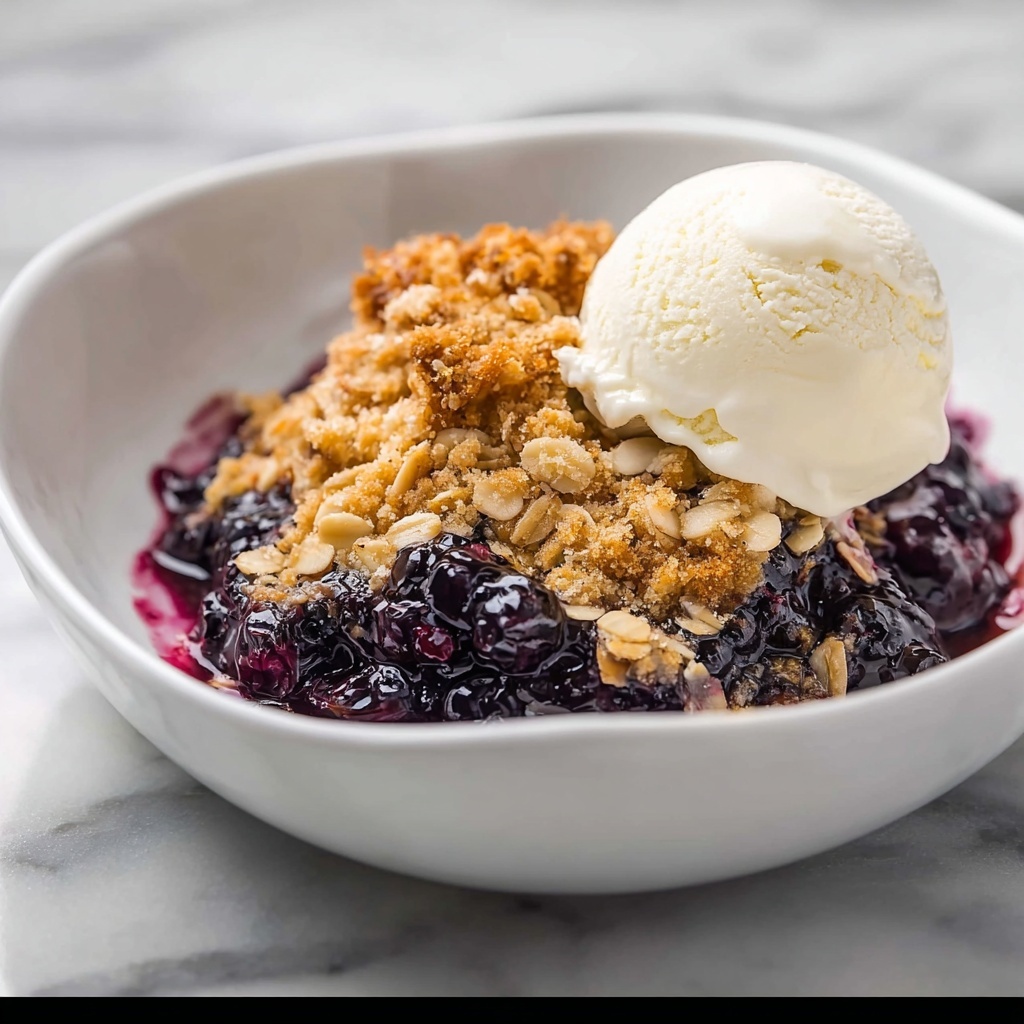
Serve your Blueberry Crisp Recipe with a generous scoop of vanilla ice cream or a dollop of freshly whipped cream. A sprinkle of toasted nuts or a light dusting of powdered sugar can take the presentation from simple to stunning.
Side Dishes
This dessert pairs beautifully with a hot cup of coffee or a fragrant herbal tea. If you want to add a breakfast twist, serve alongside creamy Greek yogurt for a luscious morning treat that’s both satisfying and indulgent.
Creative Ways to Present
For a charming presentation, serve individual portions in ramekins or mason jars—perfect for parties or gifting. You can also layer the blueberries and crisp topping in a trifle dish with whipped cream for a show-stopping twist on the classic Blueberry Crisp Recipe.
Make Ahead and Storage
Storing Leftovers
Store any leftovers covered tightly in the refrigerator for up to 3 days. The crisp topping will soften a bit but remains deliciously flavorful and can easily be revitalized with a quick oven reheat.
Freezing
If you want to enjoy this Blueberry Crisp Recipe later, freeze it before baking. Wrap the assembled crisp tightly with plastic wrap and foil, then freeze for up to 3 months. When ready, bake from frozen, increasing the baking time by 15 to 20 minutes until hot and bubbly.
Reheating
To reheat, place individual servings or the whole crisp in a preheated 350°F oven for about 15–20 minutes. This helps restore that crunchy topping and warms the filling perfectly, making leftovers almost as good as fresh.
FAQs
Can I use frozen blueberries for this Blueberry Crisp Recipe?
Absolutely! Just be sure to thaw and drain them well first to avoid excess moisture, which could make the filling runny. You might also slightly increase the amount of cornstarch to help thicken.
Is it possible to make this dessert gluten-free?
Yes! Substitute the all-purpose flour with a gluten-free flour blend and use gluten-free oats. The crisp will still be amazing and totally safe for gluten-sensitive friends.
Can I prepare the crisp topping in advance?
Definitely. You can mix the dry ingredients and butter until sandy, then refrigerate the topping for up to one day before assembling and baking your crisp.
What’s the best way to get a crunchy topping every time?
Keep your butter cold until just before mixing it in and avoid overworking the crumble. Those little butter chunks are essential for the crispy, flaky texture.
How do I know when the Blueberry Crisp Recipe is fully cooked?
You’ll see bubbling juices around the edges of the blueberries and a golden-brown topping. Also, the aroma fills your kitchen with a mouthwatering scent—that’s a reliable sign you’re ready to enjoy!
Final Thoughts
This Blueberry Crisp Recipe is a little slice of homemade happiness that’s easy to make and impossible to resist. Whether you’re enjoying it as a cozy comfort dessert or sharing it with friends and family, it’s sure to bring warmth and smiles to your table. Give it a try and make this scrumptious classic your own personal favorite!
Print
Blueberry Crisp Recipe
- Prep Time: 15 minutes
- Cook Time: 45 minutes
- Total Time: 1 hour 10 minutes
- Yield: 10 servings
- Category: Dessert
- Method: Baking
- Cuisine: American
- Diet: Vegetarian
Description
This classic Blueberry Crisp recipe features juicy, fresh blueberries baked under a crunchy, buttery oat topping. It’s an easy-to-make dessert perfect for summer gatherings or cozy nights at home, offering a delightful balance of sweet and tart flavors with a warm, golden crisp finishing.
Ingredients
Filling
- 6 cups fresh blueberries (about 3 pints)
- ½ cup granulated sugar
- 3 tablespoons cornstarch
Topping
- 1 cup old-fashioned rolled oats
- ½ cup all-purpose flour
- ½ cup brown sugar
- ½ teaspoon cinnamon
- ½ teaspoon salt
- 1 stick (½ cup) unsalted butter, cold and cut into pieces
Instructions
- Preheat Oven: Preheat your oven to 350°F (175°C) to ensure it reaches the perfect temperature for baking the crisp evenly.
- Prepare Filling: In your chosen baking dish (8×8 inch, 8-inch round, 9×9 inch, 9-inch round, 7×11 inch, or any 2-2.5 quart dish), combine the fresh blueberries, granulated sugar, and cornstarch. Stir gently with a spoon or spatula to coat the berries evenly and distribute the cornstarch which will thicken juices during baking.
- Combine Dry Ingredients: In a separate mixing bowl, mix together the rolled oats, all-purpose flour, brown sugar, cinnamon, and salt to create the base for the crisp topping.
- Add Butter: Add the cold, cubed unsalted butter to the dry ingredients. Use your fingers or a pastry cutter to cut the butter into the mixture until it reaches a sandy texture with some pea-sized clumps of butter visible.
- Form Topping Clumps: Using your hands, gently squeeze the mixture together, breaking it into clumps suitable for a crumbly topping rather than a uniform dough.
- Assemble Crisp: Evenly distribute and press the oat topping clumps over the blueberry filling in the baking dish, ensuring good coverage for a balanced crisp texture.
- Bake: Place the dish in the oven and bake for 40-45 minutes. Check if the blueberry filling is bubbling and if the topping has turned a golden brown color, indicating it’s cooked through.
- Adjust Baking Time: If needed, continue baking for an additional 10-20 minutes. Note that baking times will vary depending on the size and material of your pan, with a 7×11 inch pan potentially requiring up to 60 minutes.
- Cool and Serve: Remove from the oven and allow the crisp to cool for 10-15 minutes. This resting time helps thicken the filling and makes it easier to serve. Enjoy warm, optionally topped with vanilla ice cream or whipped cream.
Notes
- Use fresh blueberries for the best flavor; frozen can be used but may require longer baking and extra thickening.
- Butter should be very cold to create that perfect crumbly topping texture.
- Do not overmix topping; pea-sized chunks of butter ensure a crispy texture.
- Test doneness by looking for bubbling fruit and golden brown topping.
- Leftovers can be stored covered in refrigerator for up to 3 days and reheated before serving.
- Optional additions: a pinch of nutmeg or lemon zest in the filling for added complexity.

