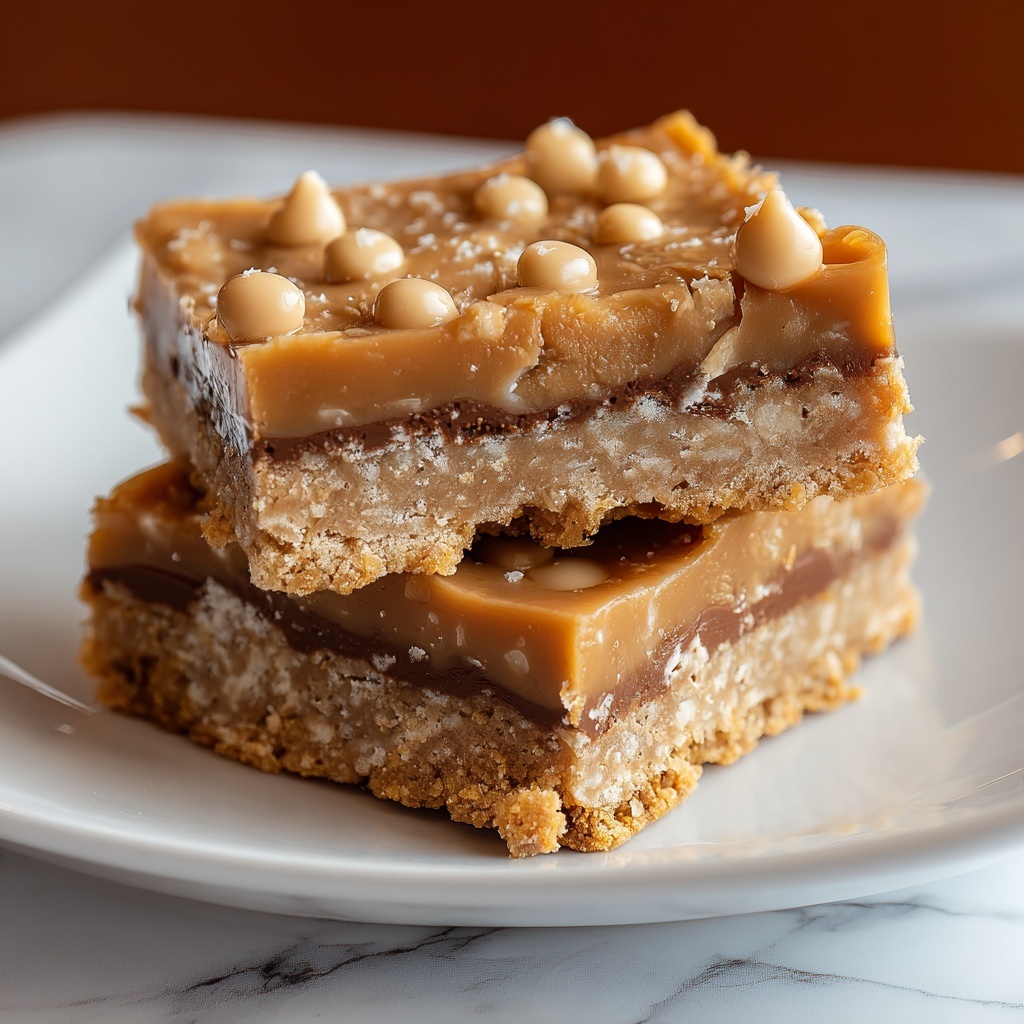
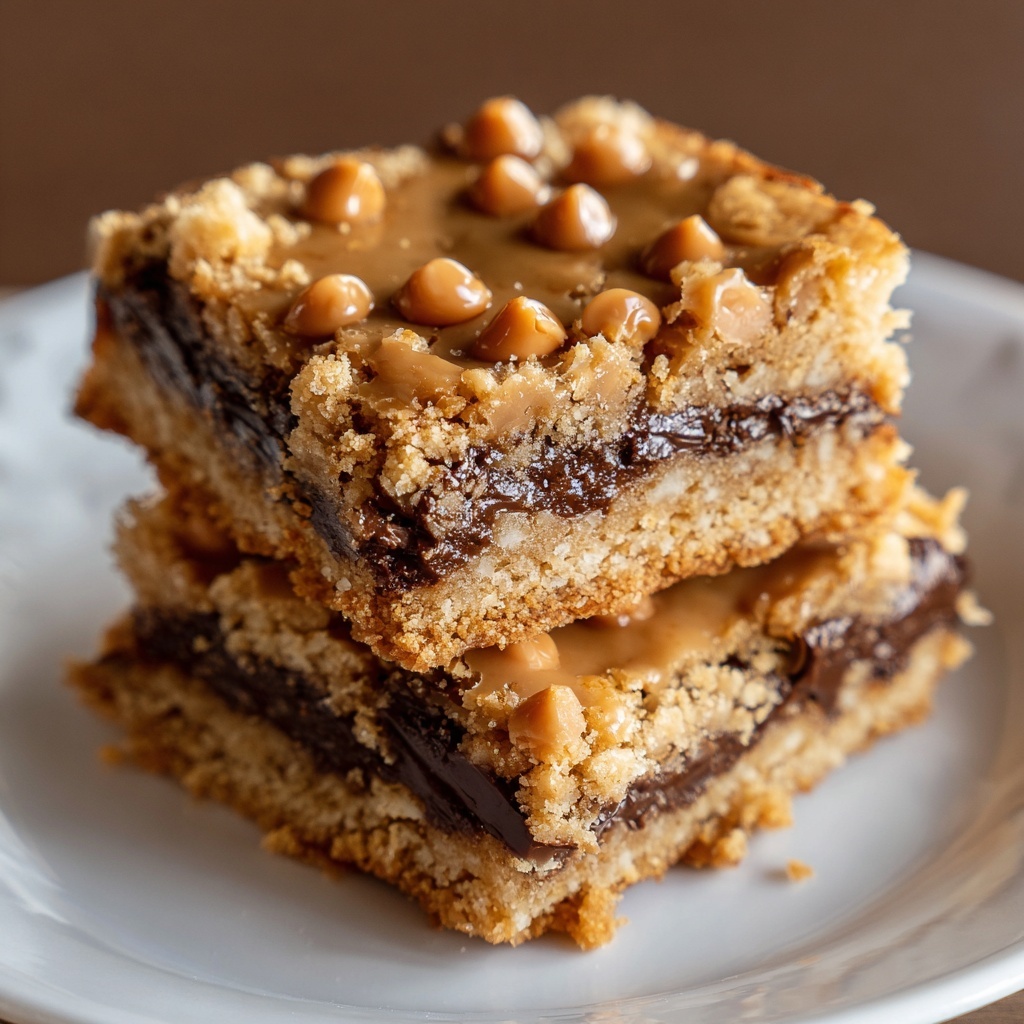
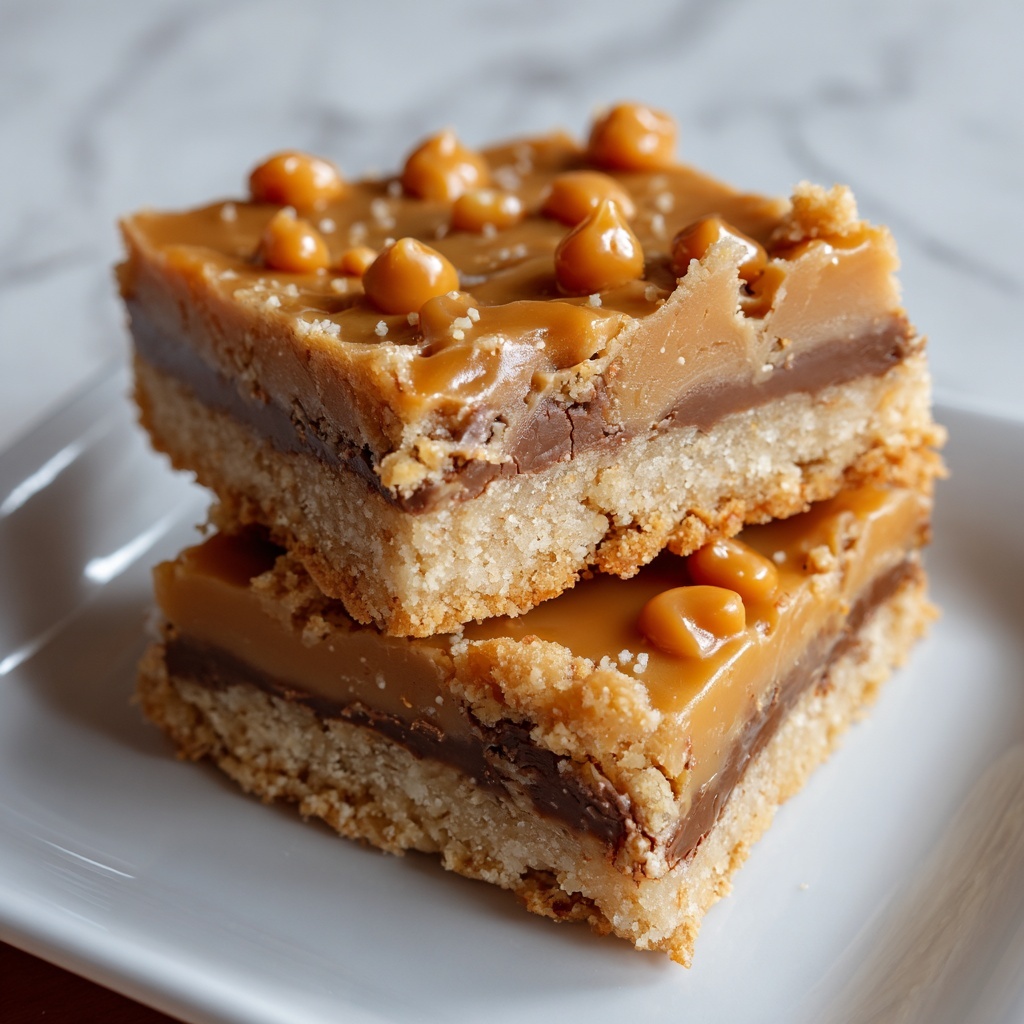
If you have a soft spot for nostalgic, peanut buttery treats that combine the best of chewy cookies and creamy frosting, then you’re about to fall head over heels for this Peanut Butter Lunch Lady Cookie Bars Recipe. It’s a classic recipe with a rich history and an unbelievably satisfying flavor profile that makes every bite melt in your mouth. This recipe captures that perfect balance of sweetness, fluffiness, and a subtle hint of saltiness, all swirled into one dense, divine bar that’s just waiting to become your new favorite dessert or snack.
Ingredients You’ll Need
Gathering the right ingredients is the first step to perfecting the Peanut Butter Lunch Lady Cookie Bars Recipe. Each element here plays a crucial role, from texture to flavor, creating a harmonious blend that’s irresistible and true to the original classic.
- 2 cups flour: The foundation that gives your bars structure and chewiness.
- 2 cups sugar: Provides sweetness and helps create that golden crust.
- 2 large eggs, beaten: Adds moisture and binds everything together perfectly.
- 1 ½ cup peanut butter, divided: The star ingredient that gives that unmistakable creamy, nutty richness.
- 1 ½ cups (3 sticks) unsalted butter, softened: Brings richness and tenderness to each bite.
- ½ cup milk + 2 tablespoons, divided: Adds moisture to keep the bars soft and smooth out the texture.
- 1 teaspoon baking soda: Helps the bars rise slightly for the perfect chew.
- 1 teaspoon vanilla extract: Enhances warmth and depth of flavor.
- 1 teaspoon salt: Balances the sweetness and intensifies flavors.
- 4 cups powdered sugar: Essential for the smooth, luscious frosting topping.
How to Make Peanut Butter Lunch Lady Cookie Bars Recipe
Step 1: Preheat and Prepare Your Pan
Start by preheating your oven to 400°F so it’s ready to bake your bars as soon as the batter is mixed. Prepare a large cookie sheet by greasing it lightly or lining it with parchment paper to prevent sticking and ensure easy removal later.
Step 2: Mix Dry Ingredients
In a large bowl, combine the flour, sugar, baking soda, and salt. Mixing these dry ingredients first ensures they are evenly distributed throughout the batter, which is key for consistent flavor and texture in every bite.
Step 3: Whisk the Wet Ingredients
In a separate bowl, whisk together the beaten eggs, ½ cup milk, and vanilla extract until combined. This mixture adds moisture and flavor, helping the bars stay soft and tender once baked.
Step 4: Melt Butter and Peanut Butter
Using a saucepan, gently melt 1 cup of the butter and 1 cup of the peanut butter together over medium heat. Bring this to a boil—this step intensifies the peanut butter flavor and starts creating a luscious base for your bars.
Step 5: Combine All Ingredients
Remove the melted peanut butter and butter mixture from heat. Slowly add the flour mixture, stirring constantly to prevent lumps. Then pour in the milk and egg mixture, stirring until everything is evenly combined into a smooth, spreadable batter.
Step 6: Bake the Bars
Pour your batter evenly onto the prepared cookie sheet and place it in the oven. Bake for 20 minutes or until the edges are golden and a toothpick inserted comes out mostly clean with just a few moist crumbs.
Step 7: Let Bars Cool Completely
This step is important! Let your cookie bars cool entirely in the pan so that your frosting will set perfectly without melting or sliding off.
Step 8: Prepare and Spread the Frosting
For the frosting, bring the remaining butter and peanut butter to a boil in a saucepan. Add the 2 tablespoons of milk, then gradually mix in the powdered sugar until the frosting is smooth and spreadable. Pour this luscious frosting over the cooled bars and spread evenly.
How to Serve Peanut Butter Lunch Lady Cookie Bars Recipe
Garnishes
A simple sprinkle of crushed peanuts or even rainbow sprinkles on top of the frosting adds a touch of whimsy and crunch. These little additions highlight the peanut flavor and make your bars look irresistible.
Side Dishes
Serve these bars alongside a cold glass of milk or a hot cup of coffee or tea for a delightful afternoon treat. For an extra indulgent dessert, pair with vanilla ice cream to balance the richness.
Creative Ways to Present
Cut the bars into fun shapes using cookie cutters for parties or pack them in small containers for lunchbox surprises. Layer them between wax paper in a decorative tin to gift friends and family a homemade treat that feels truly special.
Make Ahead and Storage
Storing Leftovers
Keep your leftover Peanut Butter Lunch Lady Cookie Bars Recipe fresh by storing them in an airtight container at room temperature. They stay soft and flavorful for up to a week, making them perfect for enjoying throughout the week.
Freezing
You can freeze these bars to enjoy later! Wrap them tightly in plastic wrap and place in a freezer-safe container or zip-top bag. When you’re ready, thaw in the fridge overnight and bring to room temperature before serving.
Reheating
If you like your bars warm, pop a piece in the microwave for about 10-15 seconds. This melts the frosting slightly and enhances that gooey, peanut buttery experience we all crave.
FAQs
Can I use crunchy peanut butter instead of smooth?
Yes! Using crunchy peanut butter will add delightful texture bits to your bars, giving an extra crunch that complements the soft cookie perfectly.
What if I don’t have unsalted butter? Can I use salted butter instead?
Salted butter works fine but reduce the added salt a bit to avoid oversalting. The salted butter will enhance the overall flavor but balance is key!
Is there a gluten-free option for this recipe?
Absolutely, you can substitute the all-purpose flour with a gluten-free baking blend. Just make sure it’s a cup-for-cup substitute for best results.
How thick should the bars be spread on the cookie sheet?
Spread the batter evenly to about ½ to ¾ inch thickness for ideal baking. This thickness ensures the bars bake through without drying out and remain moist inside.
Can I make the frosting ahead of time?
Yes, you can prepare the frosting ahead and refrigerate it in a covered container. Warm slightly and stir before spreading it on cooled bars for the best texture.
Final Thoughts
There’s something truly heartwarming about the Peanut Butter Lunch Lady Cookie Bars Recipe—it’s like a sweet hug from your childhood that you can make any day of the week. Whether you bake them for a family gathering, a school treat, or just because you deserve a little indulgence, these bars never disappoint. Give this recipe a try, and I promise it will become a beloved staple in your kitchen like it has in mine.
Print
Peanut Butter Lunch Lady Cookie Bars Recipe
- Prep Time: 10 minutes
- Cook Time: 20 minutes
- Total Time: 40 minutes
- Yield: 24 servings
- Category: Dessert
- Method: Baking
- Cuisine: American
Description
These Peanut Butter Lunch Lady Cookie Bars are a nostalgic treat with a rich peanut butter flavor, soft chewy texture, and a creamy peanut butter frosting. Easy to make and perfect for lunchboxes or dessert, these bars combine the timeless taste of classic peanut butter cookies with a smooth, sweet topping for a delightful indulgence.
Ingredients
Dry Ingredients
- 2 cups flour
- 2 cups sugar
- 1 teaspoon baking soda
- 1 teaspoon salt
Wet Ingredients
- 2 large eggs, beaten
- 1 ½ cups (3 sticks) unsalted butter, divided
- 1 ½ cup peanut butter, divided
- ½ cup milk + 2 tablespoons, divided
- 1 teaspoon vanilla extract
Frosting
- 4 cups powdered sugar
Instructions
- Preheat oven: Set your oven temperature to 400°F (204°C) and prepare a large cookie sheet by greasing it or lining it with parchment paper to prevent sticking.
- Mix dry ingredients: In a large bowl, combine the 2 cups of flour, 2 cups sugar, 1 teaspoon baking soda, and 1 teaspoon salt. Stir them together and set aside for use later.
- Prepare wet mixture: In another bowl, whisk together the ½ cup milk, 1 teaspoon vanilla extract, and the beaten eggs. Set this mixture aside as well.
- Melt butter and peanut butter: In a saucepan over medium heat, melt 1 cup of unsalted butter and 1 cup of peanut butter together. Bring the mixture just to a boil, then remove from heat.
- Combine batter: Slowly add the flour mixture into the melted butter and peanut butter, stirring continuously until well incorporated. Next, pour in the milk and egg mixture, continuing to mix until a smooth batter forms.
- Bake the batter: Pour the batter evenly onto the prepared cookie sheet and smooth out the top. Place it in the preheated oven and bake for 20 minutes until the edges begin to turn golden and a toothpick inserted comes out mostly clean.
- Cool completely: Remove the cookie bar from the oven and let it cool fully on a wire rack before applying the frosting.
- Prepare frosting: In a saucepan, bring 1 stick (½ cup) of butter and ½ cup peanut butter to a boil. Remove from heat, stir in 2 tablespoons milk, then gradually mix in 4 cups powdered sugar until you achieve a smooth, spreadable consistency.
- Frost the bars: Pour the prepared peanut butter frosting over the cooled cookie bars spreading evenly. Allow the frosting to set before cutting into 24 bars for serving.
Notes
- Make sure the bars are completely cooled before frosting to prevent the frosting from melting.
- Use creamy peanut butter for a smooth texture in both batter and frosting.
- Store bars in an airtight container at room temperature for up to 3 days or refrigerate for longer freshness.
- For a nut-free option, substitute peanut butter with sunflower seed butter.
- Ensure that baking soda is fresh for proper leavening and texture.
