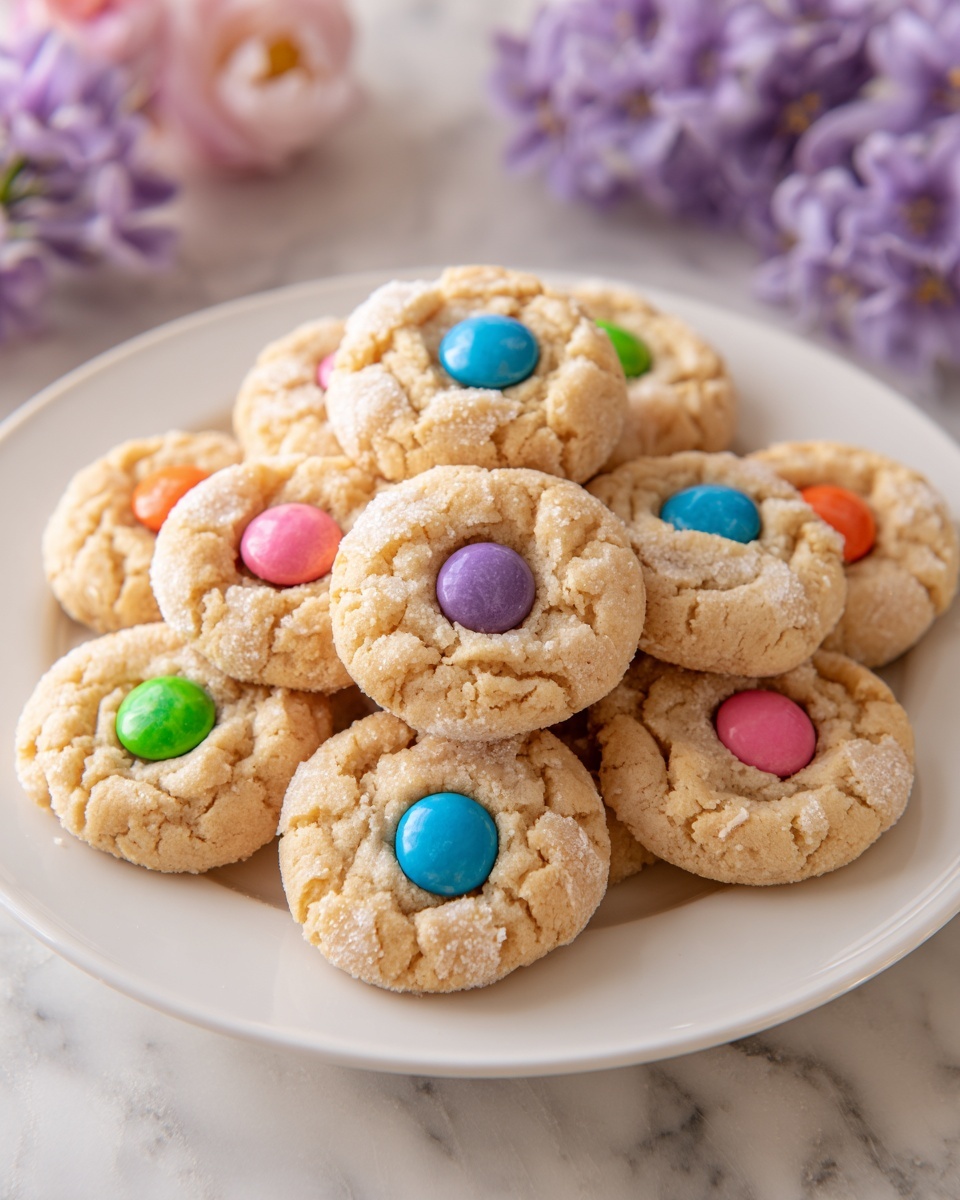
If you are looking for a charming, delicious treat to brighten up your spring celebrations, you have to try this Easter Bunny Button Cookies Recipe. These delightful cookies combine buttery softness with a whimsical design that looks just like little buttons, perfect for the Easter season. With their subtle sweetness and playful pastel decorations, they bring joy to both the baking process and the moment you take a bite. Whether you’re making them for a festive gathering, a gift basket, or just to savor with family, these cookies are bound to become an all-time favorite in your recipe collection.
Ingredients You’ll Need
The beauty of this Easter Bunny Button Cookies Recipe lies in its simplicity. Each ingredient plays a crucial role in achieving the perfect texture, flavor, and adorable appearance that will have everyone reaching for more.
- 1 cup unsalted butter, softened: Provides that rich, melt-in-your-mouth buttery base every cookie dreams of.
- ½ cup granulated sugar: Adds just the right amount of sweetness while helping with cookie structure.
- ½ cup powdered sugar: For extra tenderness and a delicate texture in each bite.
- 1 large egg: Binds everything together and contributes to a tender crumb.
- 1 teaspoon vanilla extract: Enhances the overall flavor with a lovely warm note.
- 2¼ cups all-purpose flour: The foundation of the dough, giving these cookies their soft yet sturdy shape.
- ½ teaspoon baking powder: Provides a gentle lift to keep the cookies light and airy.
- ¼ teaspoon salt: Balances sweetness and intensifies flavors.
- Pastel-colored sanding sugar or sprinkles (optional): Perfect for adding a festive touch and some sparkle.
- Icing or melted chocolate for decoration (optional): Makes these cookies extra special when drizzled or piped creatively.
How to Make Easter Bunny Button Cookies Recipe
Step 1: Preheat and Prep
Start by heating your oven to 350°F (175°C) and lining your baking sheets with parchment paper. This ensures your cookies bake evenly and won’t stick, setting you up perfectly for success.
Step 2: Cream the Butter and Sugars
In a large bowl, beat the softened butter with the granulated and powdered sugars until the mixture is light and fluffy. This process incorporates air that makes your cookies tender and soft.
Step 3: Add Egg and Vanilla
Mix in the egg and vanilla extract until everything is smooth and fully combined. These ingredients add moisture and enhance the aroma, making your kitchen smell utterly inviting.
Step 4: Combine Dry Ingredients
In a separate bowl, whisk together the all-purpose flour, baking powder, and salt. Mixing these dry ingredients thoroughly ensures even distribution and helps your cookies bake to perfection.
Step 5: Form the Dough
Gradually add the flour mixture to the wet ingredients, stirring until a soft dough forms. This dough is just the right consistency to handle and shape without sticking excessively.
Step 6: Shape and Decorate
Divide the dough into 1-inch balls and place them 2 inches apart on your prepared baking sheets. Gently flatten each ball using your palm or the bottom of a glass. To create that signature button look, press a small round cap lightly in the center of each cookie, then poke four holes using a skewer or straw. This little step gives them an irresistibly cute bunny button charm.
Step 7: Bake and Cool
Bake your cookies for 10 to 12 minutes, or until their edges are just turning golden. Once out of the oven, let them cool on the pan for 5 minutes before transferring to a wire rack. This cooling time is key to letting the cookies firm up without losing their softness.
Step 8: Final Touches
If you want to add some extra sparkle, sprinkle pastel sanding sugar on top before baking or drizzle with icing or melted chocolate after the cookies have cooled. These decorations make your Easter Bunny Button Cookies Recipe truly pop and feel festive.
How to Serve Easter Bunny Button Cookies Recipe
Garnishes
Light pastel-colored sanding sugar sprinkled on before baking brings a gentle shimmer that captures the spirit of spring. After baking, a drizzle of white or milk chocolate adds an elegant touch that makes these cookies just as pretty as they are tasty.
Side Dishes
Pair these bunny button cookies with a glass of cold milk or a warm cup of tea to balance their buttery sweetness. Serving them alongside fresh fruit or a light yogurt dip can create a delightful snack platter that’s perfect for a spring tea party or Easter gathering.
Creative Ways to Present
For a memorable presentation, arrange the cookies in a basket lined with pastel fabric or Easter grass. You can also string a ribbon through the button holes and tuck the cookies into treat bags, making them ideal party favors or cute gifts for neighbors, teachers, and friends.
Make Ahead and Storage
Storing Leftovers
Once cooled completely, store your Easter Bunny Button Cookies in an airtight container at room temperature. They will stay fresh and delicious for up to 5 days, maintaining that perfect soft texture you love.
Freezing
These cookies freeze beautifully. Place them in a single layer on a baking sheet first, freeze until solid, then transfer to a freezer-safe container or bag. Frozen cookies can keep for up to 3 months, so you can enjoy your Easter Bunny Button Cookies Recipe anytime you like.
Reheating
If you want to enjoy your cookies warm, simply pop a few in the microwave for about 10-15 seconds. This will soften them up and bring back that freshly baked feel, perfect for cozy snacking moments.
FAQs
Can I use salted butter for this recipe?
While unsalted butter is preferred to control salt levels, you can use salted butter if that’s what you have. Just reduce or skip adding extra salt so your cookies don’t turn out too salty.
Is it okay to substitute vanilla extract with almond extract?
Absolutely! Almond extract will give your Easter Bunny Button Cookies a lovely nutty flavor. Use it sparingly though, as it is more potent than vanilla.
Can I use this dough to make different cookie shapes?
Yes! The dough is versatile and holds its shape well, so feel free to use cookie cutters for bunnies, eggs, or any spring-themed designs before baking.
How can I make these cookies more colorful?
Add a few drops of food coloring to the dough before rolling it out. This adds a festive touch and lets you coordinate with your Easter décor or party theme.
Are these cookies suitable for kids to help make?
Definitely! Shaping, flattening, and pressing the button holes are fun, simple steps perfect for little hands to assist with, making this a wonderful family baking activity.
Final Thoughts
There is truly something magical about baking and sharing these Easter Bunny Button Cookies Recipe with those you care about. Their delightful appearance and tender, buttery flavor bring smiles and a touch of springtime joy to every occasion. I encourage you to give this recipe a try and watch these adorable cookies become a cherished part of your holiday traditions.
Print
Easter Bunny Button Cookies Recipe
- Prep Time: 20 minutes
- Cook Time: 12 minutes
- Total Time: 32 minutes
- Yield: 30 cookies
- Category: Dessert
- Method: Baking
- Cuisine: American
- Diet: Vegetarian
Description
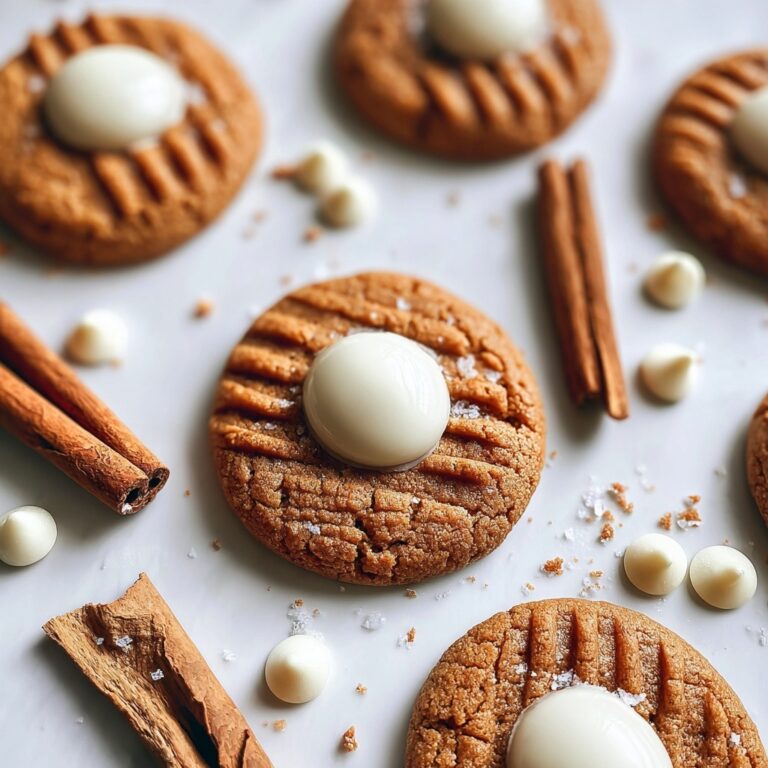
Easter Bunny Button Cookies are delightful, buttery sugar cookies perfect for celebrating spring and Easter gatherings. These charming cookies feature a unique button design with four holes and can be decorated with pastel sanding sugar or drizzled icing for a festive touch. Soft, tender, and lightly golden, they are sure to be a hit at any holiday party or in Easter baskets.
Ingredients
Cookie Dough
- 1 cup unsalted butter, softened
- ½ cup granulated sugar
- ½ cup powdered sugar
- 1 large egg
- 1 teaspoon vanilla extract
- 2¼ cups all-purpose flour
- ½ teaspoon baking powder
- ¼ teaspoon salt
Decorations (Optional)
- Pastel-colored sanding sugar or sprinkles
- Icing or melted chocolate for decoration
Instructions
- Preheat Oven and Prepare Baking Sheets: Set your oven to 350°F (175°C) and line baking sheets with parchment paper to prevent sticking and ensure even baking.
- Cream Butter and Sugars: In a large bowl, beat the softened butter with granulated sugar and powdered sugar until the mixture becomes light and fluffy, creating the perfect base for your cookies.
- Add Egg and Vanilla: Beat in the large egg and vanilla extract until fully incorporated, enhancing the cookie’s flavor and texture.
- Mix Dry Ingredients: In a separate bowl, whisk together the all-purpose flour, baking powder, and salt to evenly distribute the leavening agents and seasoning.
- Combine Wet and Dry Ingredients: Gradually add the dry mixture to the wet ingredients, stirring until a soft dough forms that’s easy to handle but not sticky.
- Form Dough Balls: Divide the dough into 1-inch balls, spacing them 2 inches apart on the prepared baking sheets to allow room for spreading.
- Create Button Design: Gently flatten each dough ball with your palm or the bottom of a glass. Use a small round cap to press a shallow circle in the center, then poke four holes with a skewer or straw to mimic a button’s holes.
- Bake: Place the baking sheets in the preheated oven and bake for 10 to 12 minutes, or until the cookie edges turn just lightly golden for a tender bite.
- Cool: Let the cookies cool on the pan for 5 minutes to firm up, then transfer them to a wire rack to cool completely to avoid sogginess.
- Decorate: Optionally, sprinkle pastel sanding sugar before baking for added sparkle or drizzle with icing or melted chocolate after the cookies have cooled for a festive finishing touch.
Notes
- These cookies are perfect for Easter baskets or spring parties.
- The dough can be made a day ahead and chilled to enhance flavor and texture.
- You can tint the dough with food coloring for a festive and colorful variation.
- Use parchment paper to prevent sticking and ensure even baking.
- Cool cookies completely before adding any melted chocolate decorations to prevent melting.


