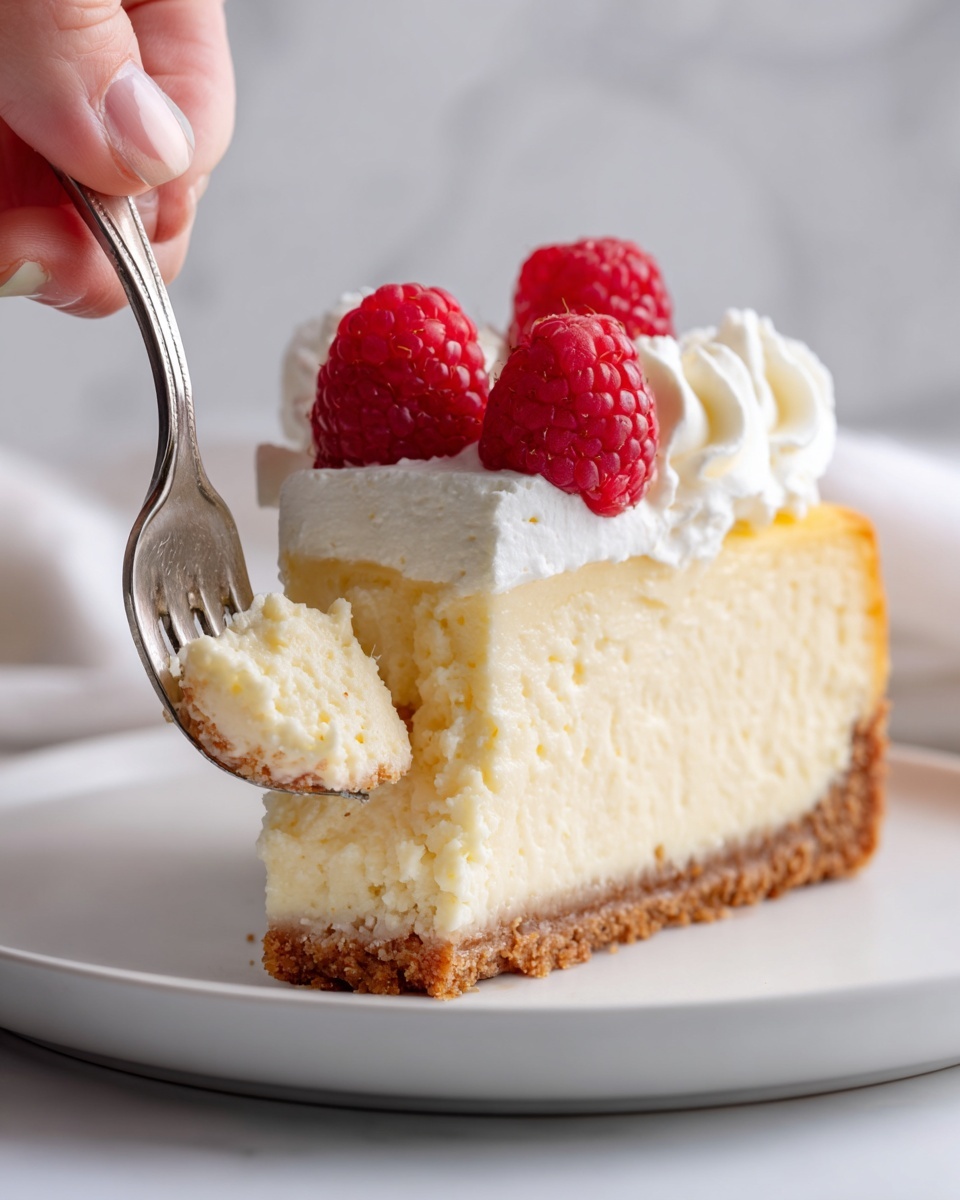
There is nothing quite as refreshing and delightfully simple as the No-Bake Lemonade Pie Recipe. This vibrant dessert perfectly captures the zingy essence of lemonade in a creamy, light pie that comes together effortlessly with just a handful of pantry staples. Whether you’re aiming to brighten up a summer gathering or just want a sweet treat that feels fresh and easy, this pie hits every note with its tender graham cracker crust and luscious, tangy filling. It is one of those recipes that feels like an instant favorite—guaranteed to bring smiles with every slice.
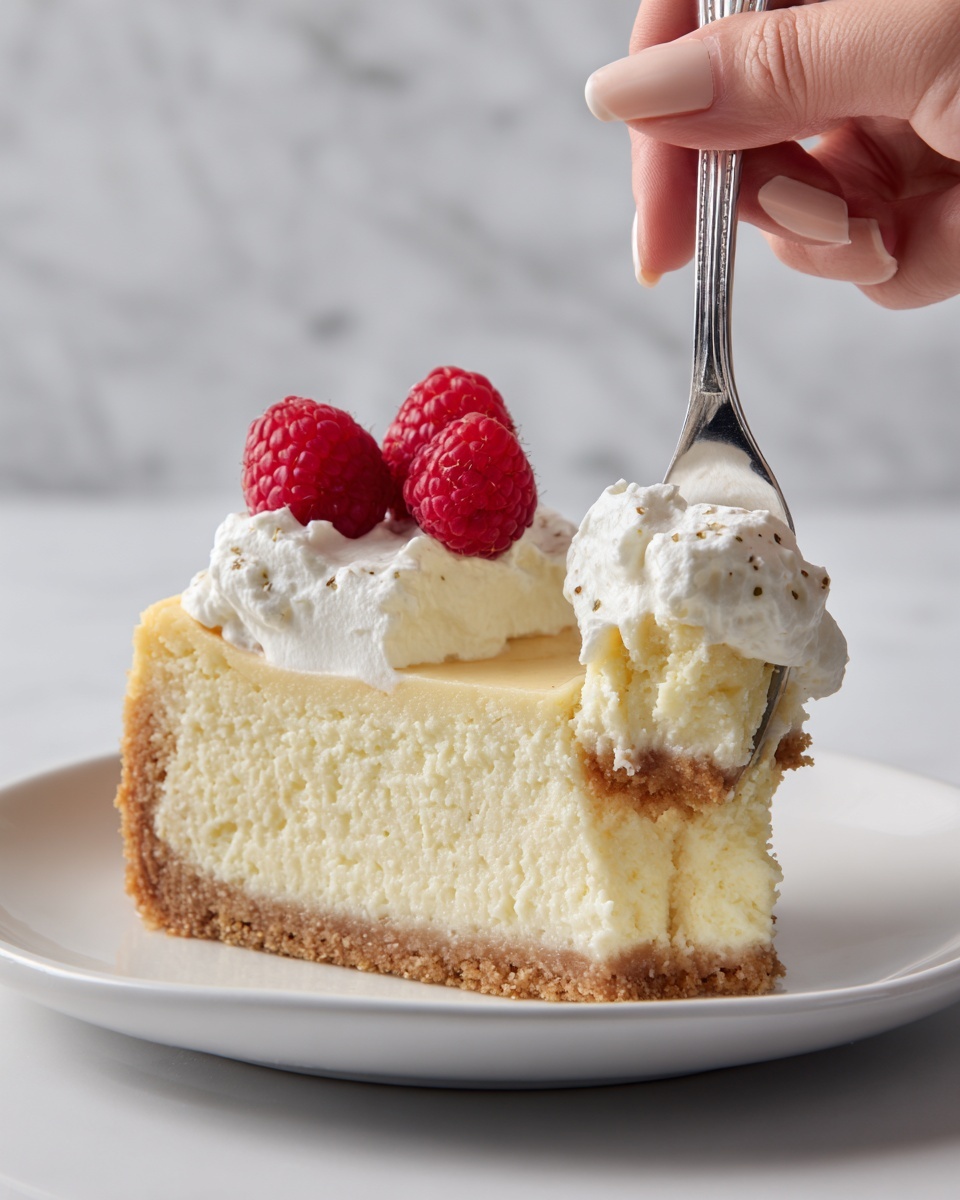
Ingredients You’ll Need
Each ingredient in this recipe is chosen for its simplicity and its crucial contribution to the pie’s luscious texture and bright flavor. You won’t need anything fancy, but every element, from the graham cracker crust to the frozen lemonade concentrate, creates a balance that is absolutely irresistible.
- Graham cracker pie crust (9-inch): Provides a sweet, crunchy base with a buttery undertone that perfectly supports the creamy filling.
- Sweetened condensed milk (14-ounce can): Adds rich sweetness and a smooth texture that melds beautifully with the tart lemonade.
- Frozen whipped topping (8-ounce container, thawed): Lightens the filling for a fluffy, airy feel that makes this pie so indulgent without being heavy.
- Frozen lemonade concentrate (3/4 cup, thawed): The star of the show, imparting that authentic lemonade tang and vibrant citrus punch.
- Lemon zest (1 teaspoon, optional): A little zest adds an aromatic brightness that intensifies the lemon flavor in the best way.
- Whipped cream and lemon slices (optional garnish): These finishing touches elevate the presentation and add a fresh creaminess and visual pop.
How to Make No-Bake Lemonade Pie Recipe
Step 1: Whisk together the sweetened condensed milk and lemonade concentrate
Start by combining your sweetened condensed milk and thawed lemonade concentrate in a large bowl. Whisk them together until you have a silky, smooth mixture with no lumps. This step is crucial because it ensures the tart lemonade flavor is evenly spread throughout the rich, milky base, setting the tone for every spoonful of your pie.
Step 2: Fold in the whipped topping and lemon zest
Next, gently fold in the thawed whipped topping, being careful not to deflate the fluffy texture. If you’re using lemon zest, mix it in now to layer additional zest and aroma. This folding step is key for keeping the filling light and creamy, making the pie anything but heavy or dense.
Step 3: Spoon the filling into the graham cracker crust
Carefully spoon your luscious filling into the prepared graham cracker crust, spreading it evenly with the back of a spoon or a spatula. The crust supports the filling with a slight crunch and subtle sweetness, creating a fantastic texture contrast that will delight your palate.
Step 4: Chill until firm and set
Cover the pie and refrigerate for at least 4 hours, allowing the filling to firm up into a perfectly sliceable consistency. This chilling time is essential to meld the flavors and create that classic creamy yet refreshing mouthfeel you expect from a No-Bake Lemonade Pie Recipe.
Step 5: Garnish and serve
Once your pie is set, decorate it with dollops of whipped cream and delicate lemon slices if desired. These garnishes not only make the pie look utterly irresistible but also add extra layers of creaminess and citrus zing to each bite.
How to Serve No-Bake Lemonade Pie Recipe

Garnishes
Whipped cream and thin lemon slices are classic garnishes that highlight the pie’s tart freshness. If you want to get creative, try adding some fresh mint leaves for a pop of green and a cooling contrast to the zesty lemon.
Side Dishes
This pie pairs wonderfully with light fruit salads or a simple scoop of vanilla ice cream. The cool creaminess of the pie complements fresh berries or a crisp melon salad, creating a balanced, summery dessert experience.
Creative Ways to Present
For a charming twist, serve individual portions of the No-Bake Lemonade Pie Recipe in small mason jars or clear dessert cups, layered with crushed graham crackers and a sprinkle of lemon zest on top. This not only looks adorable but makes for easy, mess-free servings when entertaining guests.
Make Ahead and Storage
Storing Leftovers
Leftover pie should be covered tightly and stored in the refrigerator. It will keep beautifully for 1 to 2 days, allowing you to savor every slice without rushing.
Freezing
This pie can also be frozen to extend its life. Wrap it snugly with plastic wrap and aluminum foil, then freeze for up to one month. Thaw it overnight in the fridge before serving to restore its creamy texture.
Reheating
Since this is a no-bake, chilled dessert, reheating is not recommended. The pie is best enjoyed cold or slightly thawed if frozen, to maintain its refreshing, smooth quality.
FAQs
Can I use fresh lemon juice instead of frozen concentrate?
Absolutely! Using fresh lemon juice will work, but you may need to adjust the sweetness slightly since fresh juice is less concentrated and more tart than the frozen concentrate.
Is it possible to make the crust from scratch?
Yes, if you prefer homemade, you can crush graham crackers and mix with melted butter and a bit of sugar to form the crust. Press the mixture into your pie dish and chill before filling.
How long does this pie last in the fridge?
This No-Bake Lemonade Pie Recipe stays fresh and delicious for 1 to 2 days when refrigerated in an airtight container.
Can I substitute the whipped topping with something else?
You can use homemade whipped cream if you prefer, just make sure it’s whipped to soft peaks so it folds nicely without deflating the filling.
Is this dessert suitable for vegetarians?
Yes! This pie is vegetarian-friendly, as it contains no gelatin or animal-derived ingredients, making it perfect for most diet preferences.
Final Thoughts
If you’re searching for the perfect sweet treat that brings a burst of sunshine to your table with minimal fuss, the No-Bake Lemonade Pie Recipe is your new best friend. It’s simple, stunning, and refreshingly delicious every single time. Give it a try—you might just find it becoming your go-to dessert for every occasion!
Print
No-Bake Lemonade Pie Recipe
- Prep Time: 10 minutes
- Cook Time: 0 minutes
- Total Time: 4 hours 10 minutes
- Yield: 8 slices
- Category: Dessert
- Method: No-Cook
- Cuisine: American
- Diet: Vegetarian
Description
No-Bake Lemonade Pie is a refreshing, creamy dessert perfect for warm weather. This easy-to-make pie combines a buttery graham cracker crust with a tangy lemonade-flavored filling made from sweetened condensed milk, frozen lemonade concentrate, and whipped topping. It requires no baking and chills to a firm, velvety texture, making it an effortless treat to prepare ahead of time.
Ingredients
Pie Crust
- 1 (9-inch) graham cracker pie crust
Filling
- 1 (14-ounce) can sweetened condensed milk
- 1 (8-ounce) container frozen whipped topping, thawed
- 3/4 cup frozen lemonade concentrate, thawed
- 1 teaspoon lemon zest (optional)
Garnish (Optional)
- Whipped cream
- Lemon slices
Instructions
- Prepare the Filling: In a large bowl, whisk together the sweetened condensed milk and thawed lemonade concentrate until smooth and fully combined. This ensures the flavors blend well for a consistent tart and sweet base.
- Incorporate Whipped Topping: Gently fold in the thawed whipped topping and lemon zest (if using) to the lemon mixture. Folding gently maintains the light and airy texture of the filling.
- Fill the Crust: Spoon the creamy filling into the graham cracker crust, smoothing the top with a spatula for an even layer.
- Chill the Pie: Cover the pie and refrigerate for at least 4 hours, or until the filling is firm and set. This chilling time is crucial for the pie to fully develop its texture.
- Garnish and Serve: Before serving, optionally garnish with whipped cream and lemon slices for an extra touch of flair and flavor. Slice and enjoy the pie chilled for the best taste and texture.
Notes
- For a stronger lemon flavor, add a tablespoon of fresh lemon juice to the filling mixture.
- This pie can be made 1–2 days in advance and kept refrigerated to save time.
- For a frozen version, freeze the pie and thaw slightly before serving to enjoy a refreshing frozen treat.

