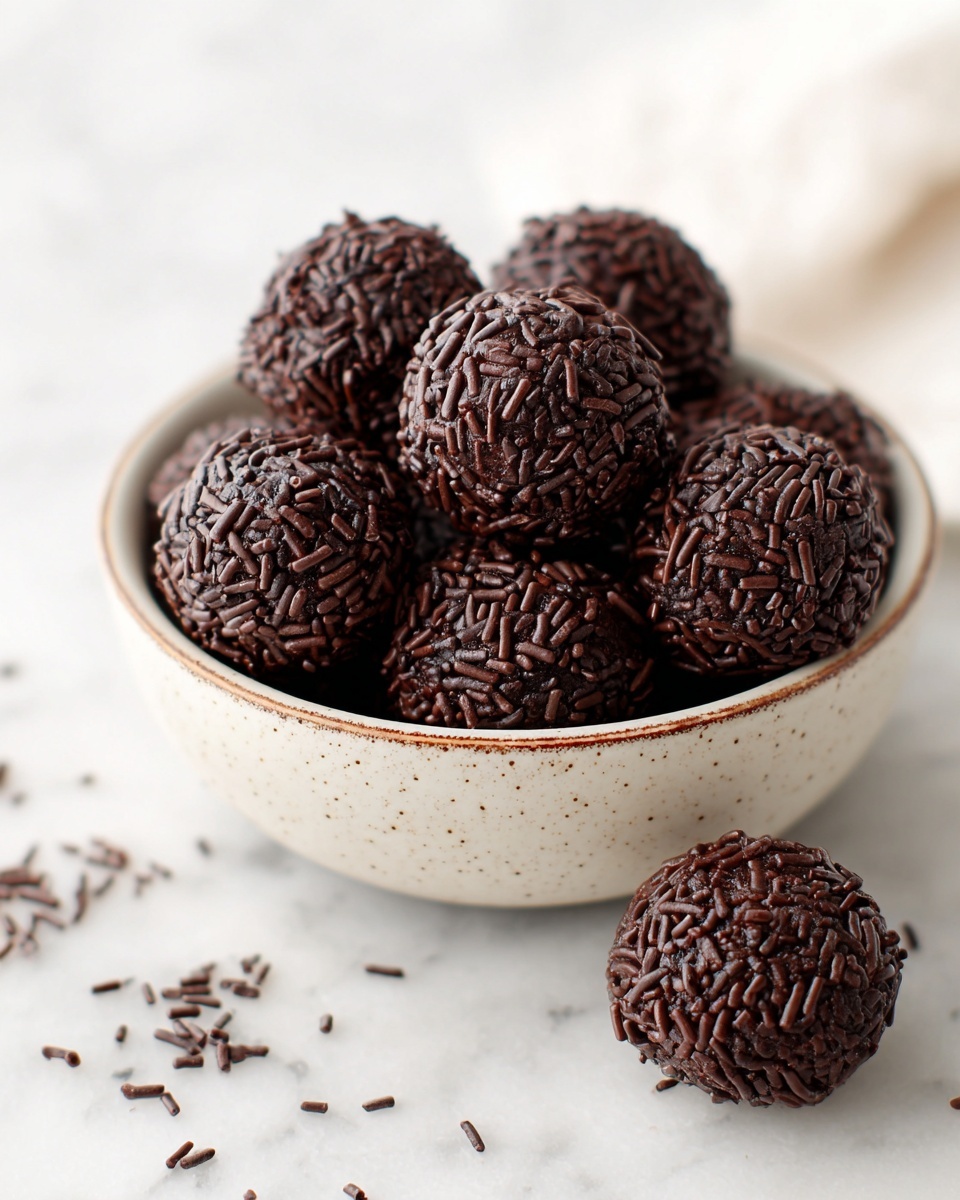
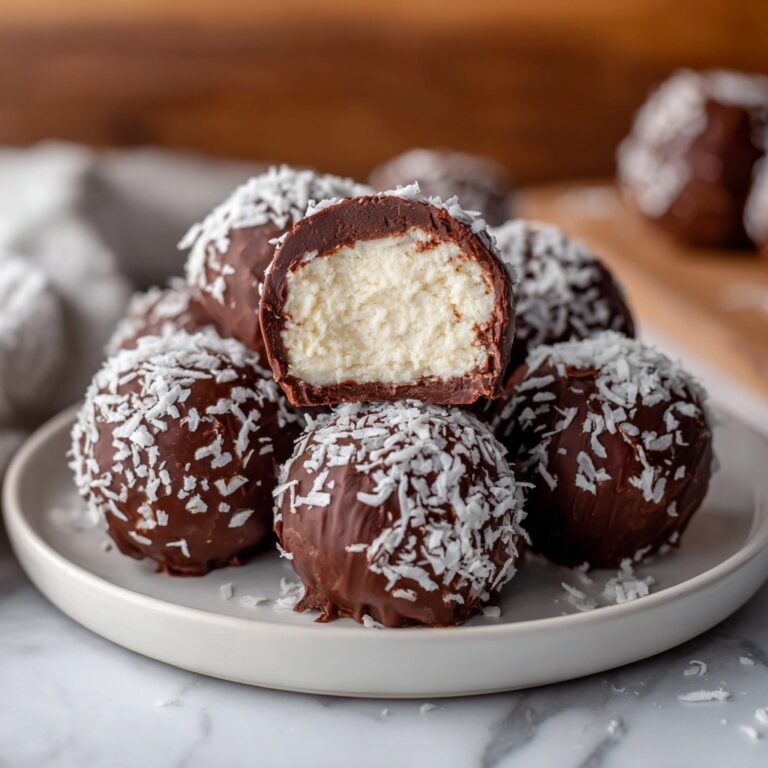
If you are on the lookout for a delicious and nourishing treat that feels like a hug in bite-sized form, the Wholesome Chocolate Bliss Balls Recipe is here to steal your heart. These little gems pack an irresistible combination of natural sweetness, rich cocoa flavor, and crunchy almond goodness—all blended into perfect balls of snack-time joy. They are quick to make, require no baking, and deliver a burst of energy with every bite, making them a fantastic choice for a guilt-free indulgence anytime during the day.
Ingredients You’ll Need
Gathering your ingredients for this Wholesome Chocolate Bliss Balls Recipe is both straightforward and rewarding, as each item plays a special role in creating the perfect balance of flavor and texture. The simplicity of these pantry-friendly staples makes the process smooth, and you’ll love how the natural components shine through.
- 1 cup medjool dates (pitted): The all-natural sweetener that adds a caramel-like chewiness and holds everything together.
- ¾ cup raw almonds: For a satisfying crunch and a heart-healthy source of fats and protein.
- 2 tablespoons unsweetened cocoa powder: This delivers that deep, indulgent chocolate flavor without any added sugar.
- 2 tablespoons almond butter: Adds creaminess and enhances the nutty undertones, helping to bind the mixture.
- 1 tablespoon chia seeds: A nutrition powerhouse that boosts fiber and omega-3s, plus a little extra texture.
- 1 tablespoon maple syrup: Adds a subtle hint of natural sweetness and complexity.
- 1 teaspoon vanilla extract: Elevates all the flavors with its warm, aromatic touch.
- Pinch of sea salt: To balance the sweetness and deepen the overall taste.
- 1–2 tablespoons water (as needed): Helps the mixture come together if it’s too dry to form balls.
- Unsweetened shredded coconut (optional): For rolling—adds a lovely texture and tropical flair.
How to Make Wholesome Chocolate Bliss Balls Recipe
Step 1: Process Dates and Almonds
Start by placing your pitted medjool dates and raw almonds into a food processor. Pulse them together until you achieve a finely chopped but still somewhat coarse texture. This is important because the almonds provide crunch while the sticky dates act as the natural glue to bind your bliss balls. It’s a fast and gratifying step because you quickly see the base of your delicious snack taking shape.
Step 2: Add Your Flavor Boosters
Next, add the unsweetened cocoa powder, almond butter, chia seeds, maple syrup, vanilla extract, and a pinch of sea salt to the food processor. Blend everything again until the mixture comes together into a sticky dough. This stage is where all the magic happens—the cocoa infuses rich chocolatey depth, almond butter intensifies the nutty creaminess, and the sweet and salty elements dance beautifully in harmony.
Step 3: Adjust Consistency
If you notice the mixture is too dry to hold its shape when pressed, slowly add water one tablespoon at a time. This ensures your balls will be moist and cohesive rather than crumbly or overly sticky. The goal is a dough that forms easily and rolls smoothly between your hands.
Step 4: Shape and Chill
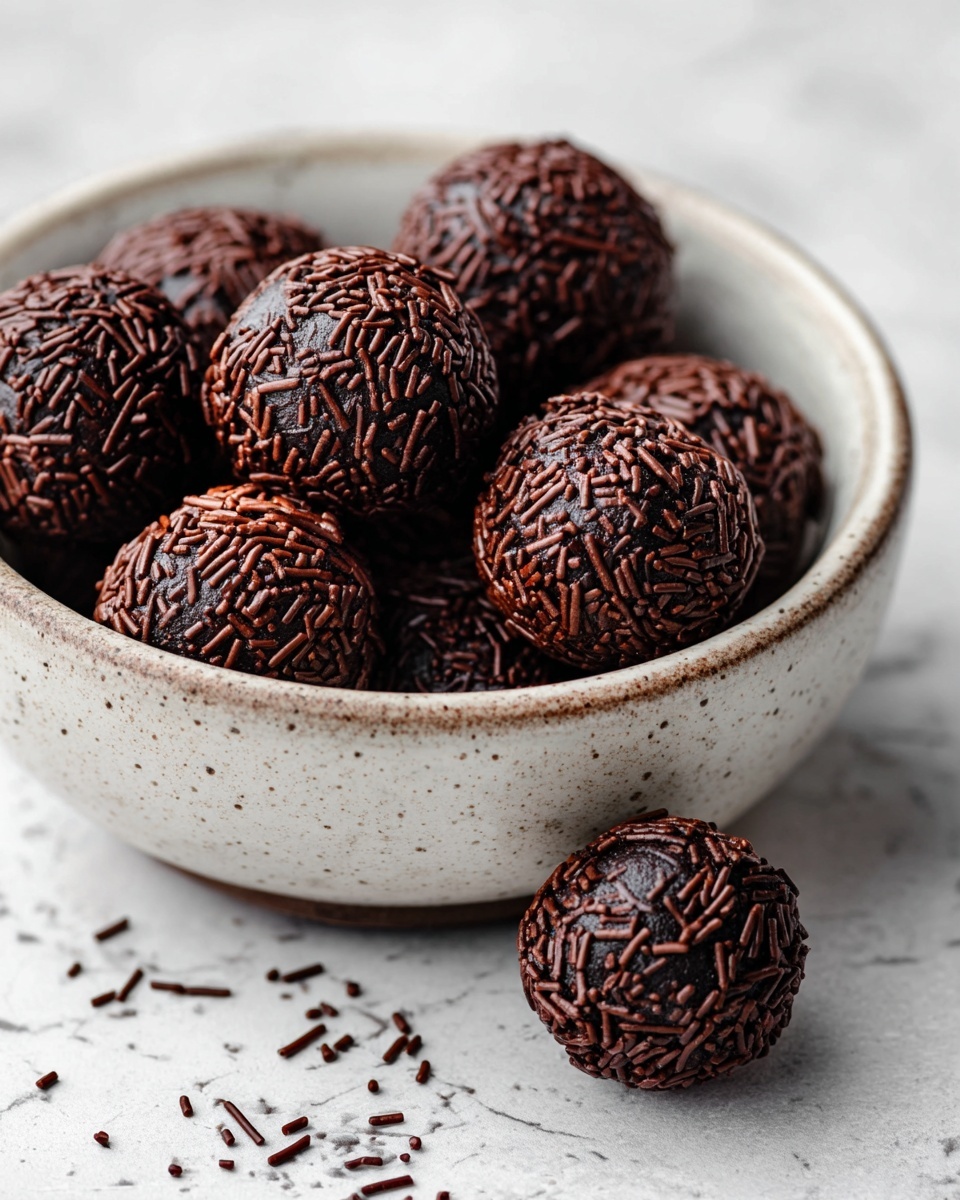
Using a tablespoon measure, scoop out portions of the mixture and gently roll them into balls. For an additional touch of elegance and texture, roll each ball in unsweetened shredded coconut if you like. Place the bliss balls on a tray and pop them in the refrigerator for at least 20 minutes to firm up. This step makes them extra satisfying to bite into later on.
How to Serve Wholesome Chocolate Bliss Balls Recipe
Garnishes
While the shredded coconut is a classic garnish, feel free to experiment with crushed nuts, cacao nibs, or a light dusting of cocoa powder for visual appeal and added texture. These simple garnishes elevate the presentation and bring out different layers of flavor in this wholesome treat.
Side Dishes
Pair these bliss balls with a refreshing cup of herbal tea or your favorite coffee for an energizing snack break. They also work wonderfully alongside a fresh fruit salad, which adds juiciness and bright notes that contrast the rich chocolate beautifully.
Creative Ways to Present
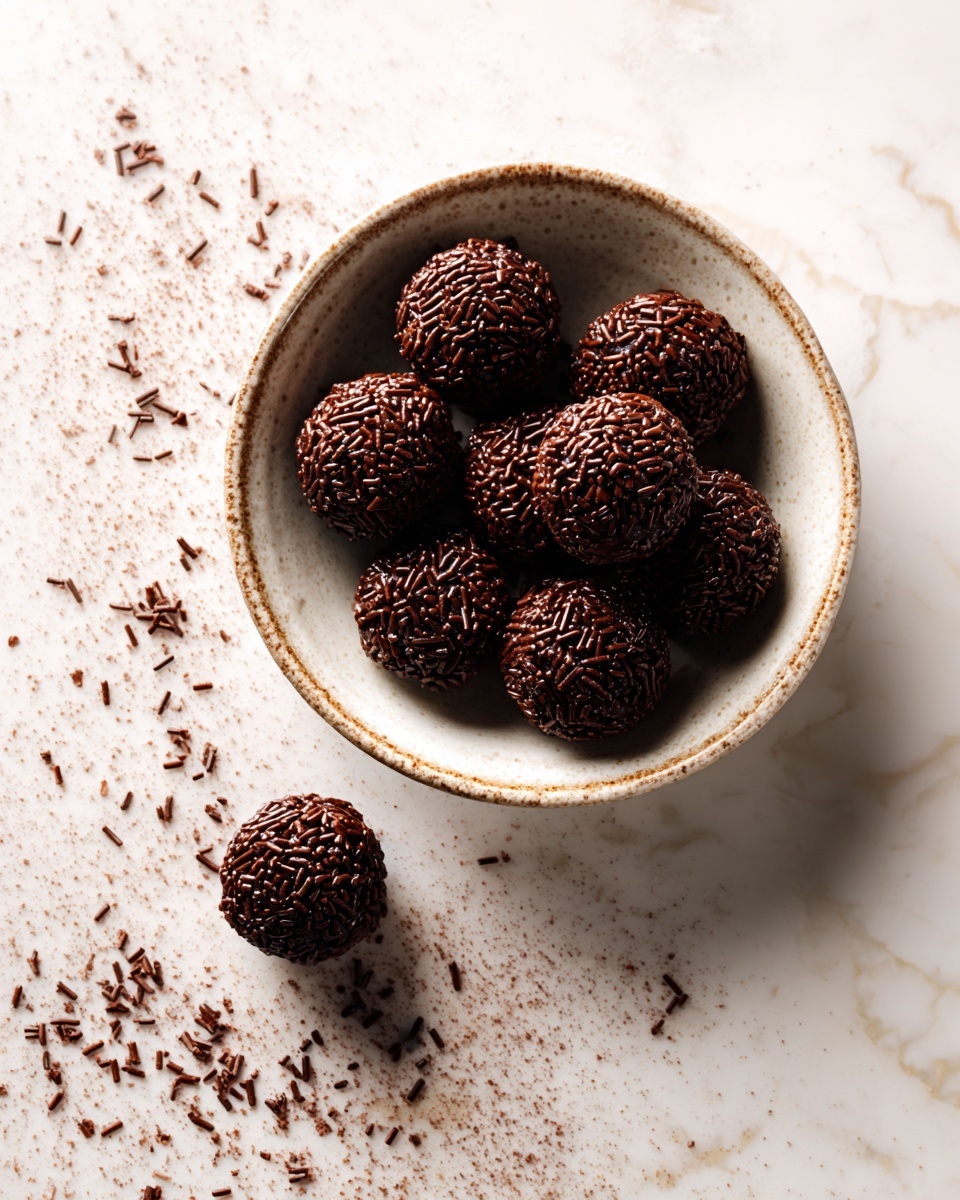
For a fun twist, arrange a trio of Wholesome Chocolate Bliss Balls Recipe bites on a small dessert plate, drizzle with a little melted dark chocolate or nut butter, and sprinkle some edible flowers for an Instagram-worthy treat. They make a fantastic addition to lunchboxes, party platters, or even as a simple homemade gift wrapped in parchment paper tied with twine.
Make Ahead and Storage
Storing Leftovers
Keep your leftover bliss balls fresh by storing them in an airtight container in the refrigerator. They will stay delicious and firm for up to a week, making them an excellent option for pre-prepping snacks during a busy week.
Freezing
If you want to enjoy them later, these bliss balls freeze beautifully. Lay them out on a baking sheet lined with parchment, freeze until solid, then transfer them to a freezer-safe container. When stored this way, they can last up to three months without losing their flavor or texture.
Reheating
Reheating is a snap—just remove the desired number from the freezer and let them thaw at room temperature for 15 to 30 minutes. If you prefer a softer bite, warm them gently in the microwave for about 10 seconds, but be careful not to overdo it or you’ll lose the bliss ball’s beautiful texture.
FAQs
Can I use other nuts instead of almonds?
Absolutely! Cashews, walnuts, or even a mixed nut blend work wonderfully and will each add their unique flavor and texture. Just ensure they are raw or lightly toasted for the best results.
Are these bliss balls suitable for people with gluten intolerance?
Yes, this Wholesome Chocolate Bliss Balls Recipe is naturally gluten-free since it contains no wheat or gluten-containing ingredients. It’s a safe and tasty snack for those avoiding gluten.
Can I add protein powder to make these more filling?
Definitely. Adding a scoop of your favorite protein powder can turn these bliss balls into a more substantial energy bite, perfect as a post-workout snack or a quick breakfast substitute.
What if I don’t have medjool dates?
Medjool dates are preferred for their softness and sweetness, but you can substitute with other soft dates like deglet noor. Just make sure they are fresh and moist enough to bind the mixture properly.
How long do these bliss balls last at room temperature?
Because of the natural ingredients, they are best kept refrigerated and can be left at room temperature only for a few hours. For longer storage, refrigeration or freezing is recommended to maintain freshness and texture.
Final Thoughts
You truly cannot go wrong with the Wholesome Chocolate Bliss Balls Recipe as your go-to snack for whenever you need a little lift of energy and joy. The blend of natural sweetness, wholesome ingredients, and no-fuss preparation makes these bliss balls an everyday treat you will look forward to. Give it a try, share with loved ones, and enjoy the simple delights of homemade goodness.
Print
Wholesome Chocolate Bliss Balls Recipe
- Prep Time: 15 minutes
- Cook Time: 0 minutes
- Total Time: 15 minutes
- Yield: 12 bliss balls
- Category: Snack
- Method: No-Cook
- Cuisine: Health-Focused
- Diet: Vegan
Description
Wholesome Chocolate Bliss Balls are a nutritious, no-bake snack made from medjool dates, raw almonds, and rich cocoa powder, combined with almond butter and chia seeds for a boost of protein and fiber. These energy bites are sweetened naturally with maple syrup and flavored with vanilla, rolled optionally in shredded coconut for added texture and flavor. Perfect for a quick, guilt-free treat, they are vegan, gluten-free, and easy to prepare in just 15 minutes.
Ingredients
Base Ingredients
- 1 cup medjool dates (pitted)
- ¾ cup raw almonds
Flavoring and Binding
- 2 tablespoons unsweetened cocoa powder
- 2 tablespoons almond butter
- 1 tablespoon chia seeds
- 1 tablespoon maple syrup
- 1 teaspoon vanilla extract
- Pinch of sea salt
- 1–2 tablespoons water (as needed)
Optional Coating
- Unsweetened shredded coconut for rolling (optional)
Instructions
- Prepare the Base: In a food processor, combine the pitted medjool dates and raw almonds. Pulse until they are finely chopped and well combined, creating a coarse mixture that will serve as the base for your bliss balls.
- Add Flavor and Binders: To the date and almond mixture, add the unsweetened cocoa powder, almond butter, chia seeds, maple syrup, vanilla extract, and a pinch of sea salt. Blend again until the mixture starts to come together into a sticky dough-like consistency.
- Adjust Consistency: If the mixture feels too dry and crumbly to hold its shape when pressed, add water one tablespoon at a time and blend after each addition until the mixture sticks together well.
- Form the Bliss Balls: Scoop out tablespoon-sized portions from the mixture and roll them between your hands to form smooth, round balls.
- Optional Coating: If desired, roll each bliss ball in unsweetened shredded coconut for added texture and flavor.
- Chill: Place the bliss balls in the refrigerator for at least 20 minutes to firm up before serving, ensuring they hold their shape and have a satisfying texture.
- Storage: Store the finished bliss balls in an airtight container in the refrigerator for up to one week to keep them fresh.
Notes
- Almonds can be substituted with cashews, walnuts, or a mix of nuts for different flavor profiles.
- For added protein, incorporate a scoop of your favorite protein powder into the mixture.
- Add cacao nibs for a crunchy texture variation.


